The Ikonart Custom Stencil Kit is your gateway to unleashing your creativity with DIY crafts. Say goodbye to the hassle of weeding vinyl and embrace the simplicity and versatility of Ikonart stencils. From intricate designs to bold prints, Ikonart empowers crafters of all levels to effortlessly transfer their visions onto various surfaces.
However, like any craft, there are common pitfalls to watch out for. In this post we explore seven of the most frequent mistakes we see crafters make when using Ikonart stencils. Print this out for future reference, or if you prefer to watch your tutorial instead of reading, check out our video, 7 Common Mistakes When Using Ikonart Stencils.
7 Mistakes To Avoid When Using Ikonart Stencils
Below we guide you through the seven most common mistakes to avoid when using your Ikonart stencils. Follow these tips to avoid DIY crafting frustration. For this tutorial I used our free Everything Hurts Marathon SVG, available on our Free Artwork page.
1. Choosing the Wrong Stencil Film
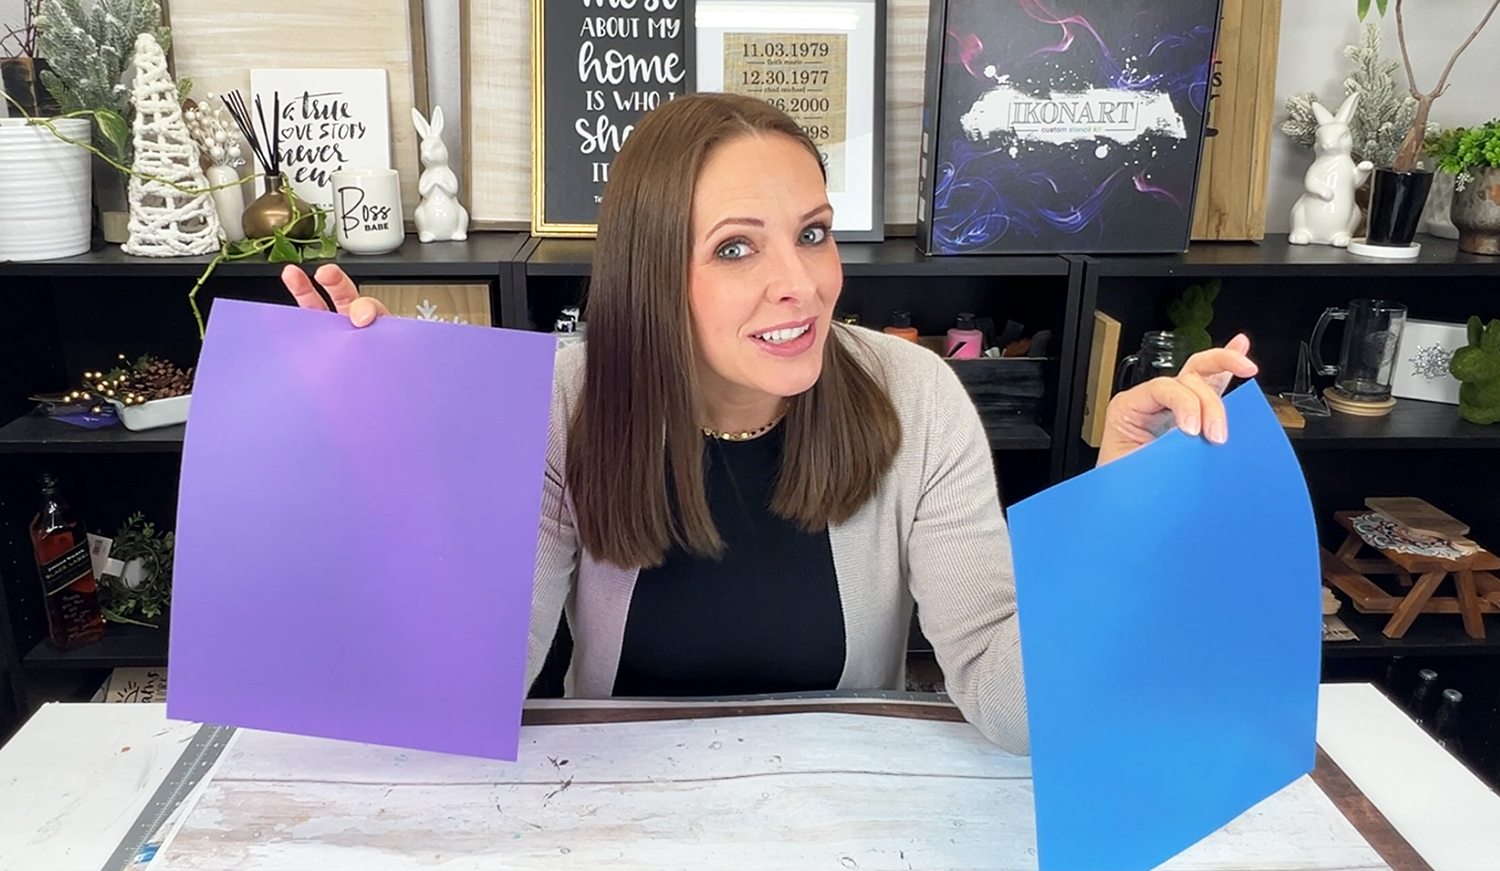
Ikonart offers two types of stencil films: blue and purple. Each has its unique characteristics, with the purple being stickier and more suitable for textured surfaces like canvas or wood signs. On the other hand, the blue film is better suited for smooth, flat surfaces such as glass, ceramic, or metal. Always ensure you select the right film for your project to achieve optimal results.
Use the purple Ikonart Textile Film for:
- Screen Printed Shirts & Fabric
- Custom Wood Signs
- Furniture
- Wood Burning
- Custom Fabrics
- Water-colored Signs and Water-colored Fabric
Use the blue Ikonart Stencil Film for:
- Glass Etching
- Fused Glass
- Jewelry Making
- Chalkboard Art
- Polymer Clay, Modeling Clay and Natural Clay
- Cookies & Cakes
- Paper Crafting
- Acrylic Signs & Awards
- Metal Items
WATCH VIDEO: Difference Between Blue & Purple Ikonart Film
2. Not Allowing Stencils to Dry Completely
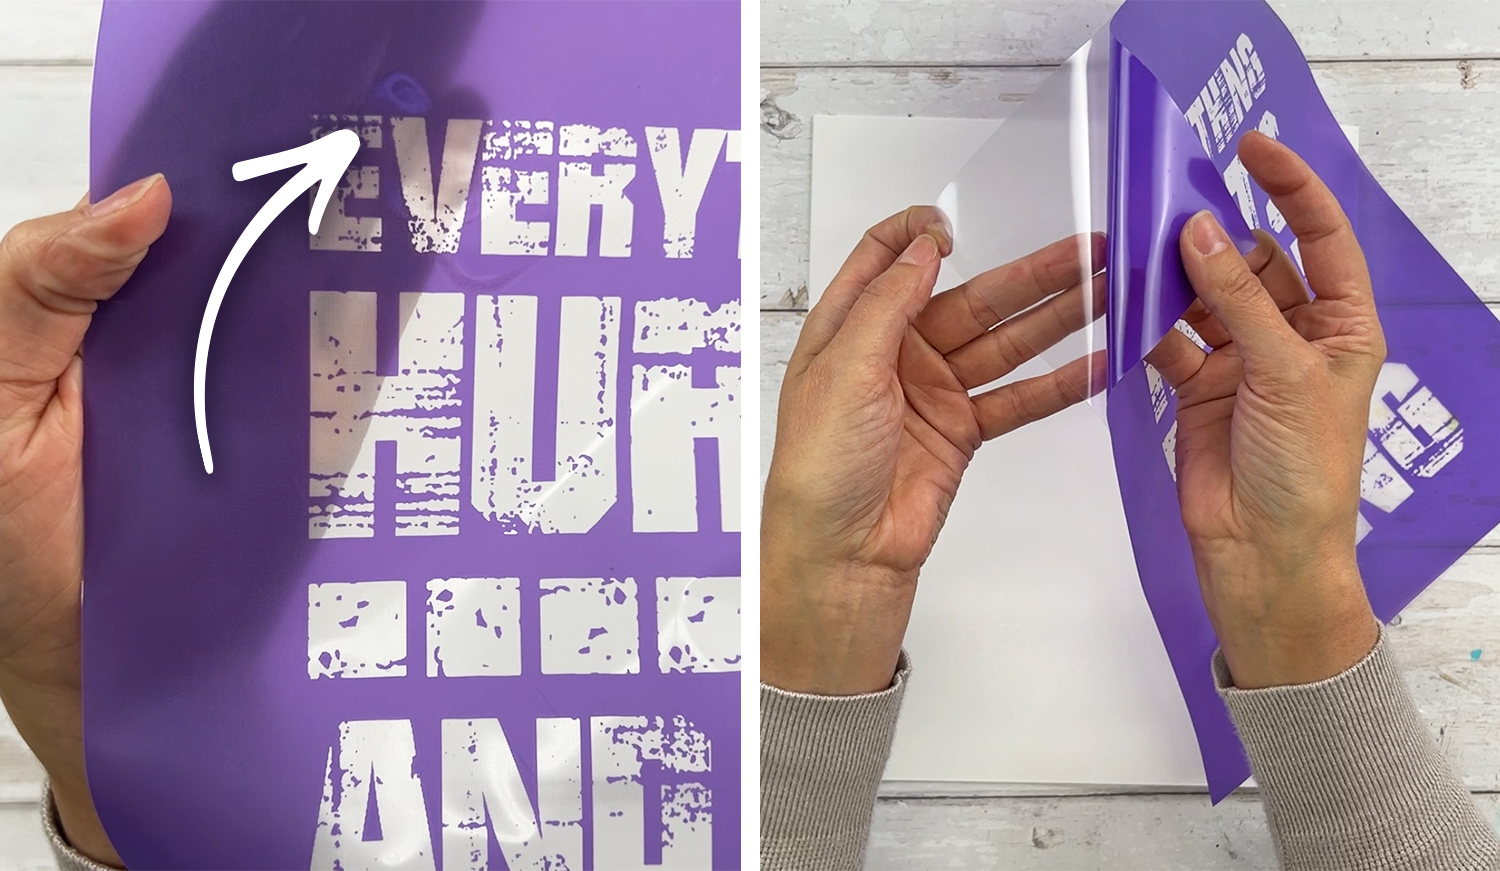
Patience is key when working with Ikonart Stencils. Allowing your stencil to dry completely before using it is crucial. If you notice any discoloration or tackiness on the stencil, it means it's not fully dry. If the adhesive on your stencil is not completely dry, it can stick to your surface like glue, especially smooth surfaces like glass or ceramic. Using a partially dried stencil can lead to adhesion issues and potential damage to both the stencil and your project surface.
READ POST: 8 Ways To Dry Your Ikonart Stencils

3. Skipping Surface Preparation
Properly prepping the surface before applying the stencil is essential for a successful outcome. Whether you're working on fabric, glass, wood, or another material, take the time to clean and prime the surface as needed. This step ensures better stencil adhesion and prevents bleeding or smudging during application. For example, if you are screen printing a shirt, prep the shirt with a tacky mat. If you are making a wood sign, you may need to sand or seal the wood. If you are etching glass, clean the glass first with glass cleaner or rubbing alcohol.
WATCH VIDEO: Top Tips For Screen Printing Shirts With Ikonart
4. Using the Wrong Paint or Ink
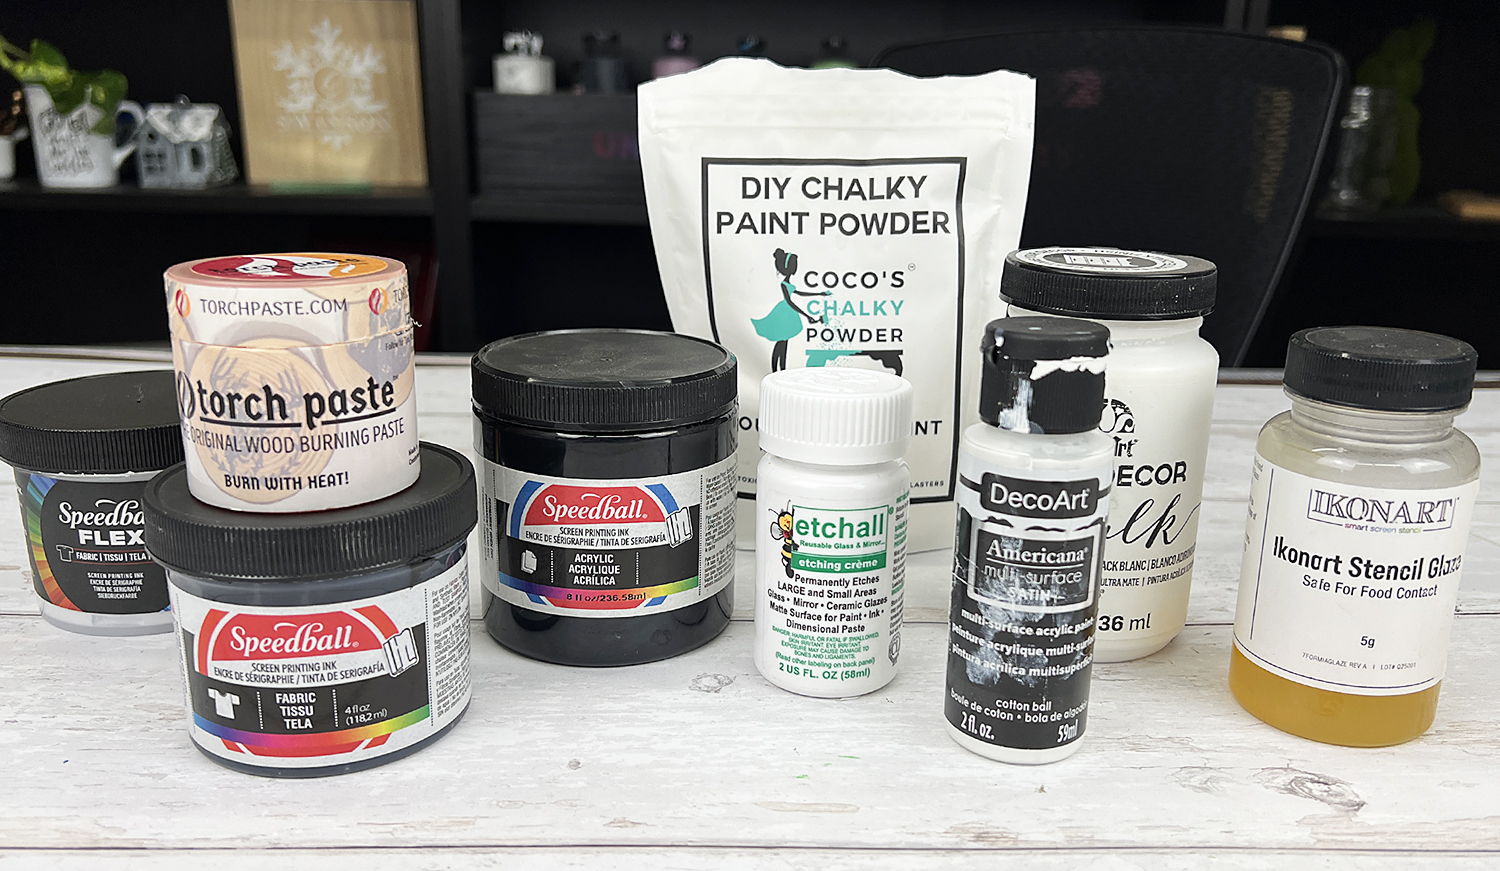
Choosing the right paint, ink or medium for your project is vital. Different surfaces require specific types of paint or ink to achieve the desired results. Whether you're working on fabric, wood, ceramics, or glass, select paints or inks formulated for that particular surface to ensure longevity and durability.
READ POST: Paint and Ink Selection Guide for Ikonart
5. Using Thin Paint or Ink
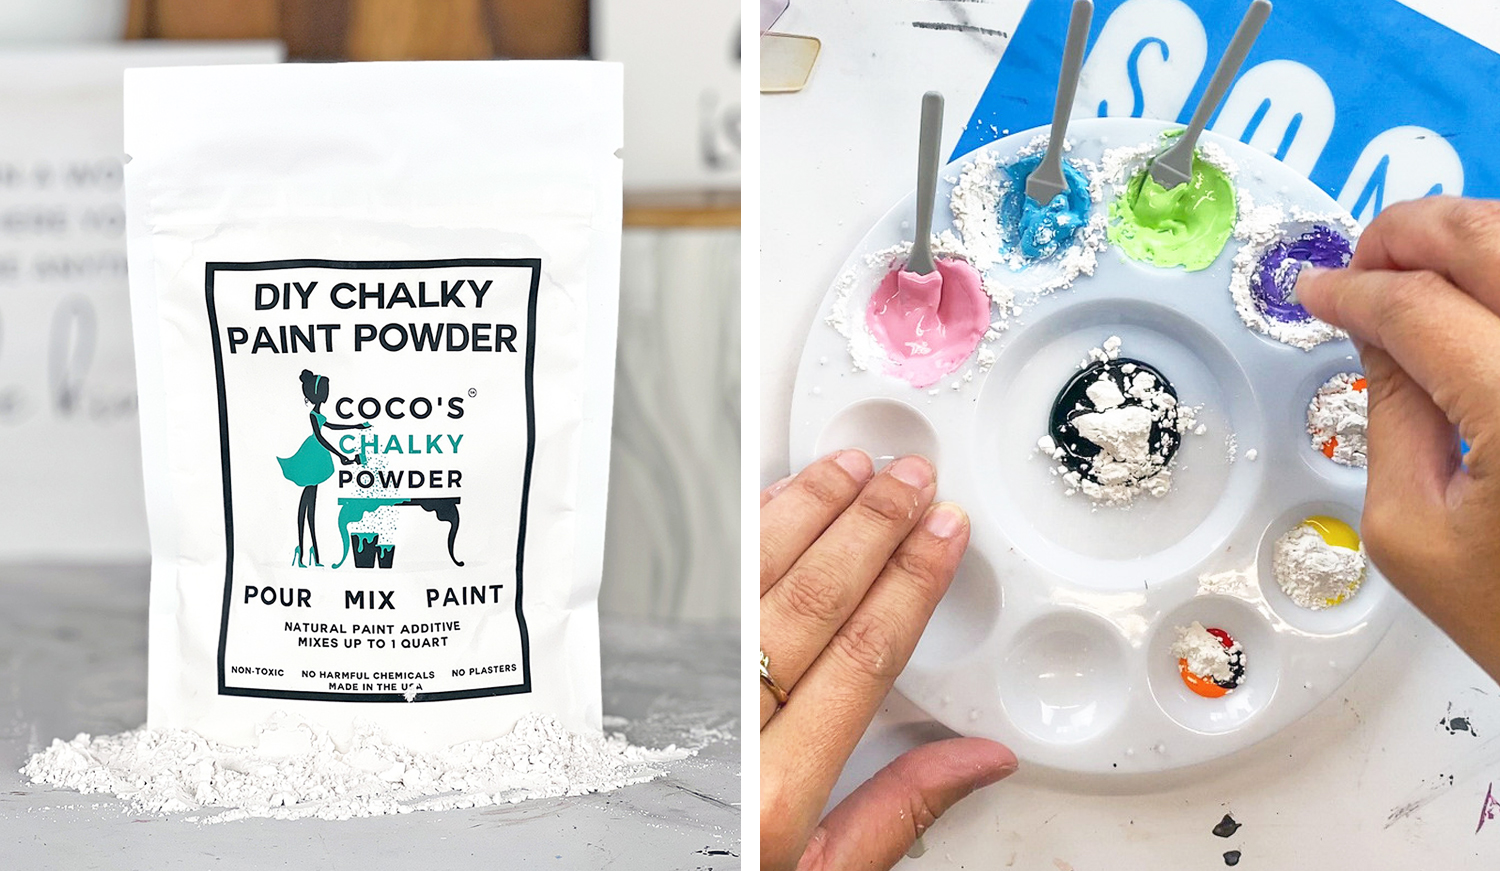
Thin paints or inks can cause bleeding underneath the stencil, resulting in blurred or messy designs. Different brands of paint and ink have different consistencies. Opt for thicker paints or thicken your paint yourself with Coco's Chalky Powder. When you mix this chalky powder with your acrylic paint, you are making your own DIY chalk paste. This ensures crisp, clean lines and prevents unwanted smudging, especially on textured surfaces like wood and canvas.
WATCH VIDEO: How To Make DIY Chalk Paste With Coco's Chalky Powder

6. Washing Stencils Too Roughly
After each use, gently clean your stencils with warm water and a soft-bristled brush. Avoid scrubbing the adhesive side of the stencil, as this can cause premature wear and tear. We also avoid using harsh cleaning chemicals or magic erasers on our stencils, which can cause breakdown as well. Handle your stencils with care to prolong their lifespan and maintain their effectiveness.
WATCH VIDEO: How To Clean Ikonart Stencils After Using
7. Incorrectly Returning the Backer
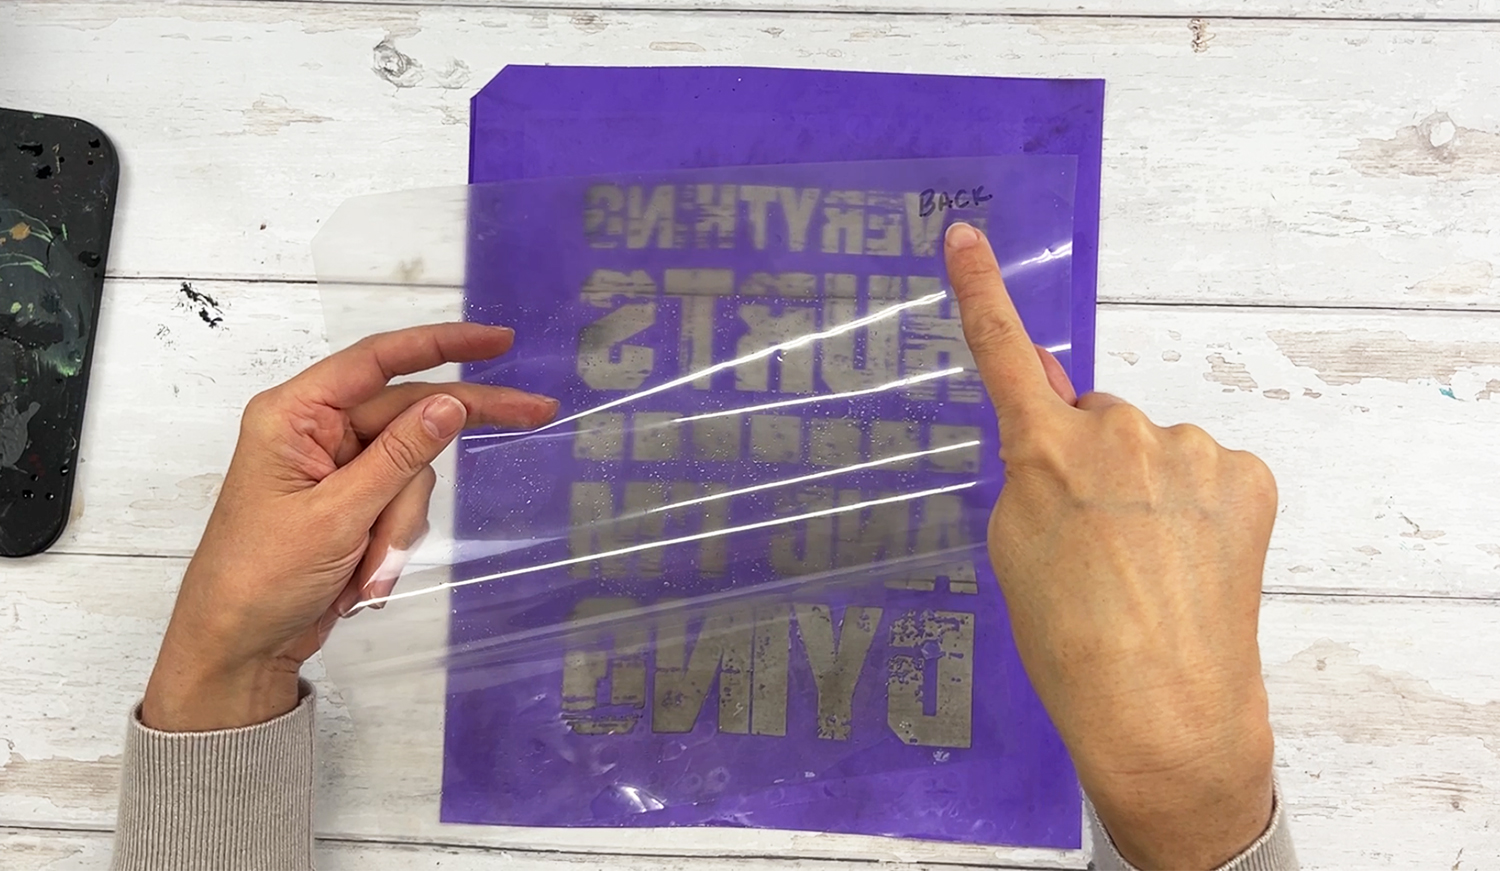
When storing your stencils, ensure you return the backer to the correct side. Marking the backer or making a notch can help you remember which way it goes. Returning the backer incorrectly can affect the stencil's adhesion and make it challenging to reuse.
WATCH VIDEO: 3 Ways To Protect Ikonart Stencils For Reuse
7 Mistakes To Avoid When MAKING Ikonart Stencils
We just covered the most common mistakes we see when USING Ikonart stencils, but before you use them, you have to MAKE them! Head over to our blog post, 7 Mistakes To Avoid When Making Ikonart Stencils, to discover the most common mistakes we see when crafters are making their Ikonart stencils for the first time. If you are brand new to making Ikonart stencils, head to our Ikonart 101 page to get started.
By avoiding these common mistakes, you can make the most of your Ikonart stencils and unleash your creativity with confidence. If you have any additional questions about using your Ikonart Custom Stencil Kit you can contact Ikonart directly, or join our Ikonart Crafters Group on Facebook for more tips and examples from other Ikonart crafters. If you learned something here be sure to pin this post!

