When you combine hand painting with stenciling you get the best of both worlds. With a stencil you can quickly and easily add your design to your fabric, wood, or other surface. Then you can customize it and make it truly unique by hand painting within the stencil lines.
That is exactly what Amy Sadler, crafter and owner of Chateau Chic DIY and Amy Sadler Designs, did for this DIY throw pillow project. In this blog post Amy walks us through her process of creating a custom, hand-painted throw pillow in just a few easy steps using her Ikonart Custom Stencil Kit.
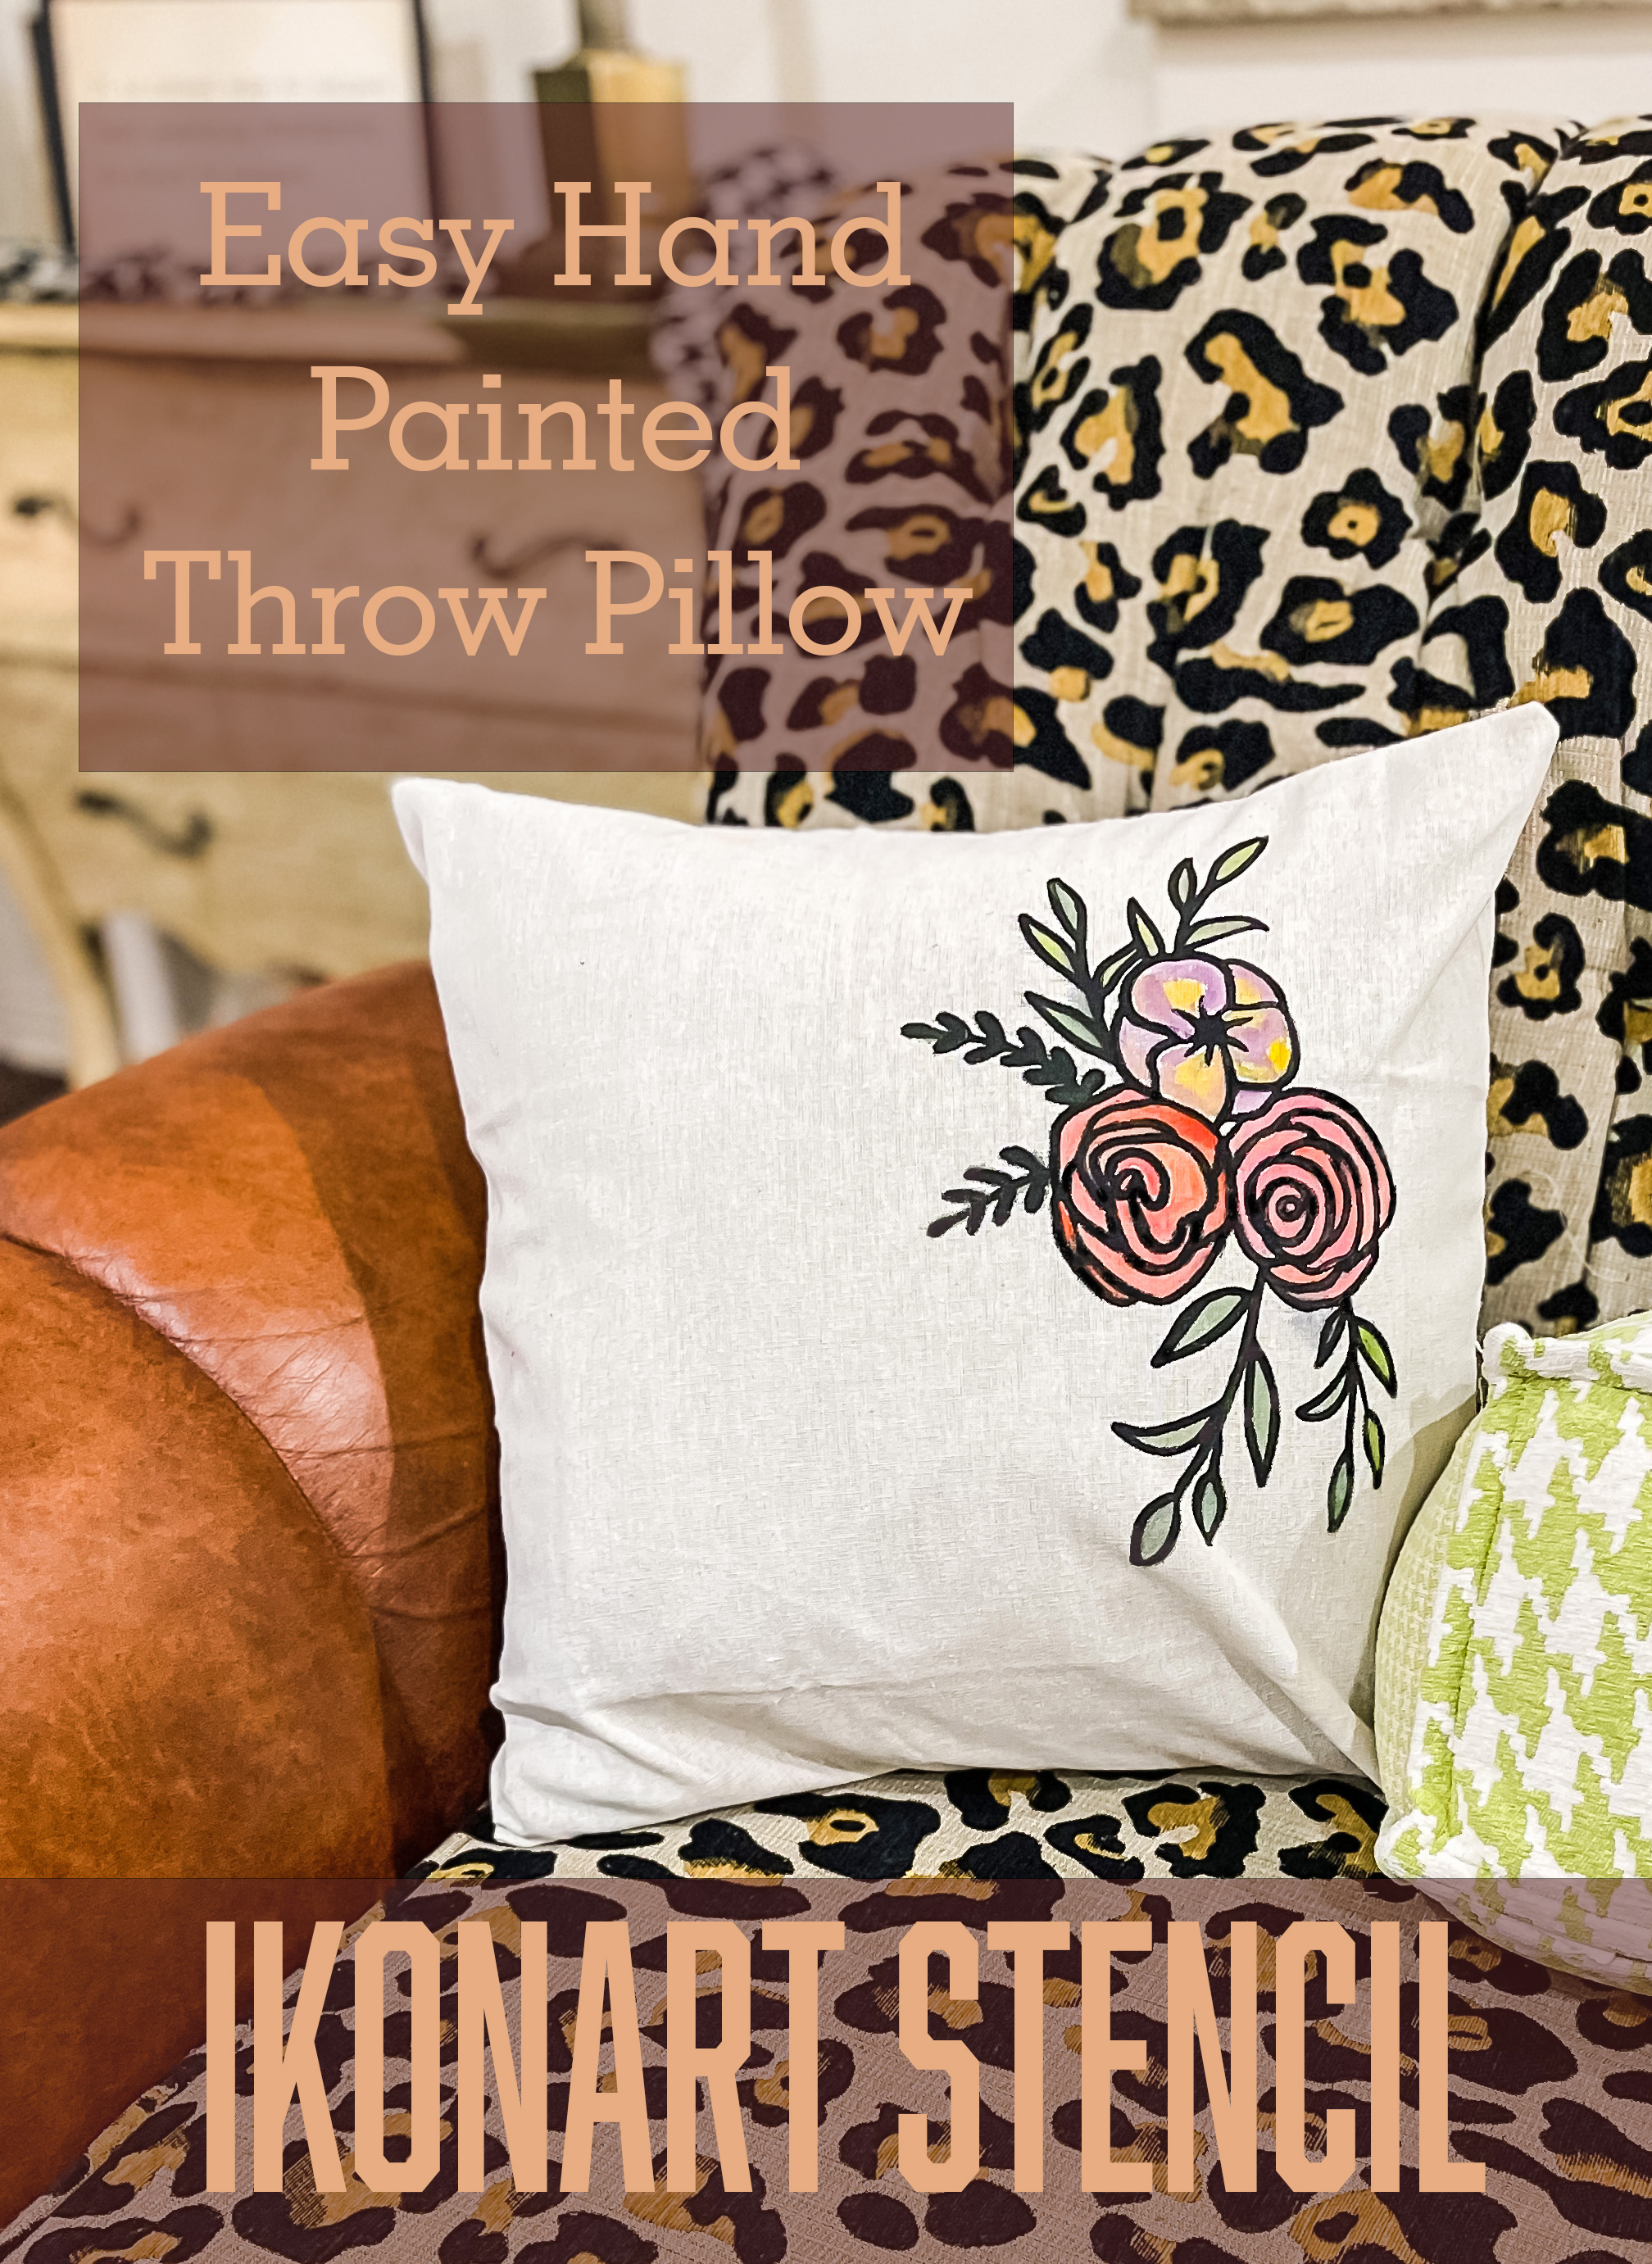
DIY Hand Painted Throw Pillow Using Ikonart
Have you been wanting to try hand painting on fabric? This easy DIY throw pillow project is perfect for this idea! I used my Ikonart Custom Stencil Kit to make my floral stencil because my freehand needs work and I wanted this throw pillow cover to be really good. I hope this post shows you how easy it is to create handmade, high-impact DIYs with the Ikonart Kit, which has been such a game changer for my craft projects.
SUPPLIES NEEDED:
- Ikonart Custom Stencil Kit
- Speedball Fabric Ink in black
- Artwork for your stencil (make your own, buy online, or use one of the free SVGS from Ikonart)
- Acrylic paint in colors of your choosing
- Throw Pillow Cover (mine was $2.50 at Hobby Lobby)
- Pillow form
- Cardboard or Tacky mat for inside the pillowcase when painting (eliminates bleeding through)
STEP 1. Make Your Stencil
For this project I used a floral design that I purchased from Etsy. I have also made my own designs in Procreate and Canva. Other Ikonart crafters use a variety of programs such as Inkscape, Silhouette Studio, Adobe Illustrator, and even Microsoft Word, but there is no right or wrong program for this so just use what works for you. I printed my design and then followed the instructions in the Ikonart Quick Start Guide to make my stencil using the Ikonart Custom Stencil Kit. If you are having trouble with creating your stencil, head over to the Ikonart Crafters Facebook Group or check out their YouTube channel.
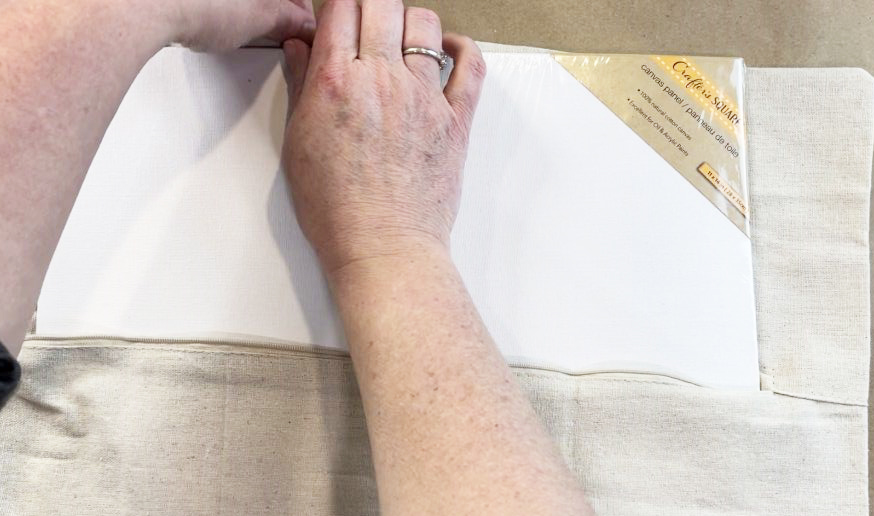
STEP 2. Apply Your Stencil
To prepare your throw pillow cover insert a piece of cardboard or a tacky mat to stop your paint from going through to the backside of your fabric. I used a canvas board from the dollar tree for this (shown above), but the Tacky Mats from Ikonart also work great.
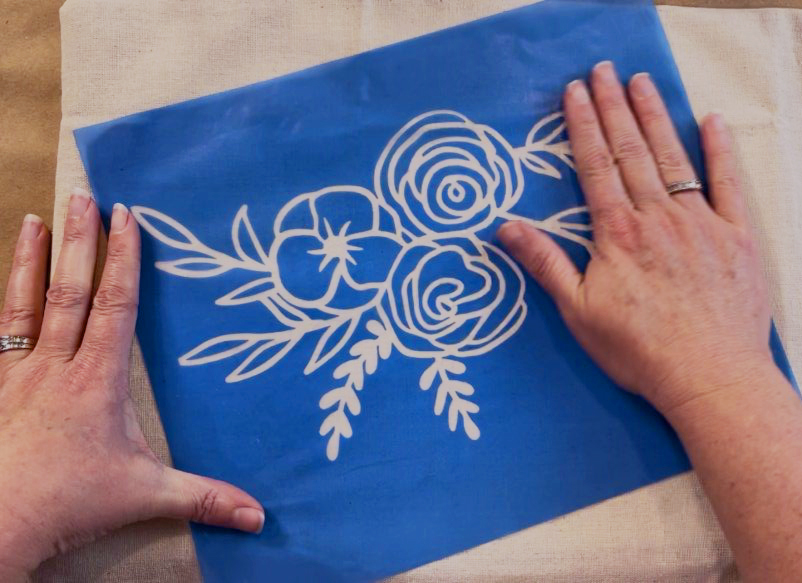
Once your stencil is completely dry and you've post-exposed it, remove the clear backer and place it on your throw pillow cover in the desired location (shown below). Smooth it down against the fabric. I used the blue Ikonart Stencil Film for my stencil, however the purple Ikonart Textile Film can also be used. The Textile Film has a stickier adhesive which clings better to fabric and can help to avoid shifting and bleeding. I'm going for a distressed, vintage look here, so the blue works for me.
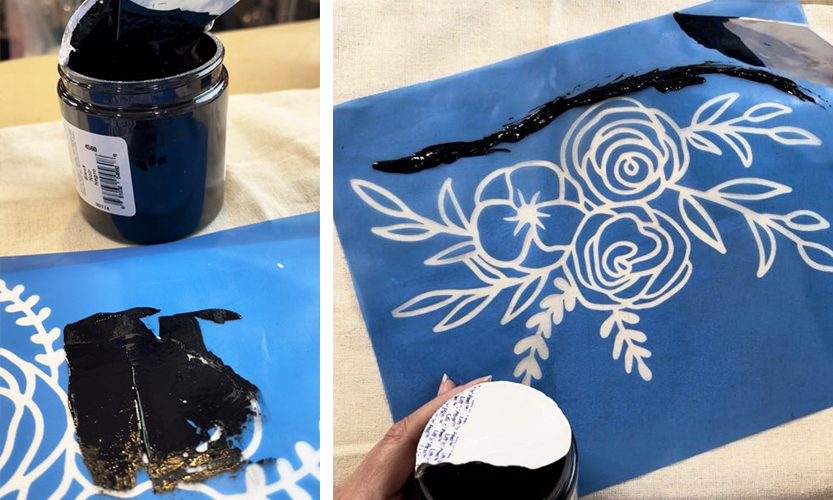
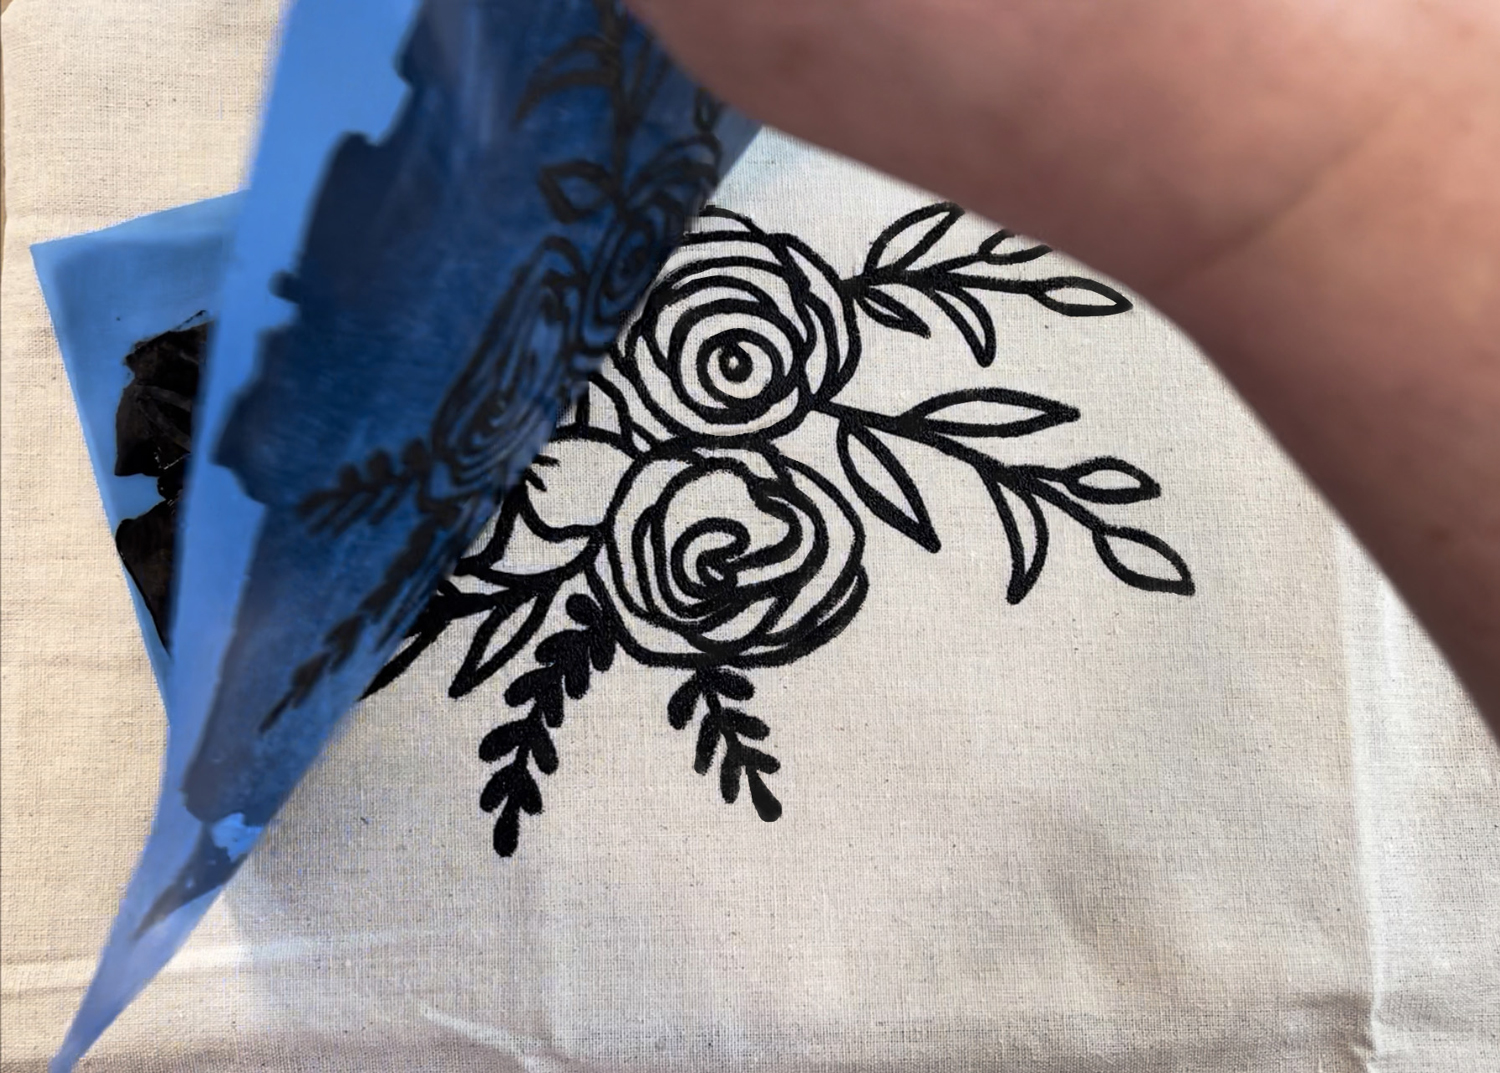
STEP 3. Apply Fabric Ink To Your Stencil
Using Speedball Fabric Ink, apply the ink to the stencil by spreading it across the design and pushing it through the mesh with a squeegee (shown below). Once your entire design is covered in a good layer of ink, scrape the excess off the stencil and back into your ink jar for future projects.
STEP 4: Reveal Your Design
Peel your stencil up slowly from the corner, checking your work as you go in case you need to lay it back down for touch ups. After you've removed your stencil, rinse it off thoroughly and let dry, or place in a small tub of water if you aren't able to wash it immediately to keep the ink from drying in your mesh openings. Note: Don't leave the stencil soak in water for too long though, as over time it may weaken the emulsion coating and ruin your beautiful stencil.
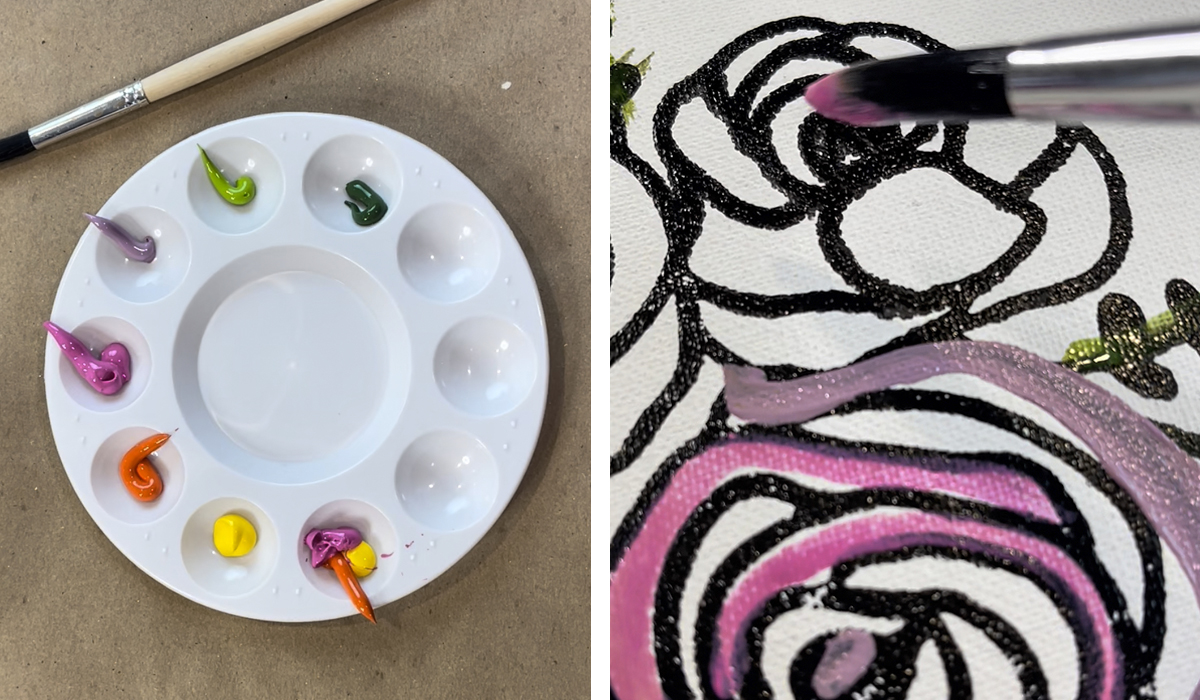
STEP 5. Hand Paint Your Throw Pillow
Let your Speedball Ink dry completely. Heat set the design using an iron, heat press, or a heat gun to set the ink in the fabric. Next choose your acrylic paint colors and mix any custom color you'd like. Have a cup of water nearby as well so you can water down the paint as needed. I watered mine down significantly for more of a watercolor look.
Now that your design is dry and set and your colors are ready, you can paint your throw pillow with the watered down paint just like you would in a coloring book. Take your time and fill in each part of your design until it looks the way you want it to.
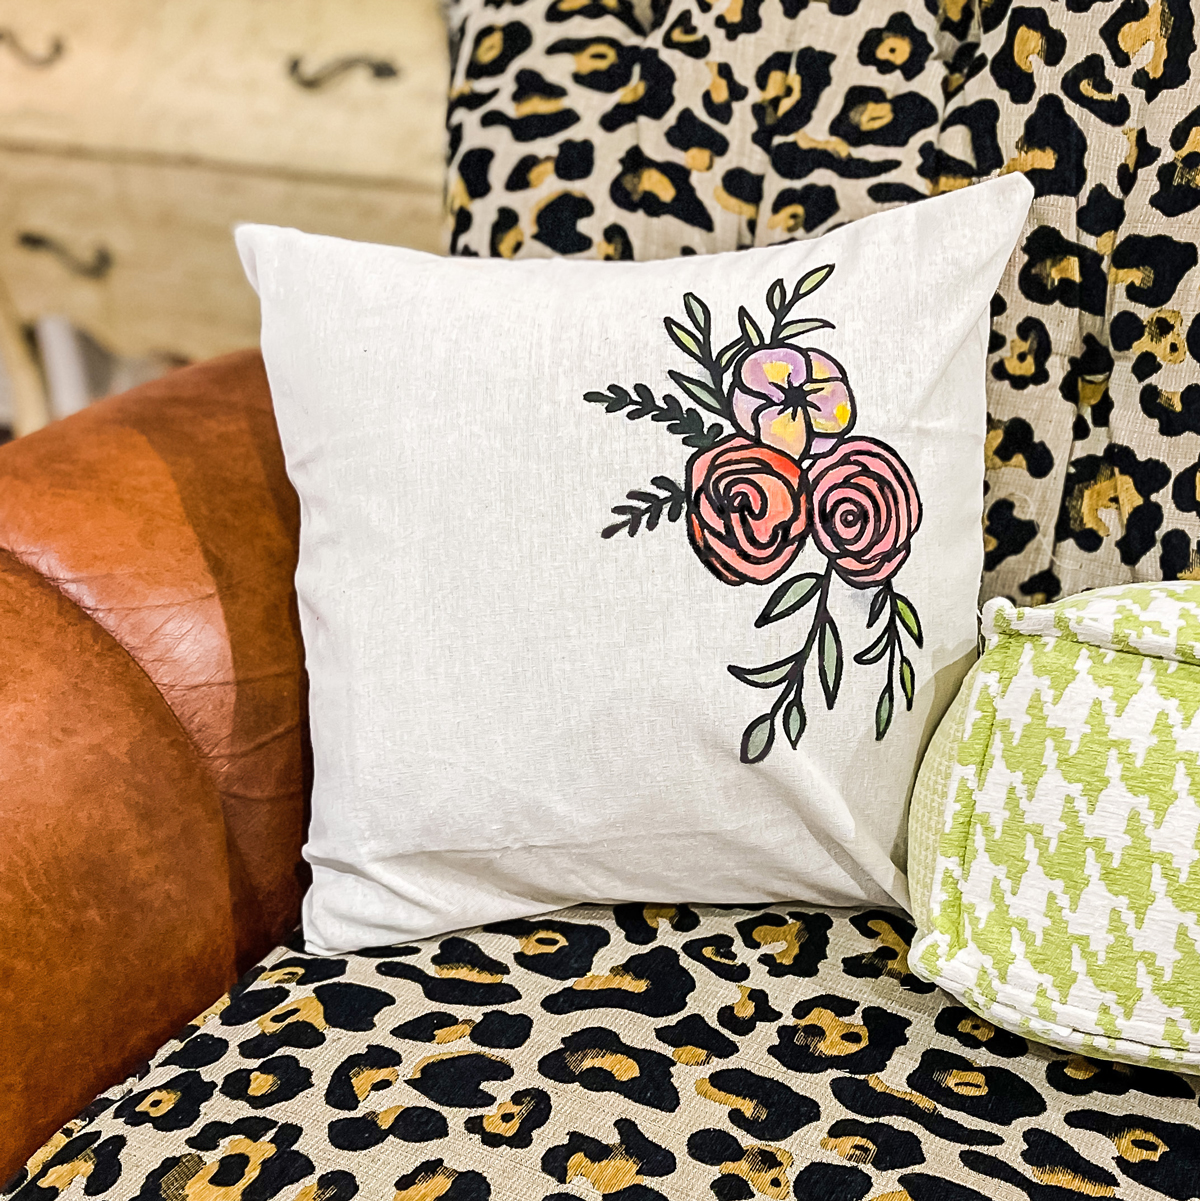
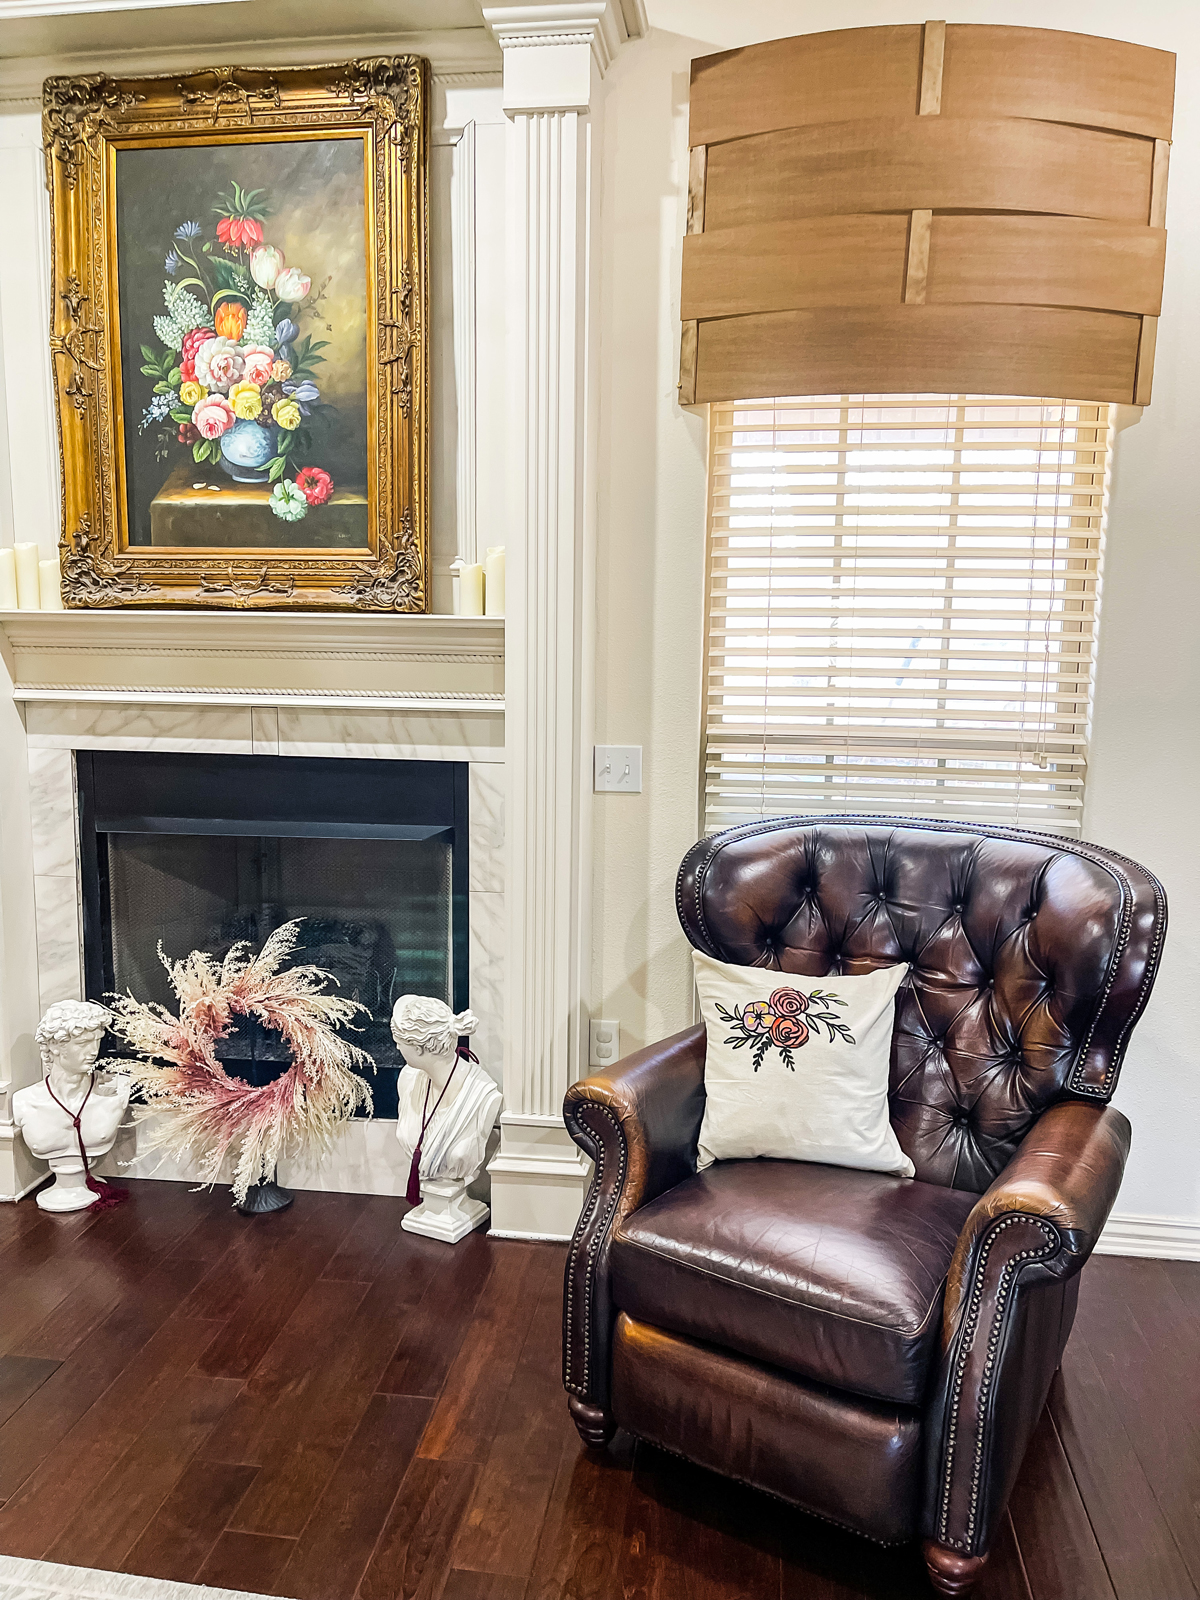
I think my final pillow is just so precious and matches my space SO WELL! Finding and purchasing something similar would have taken so much time and money, so this DIY was really a no-brainer. Side note... do you love my new valences? I made them!
One of the things I love about this hand painted technique is there are so many different directions you can take this project. This would be a great project to do with young ones. They can pick out their own design, have mom or dad apply the stencil while they pick/mix their colors, then the kiddos can spend as much time as they want filling in their design. By the end of the activity they have a super cool custom throw pillow for their room or give as a gift.
Happy crafting!
Amy Sadler
Website: Amy Sadler Designs
Facebook: Chateau Chic DIY
Instagram: @amysadlerdesigns