Glass fusing is the process of joining sheets of glass together in a kiln until the glass fuses. Unlike many other forms of glass art, glass fusing allows you to work with the glass while it is cold (unlike glass blowing, cast glass, and glass flameworking). Fused glass is used to create functional pieces like plates, bowls and jewelry as well as decorative pieces like wall art.
Nancy Johnson is a fused glass artist who uses Ikonart to create her unique fused glass art. In this step-by-step fused glass tutorial Nancy will walk us through the exact method she uses to create her beautiful fused glass photo frames.
Use Custom Ikonart Stencils For Fused Glass
Hello, my name is Nancy. As an at-home crafter and fused glass artist, Ikonart has really improved my fused glass art with clean lines and great detail. I create my stencils using my Ikonart Custom Stencil Kit then apply the stencil to a piece of float glass (from a picture frame or shadow box). Then I use enamel to "paint" in my image and fuse the glass to set. Here are the exact steps that I use to create my fused glass creations.
![]()
1. Make & Apply Your Ikonart Stencil For Your Fused Glass Project
Create your custom Ikonart stencil following the Ikonart Quick Start Guide that comes in each Ikonart Kit. Be sure it is fully dry and post-exposed before you use it.
Remove your backer sheet and place your ready-to-use stencil on the glass from your desired picture frame or shadow box. For stencils that have been used previously and seem to have lost their slight adhesive nature, just apply a touch of dampness in a few small spots outside of image, and smooth stencil onto the glass from center of image outward.
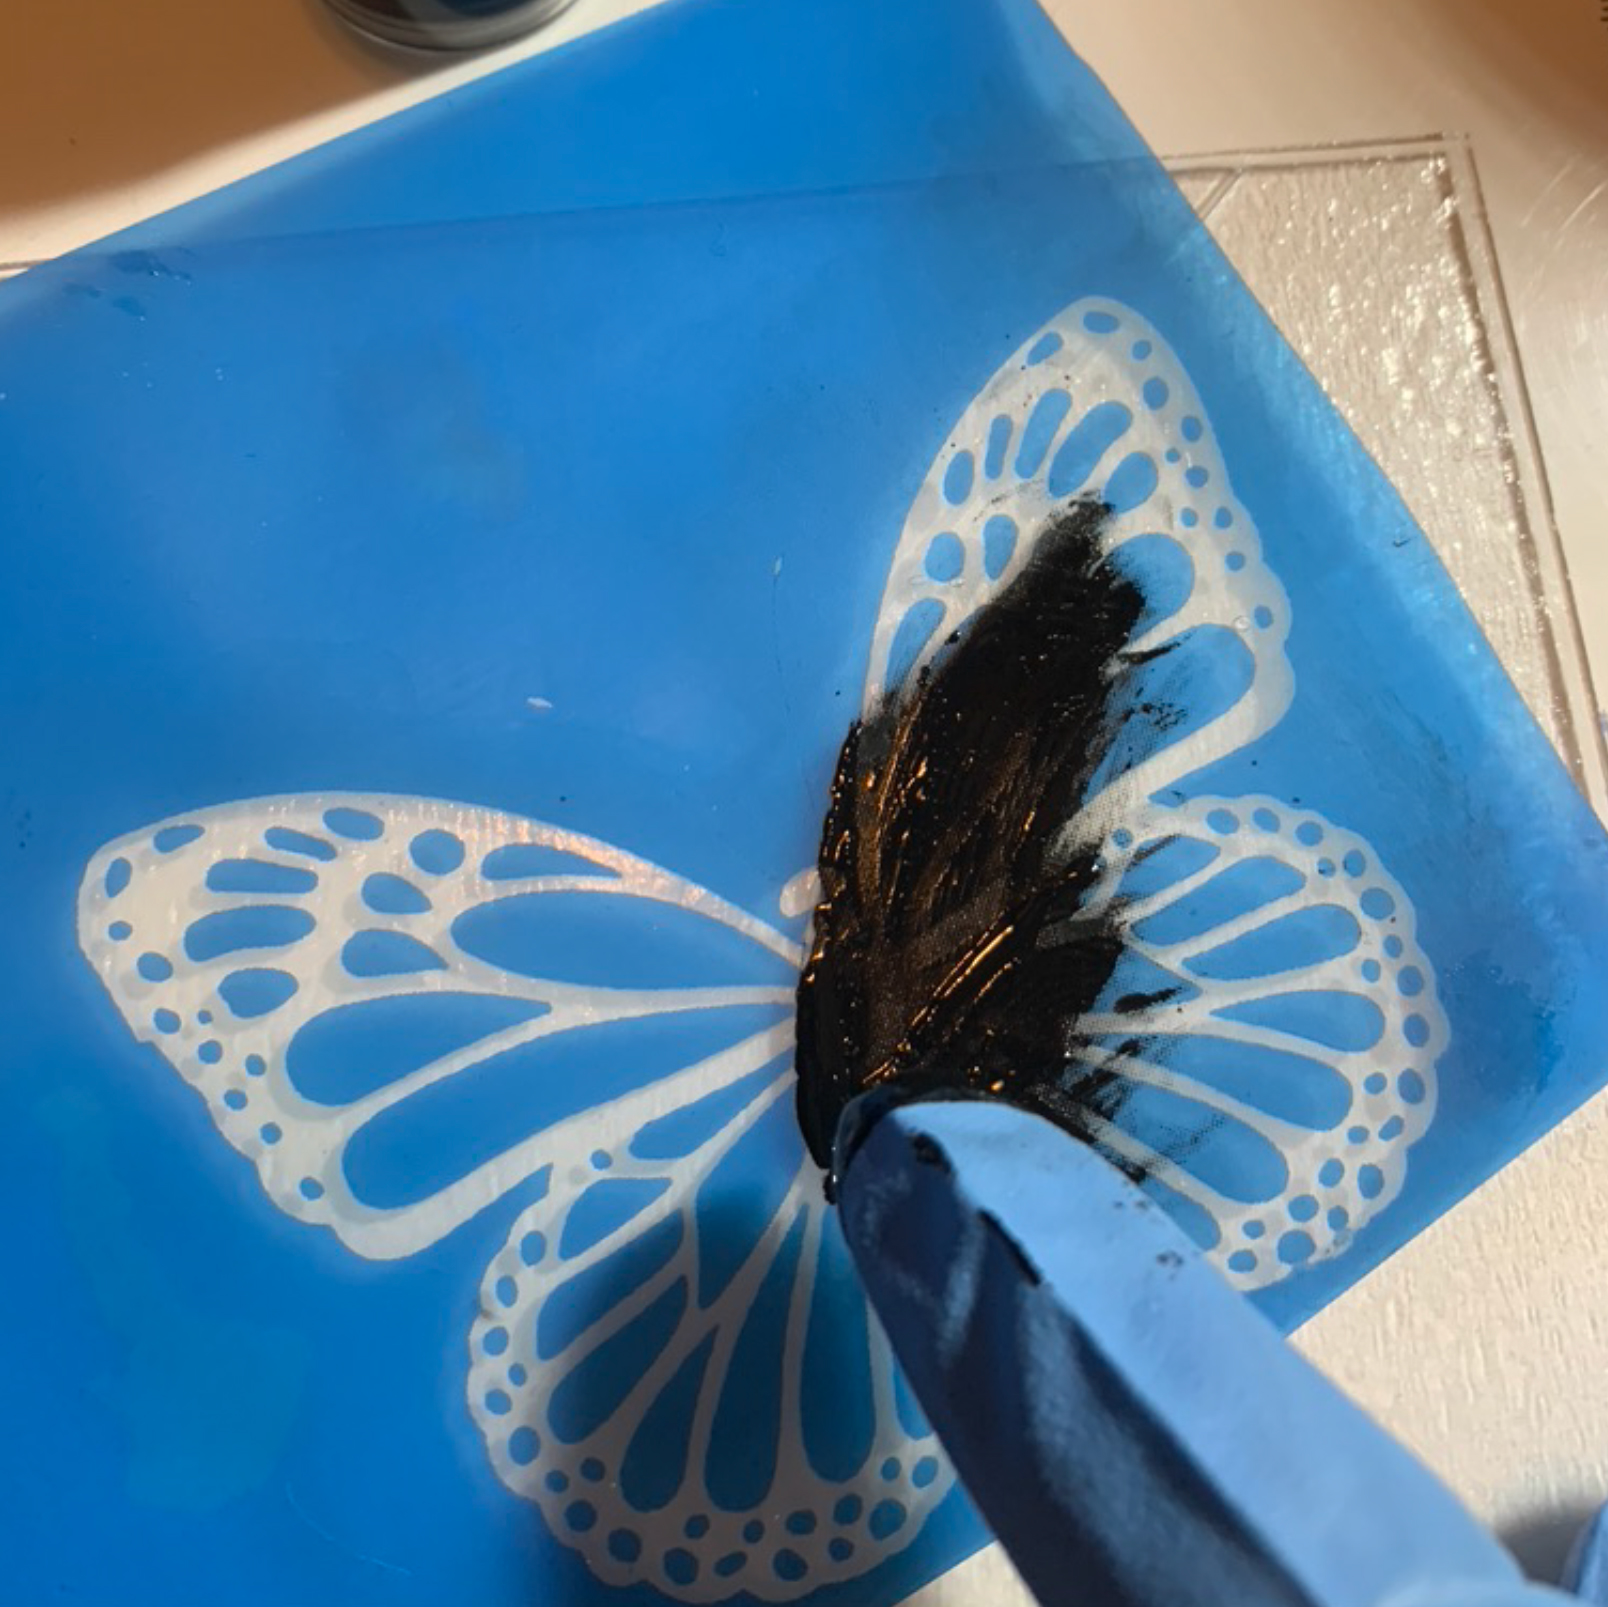
2. Apply Enamel To Your Ikonart Stencil
Mix your enamel with a thickening medium until it reaches the consistency of honey. The enamels I like to use are from Colors of Earth, Fuse Master EZ Fire, and/or Unique Glass Colors. The medium I use is Fuse Master Silk Screen Medium. Spread the enamel over your stencil. I use a gloved hand and spread from the center outward using my finger.
NOTE: Make sure your glass is clean with no smudges or fingerprints. Smudges can fire into the glass when it goes into the kiln in Step 6.
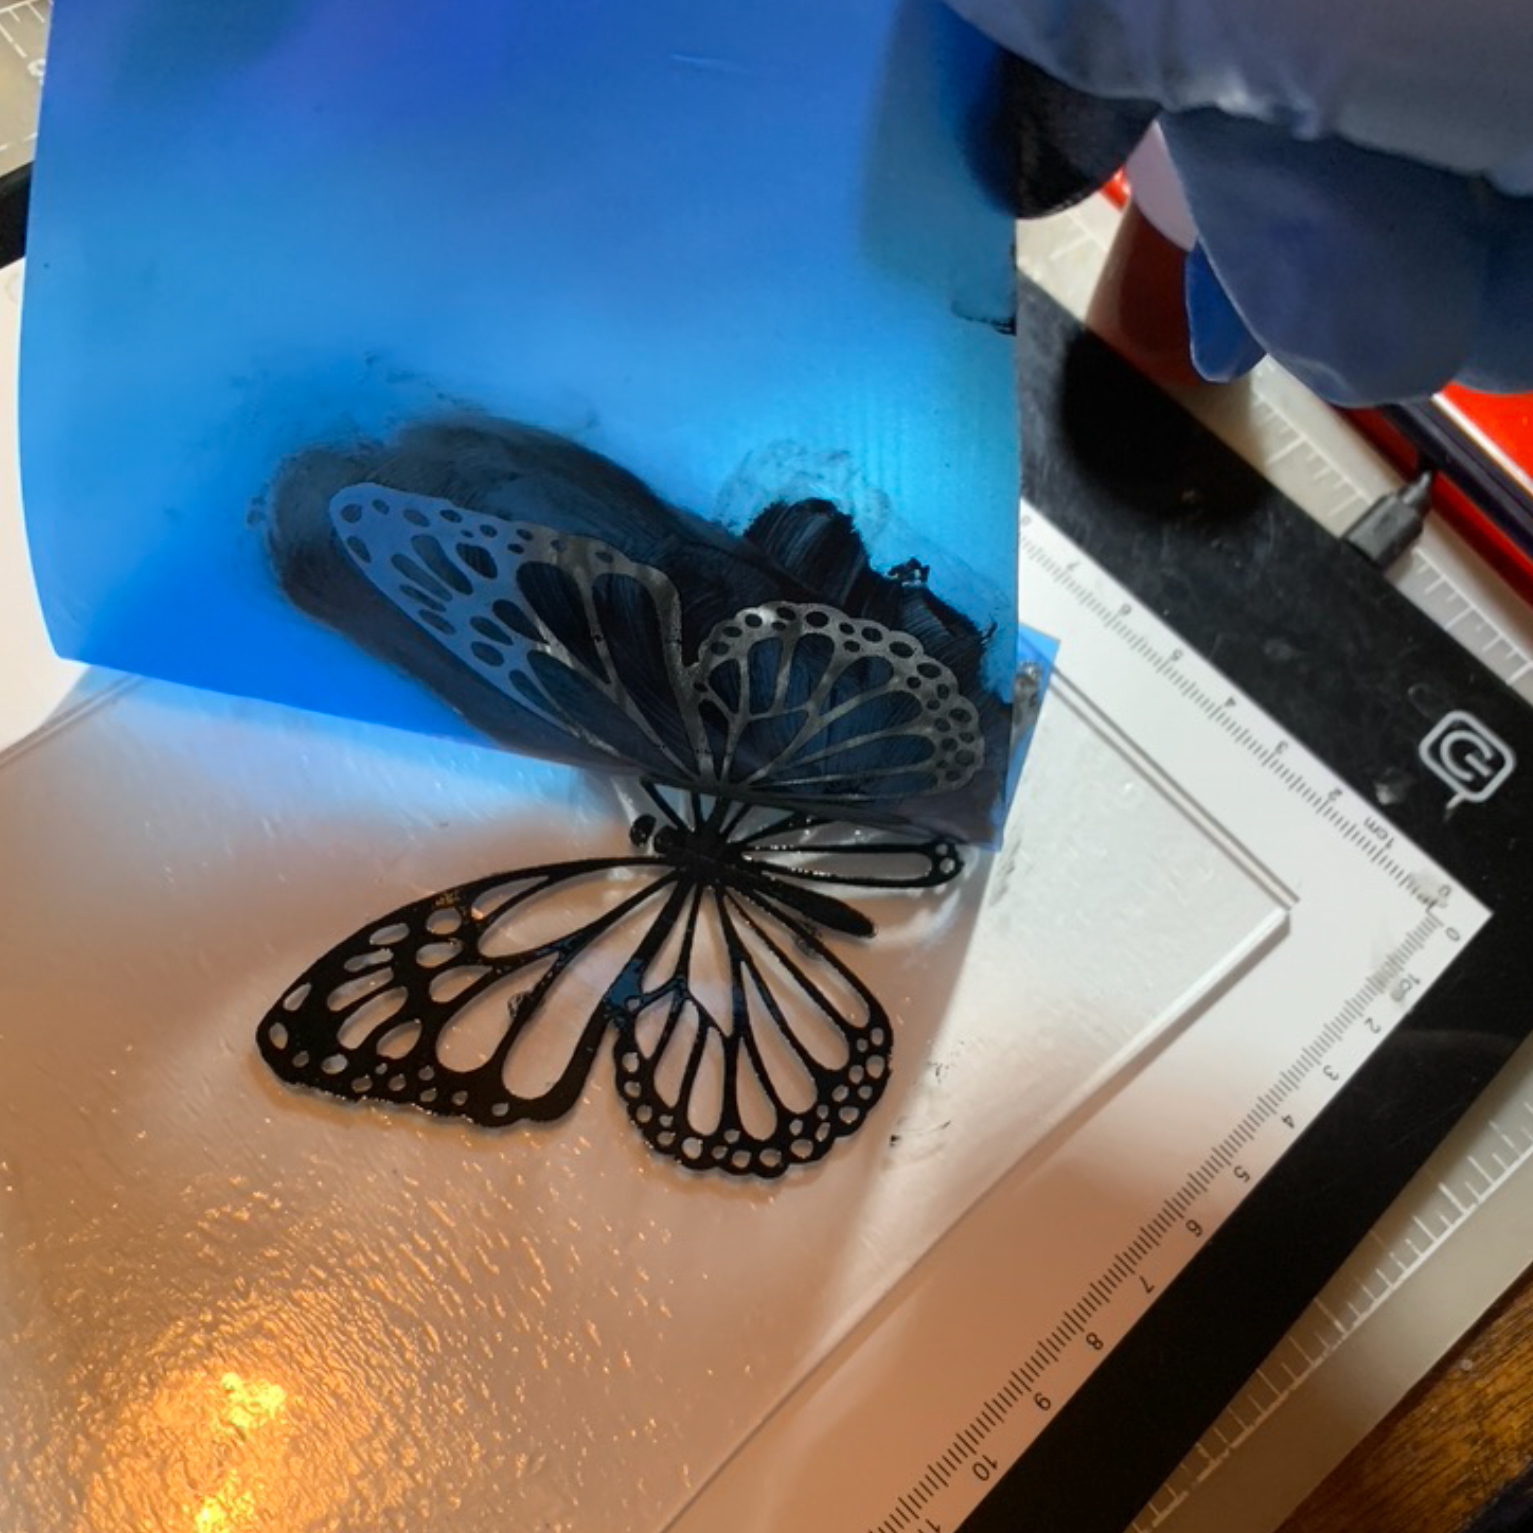
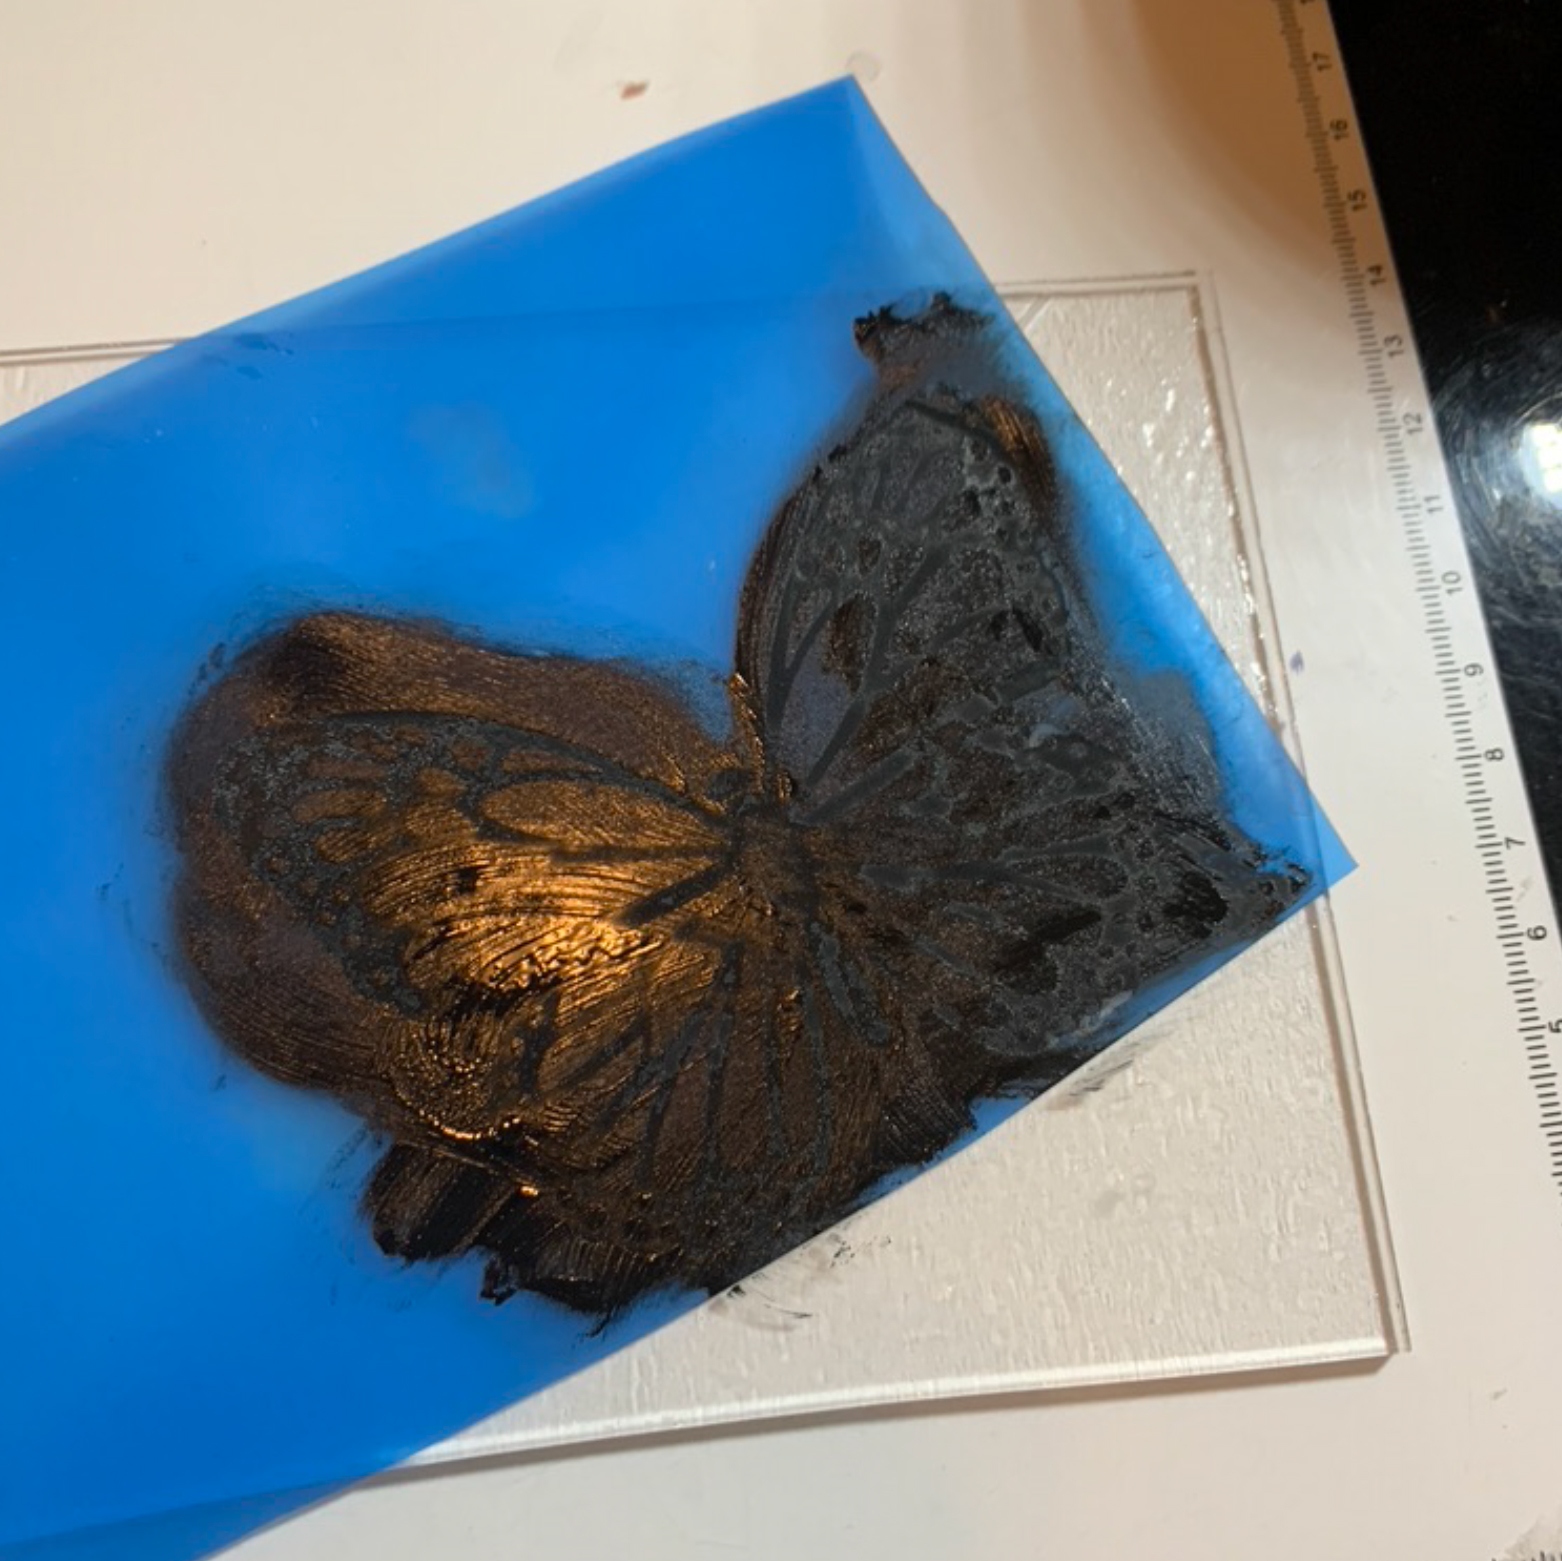
3. Remove and Clean Your Ikonart Stencil
After the entire image is completely and thoroughly covered you can remove the stencil. Wash the enamel off the stencil and replace your backer before allowing your stencil to dry. This will protect the adhesive so you can use the stencil again and again.
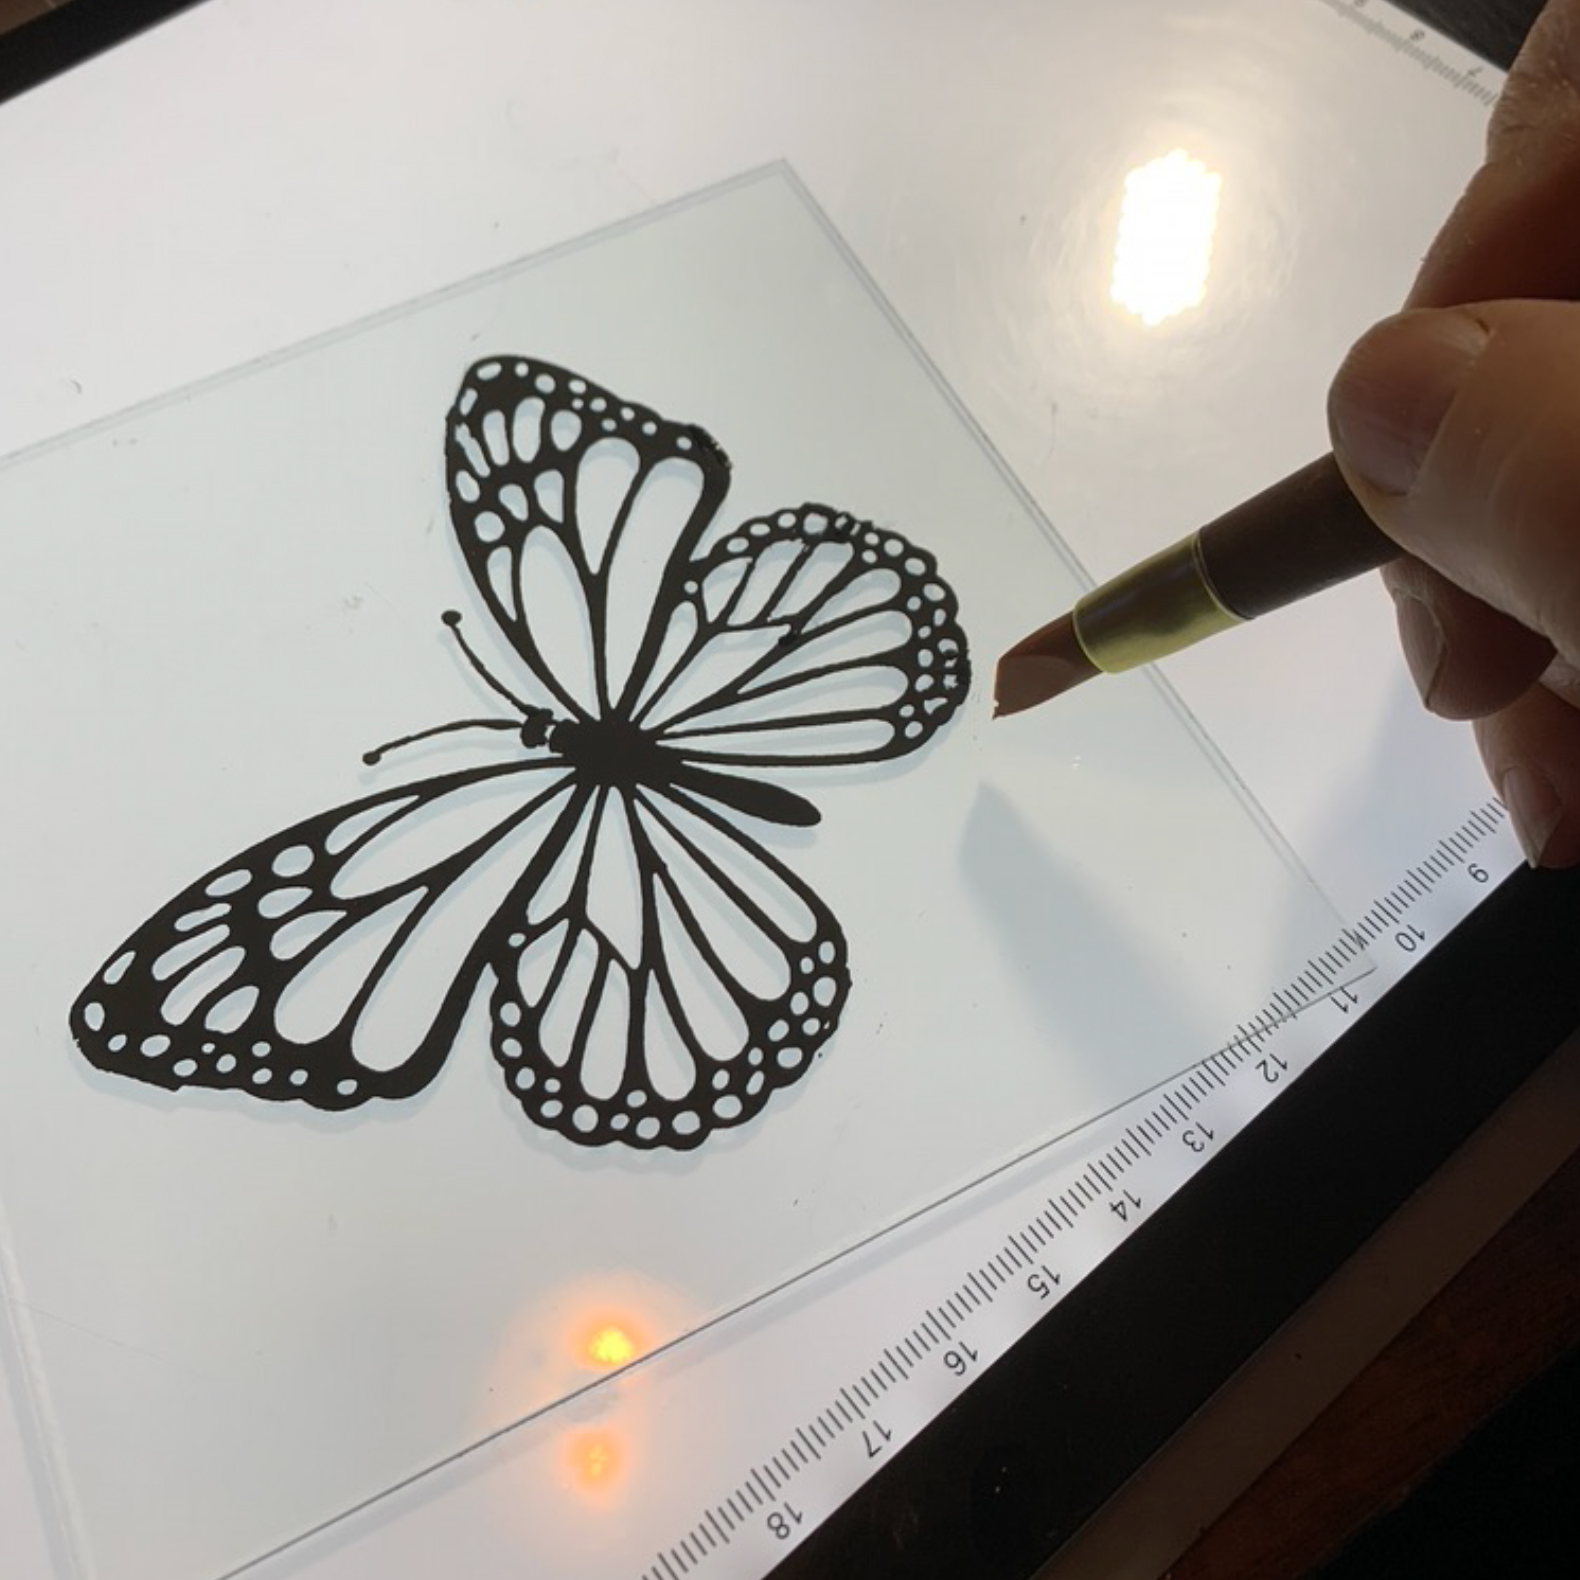
4. Dry Your Stenciled Design
Inspect all areas of the stenciled design to make sure it looks the way you want it to. It is helpful to have your glass piece on a lightbox so you can see all details clearly, or you can hold the glass against a plain white screen on a laptop or iPad. You can also place the glass on a plain white sheet of paper in a well lit area to inspect. This helps to see any imperfections you may want to tweak.
If necessary, use a small brush to add enamel in areas you missed, or remove any enamel that bled under your stencil. Allow this layer to dry for 2-3 hours.
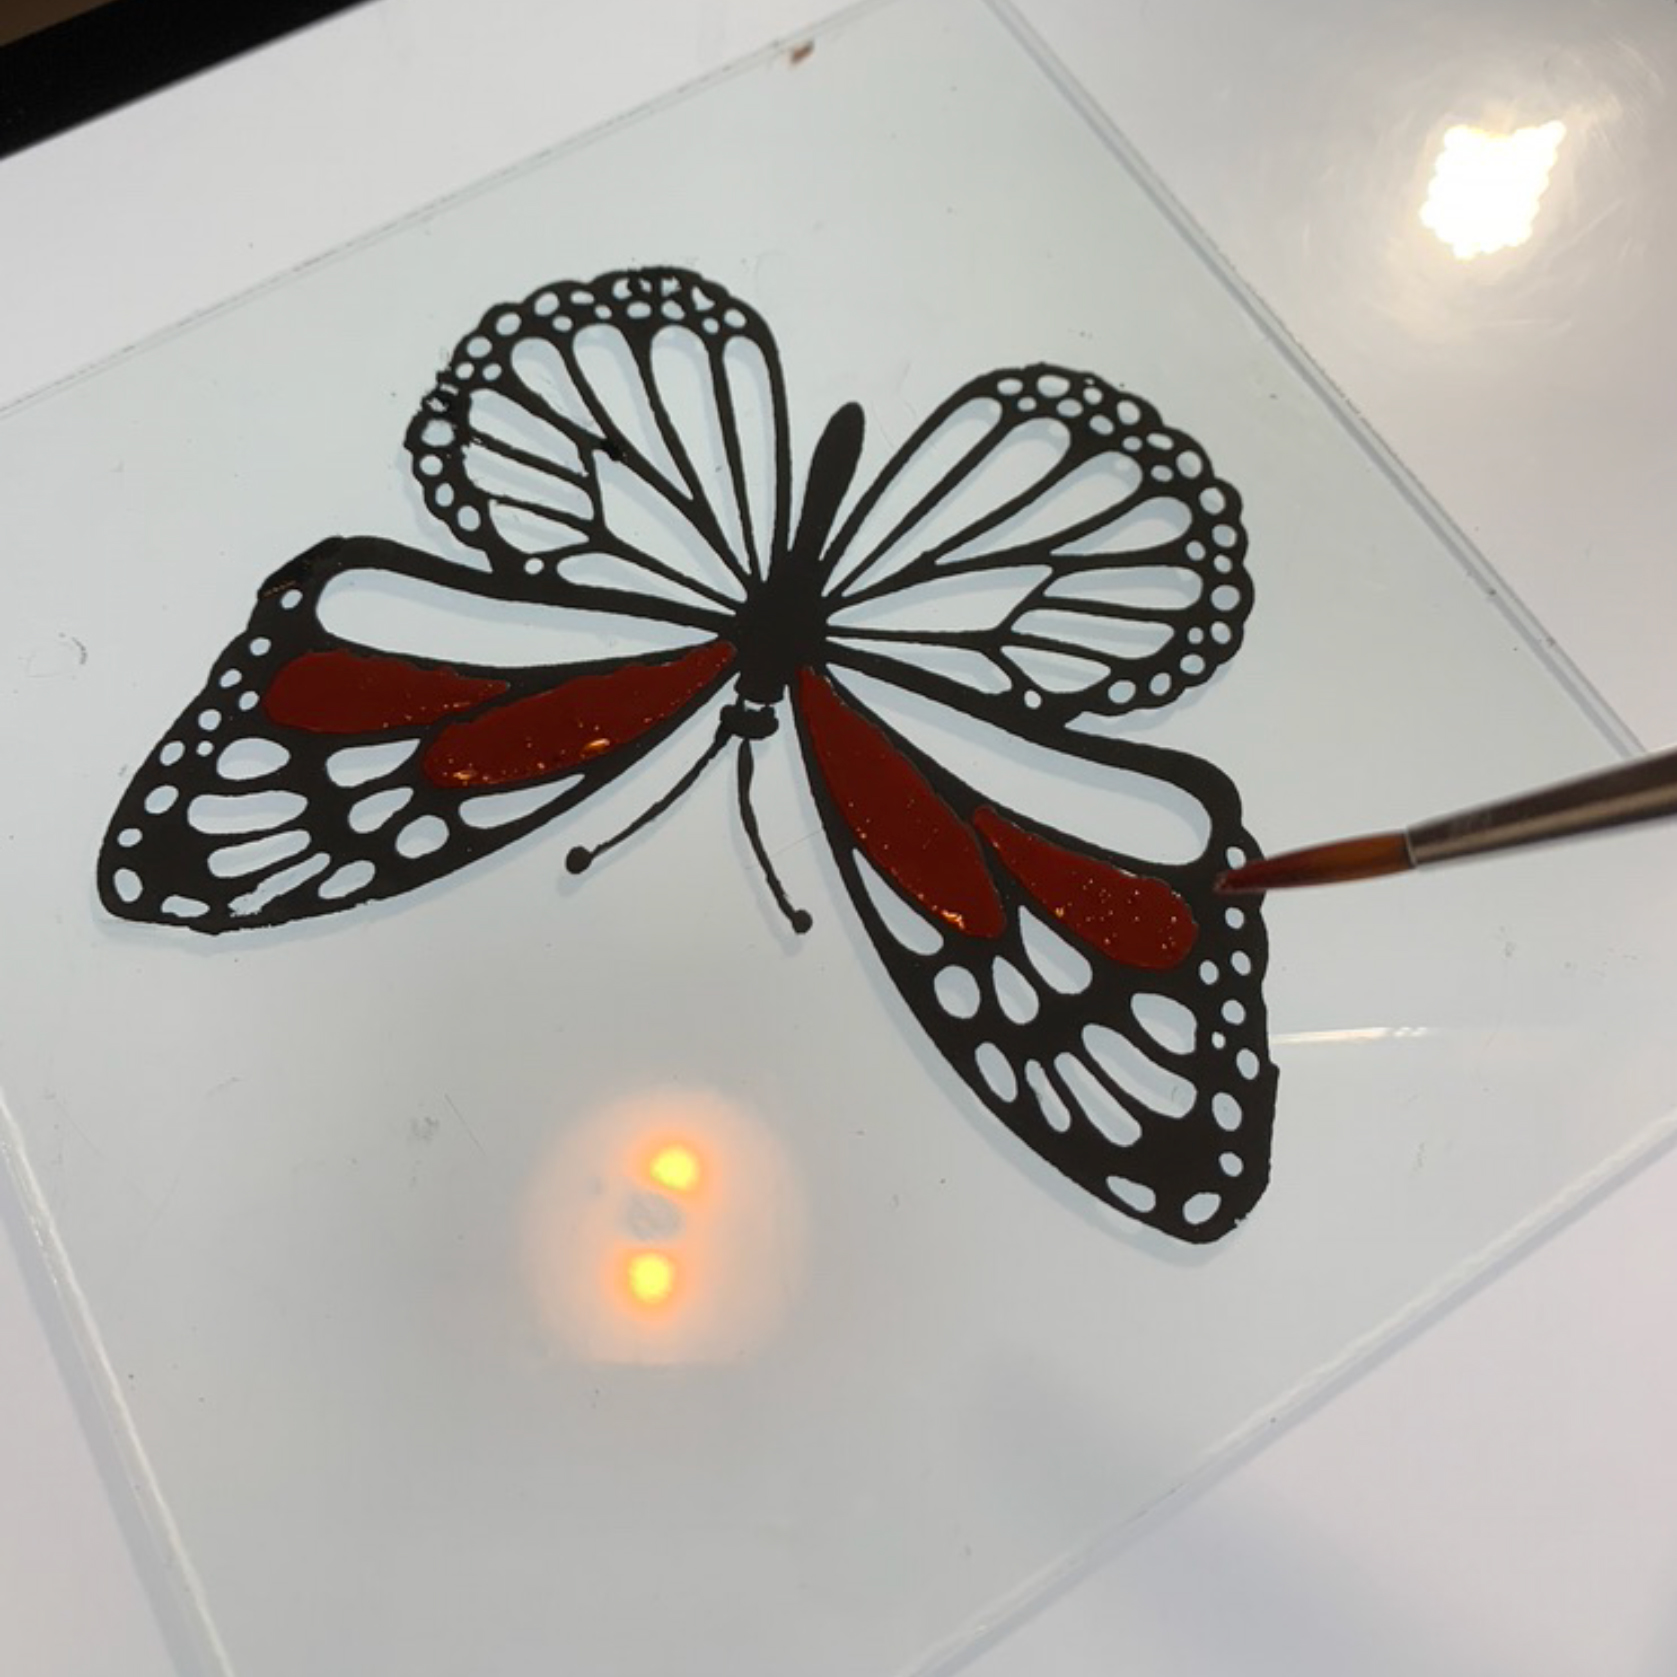
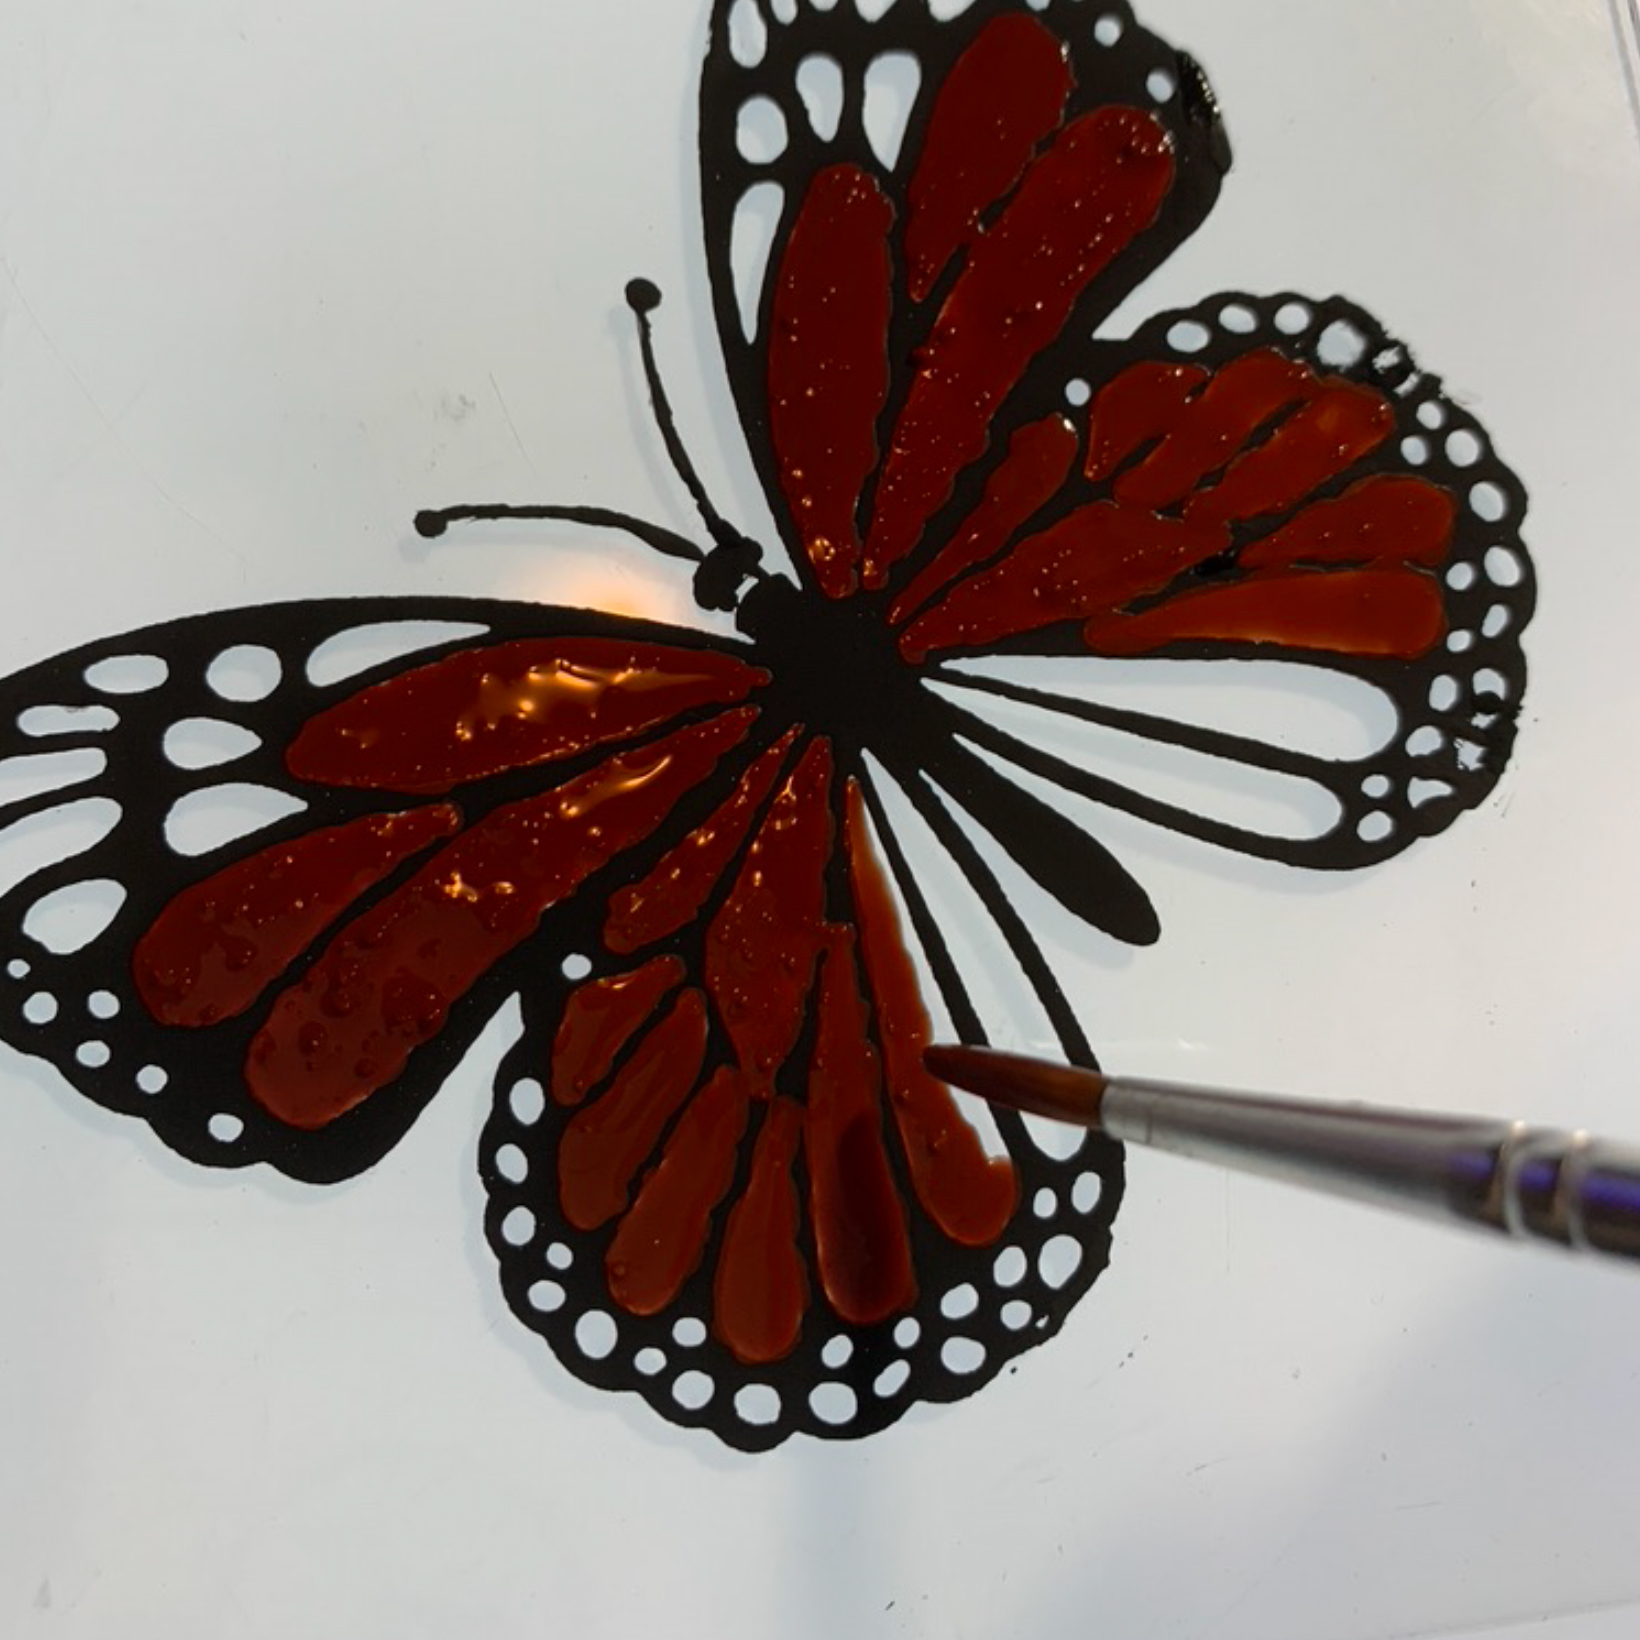

5. Fill In Your Stenciled Design With Color
Fill your image in with enamel colors being sure to cover all the way to the edges. A lightbox is very helpful in doing this to ensure no spaces are missed or disconnected. I also mix colors within an enamel color set to get my desired color shades and keep formulas the same.
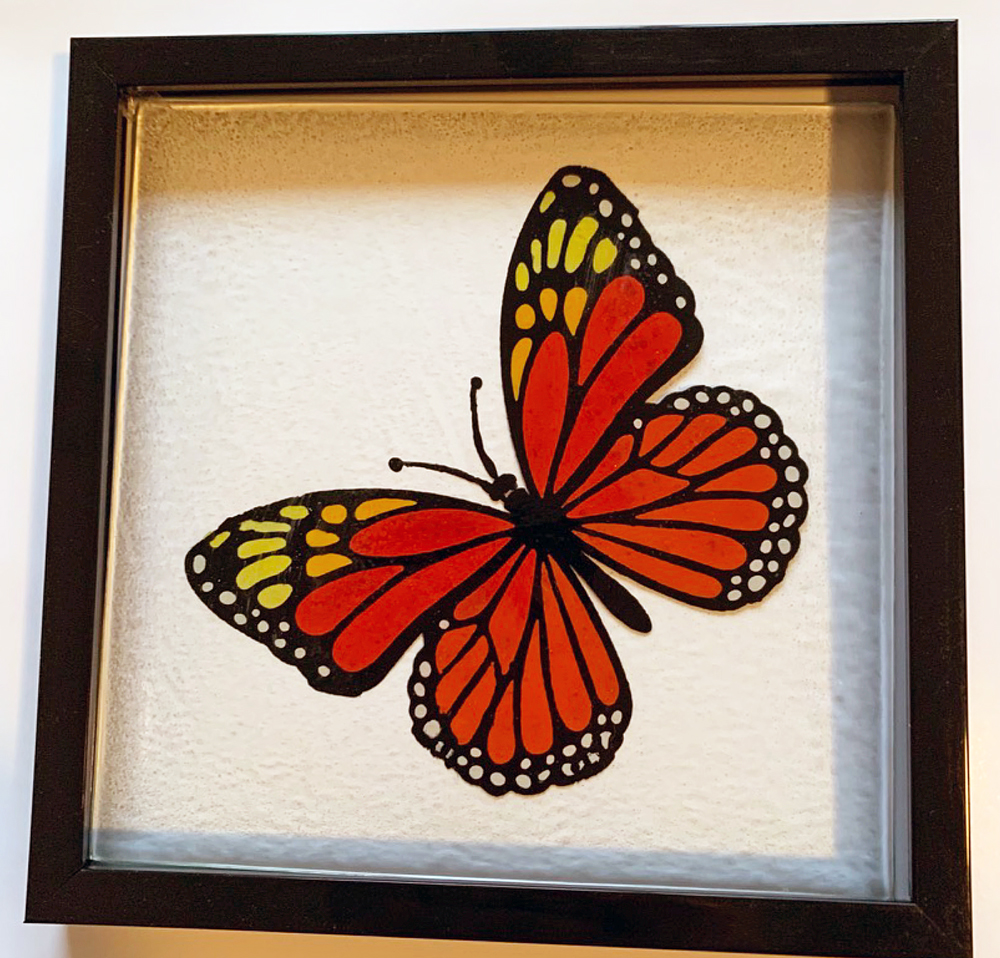
6. Fire Your Fused Glass Art
After you've finished filling in the image with your enamel, complete a full fuse in a kiln to cure/set the image using the appropriate temperature and firing schedule. The schedule I used for this piece was 400/1000/10; 350/1385/5; AFAP/1000/ 60; 300/300/1.
Make sure your piece has fully cooled before removing it from the kiln then return the glass to your frame and you have a beautiful floating frame fused glass art piece. I also posted some of my other stenciled fused glass projects in the Ikonart Crafters Facebook Group. Happy crafting!
If you have any additional questions about using your Ikonart stencils, please contact us or visit our Ikonart Crafters Group on Facebook.