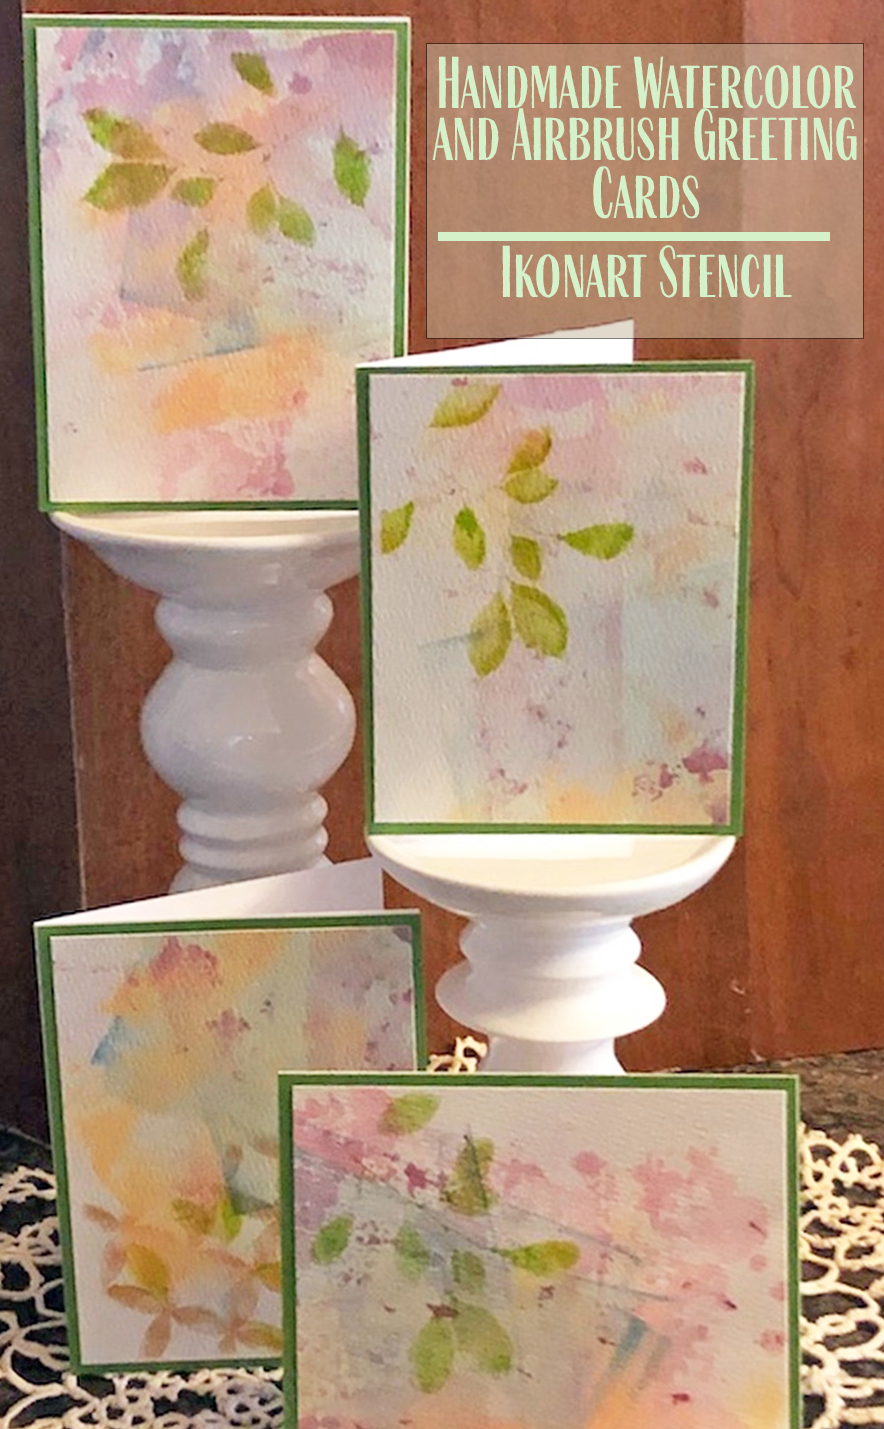
There is just something about giving and receiving a handmade card that feels extra special. The Ikonart Custom Stencil Kit makes it fast and easy to create personalized unique cards for all your friends and family to enjoy. No matter what type of handmade card you want to make - Valentine's Day cards, Mother's Day cards, Birthday cards, Christmas cards, Thank You cards, Wedding Cards, Graduation Cards, or Just Because cards - you can use Ikonart stencils to make them more unique.
Jan Hunter is a scrapbooker, papercraft artist and lifelong crafter with a knack for specialty cards. You can see some of her crafty creations on The Artistry by Creative Fabrica. In the following tutorial Jan takes us through her process of using a combination of a gel print background, watercolor brush pens, and her Ikonart Custom Stencil Kit to airbrush one-of-a-kind greeting cards.
Using Ikonart Stencils for Cardmaking
Hello, my name is Jan. I love creating unique handmade cards and today I am sharing a fun card making hack with you (scroll to the end of the post if you would rather watch a video).
Whether you are creating a one-of-a-kind background for the front of a card or creating a template to use multiple times in the future, using silkscreen stencils opens up your card-making skills to new opportunities that go far beyond layering stamps.
Here is what you will need:
-
Gel print background printed on copy paper (or make your own)
-
Ikonart Custom Stencil Kit
-
Artwork of your choice (preferably svg)
- Artwork design program (we used SCAL 5 Pro but Gimp, Inkscape or other programs can be used)
- Paper trimmer
- Low tack tape (blue painters tape)
-
Craftwell USA eBrush with adapters
-
Poetique Refillable Watercolor Brush Pens
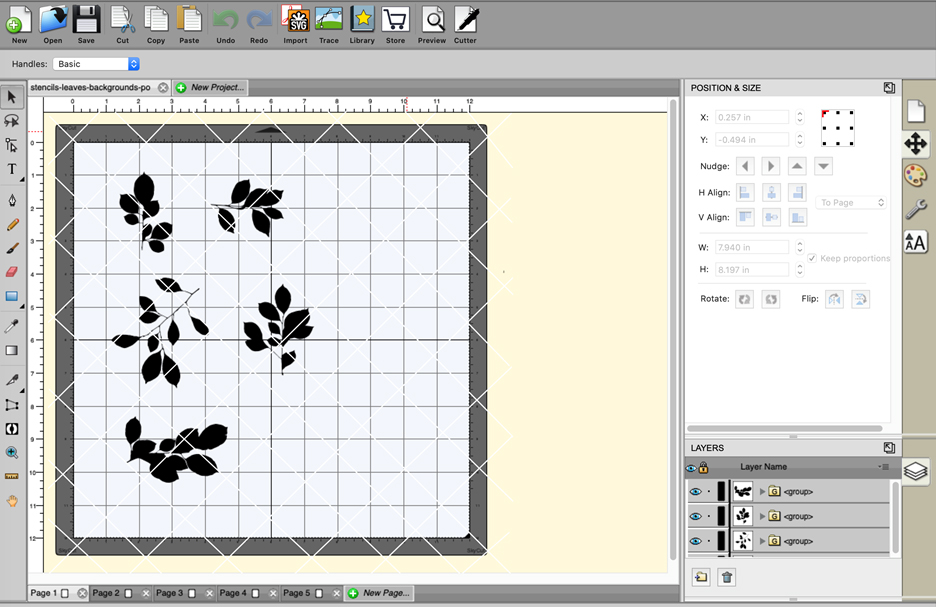
1. PRINT YOUR DESIGN
Open your artwork file in your design program. Adjust your size/scale, and make any other changes you would like to your design. Remember that the areas that are filled in black will be the areas that wash out when you expose your artwork on the stencil film.
When printing choose page setup and select your printer and the paper size. For this project I am using US letter 8.5x11 so I also make sure my printer default is set to US letter. For my Canon TS9500 printer I select US letter and Platinum Pro when using transparent film in the rear tray to print (your settings will vary depending on your printer but you want to adjust your print settings to print as dark as possible).
Place the printer film in the correct tray for your printer. Only put in one sheet at a time. In the window that opens select the correct printer, photo media type and best quality. You want to adjust your settings so that you are printing as dark as possible. Then select print. Check out these Inkjet Printer Tips or Laser Printer Tips if you are having issues printing.
2. MAKE YOUR IKONART STENCIL
Make your Ikonart stencil by following the instructions in the Ikonart Quick Start Guide. First expose the artwork onto the stencil film using the Ikonart Exposure Stand, then wash out your stencil to reveal your design. Allow the stencil to completely dry, and do not forget to post-expose your stencil before use. Follow the videos on the Ikonart 101 page if you are having any problems making your Ikonart stencil.
3. CREATE YOUR CARD BACKGROUND
For this card I made a gel print then scanned it into my computer and printed it on a full page of copy paper. Then I trimmed it in half both ways, so I got four card fronts from one sheet of printed paper. I linked this background image above in the supplies list if you would like to use it, or you can create your own using a gel plate and desired medium.
Side note: Gelli plate printing is a printmaking technique where you roll or brush acrylic paint or ink onto a gel slab, then use that to add different colors, textures, and patterns to your paper. Search Google or YouTube for "gel printmaking" or "gelli plate printing" to learn more about this fascinating card making technique.
4. AIRBRUSH WITH IKONART STENCILS
Once you have your background looking the way you want you are ready to add your stencils! For this card I am going to airbrush my design on top of my background.
Remove the backing from your stencil and place the stencil down on your card front with the textured side facing up. Make sure your stencil and card are completely dry so the stencil doesn't stick to the card (there is a light adhesive on the back of the Ikonart stencil). If needed, use a bit of low tack tape to prevent any paint or ink from getting into the other areas of the image.
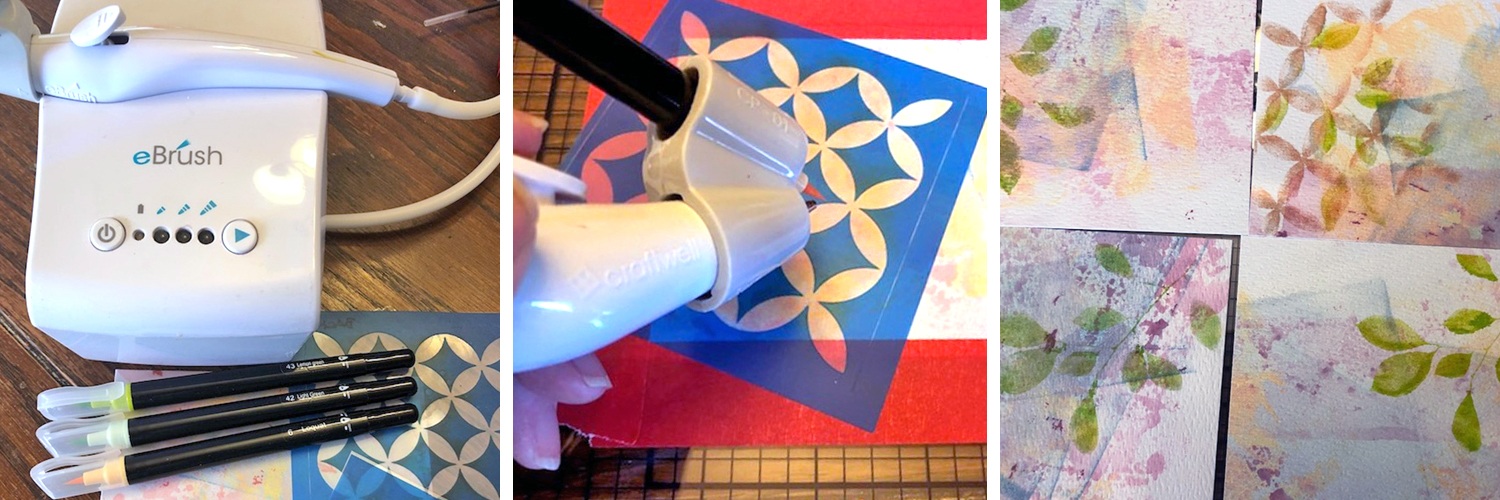
You can use any water-based paint or ink to stencil on your design, but for this card I am using an eBrush to airbrush on my design for a truly unique look. The eBrush is an airbrush system that uses markers, and the adapters can accommodate most markers used by crafters.
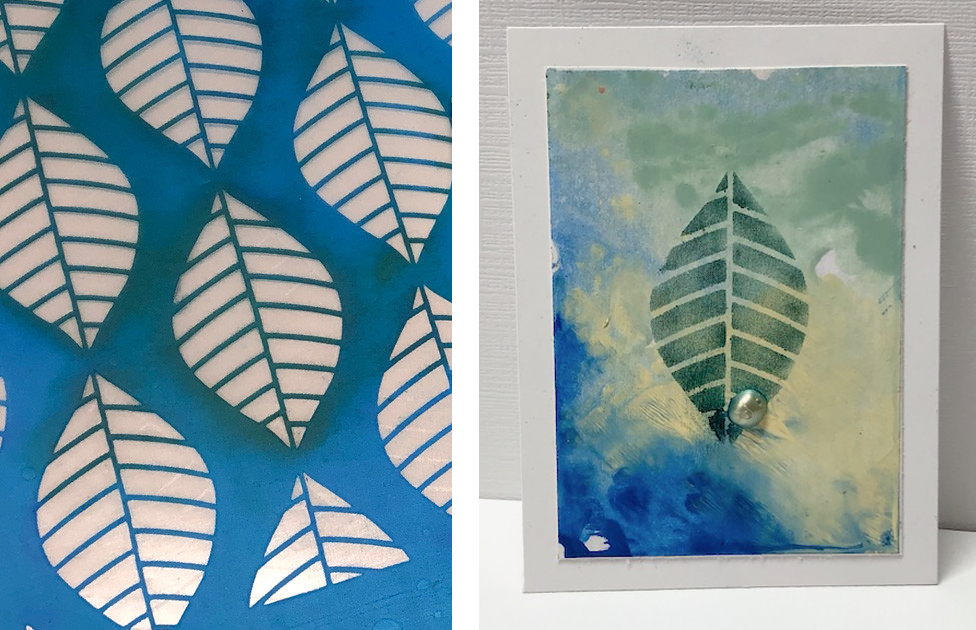
For this project I’ve selected the Poetique Refillable Watercolor Brush Pens. Select the lightest color and seat the marker in the adapter of the eBrush. Test the flow of the color. Once you have the marker seated correctly, fill the open sections of the stencil. Add another color marker to the eBrush and repeat. Move the stencil and repeat if desired.
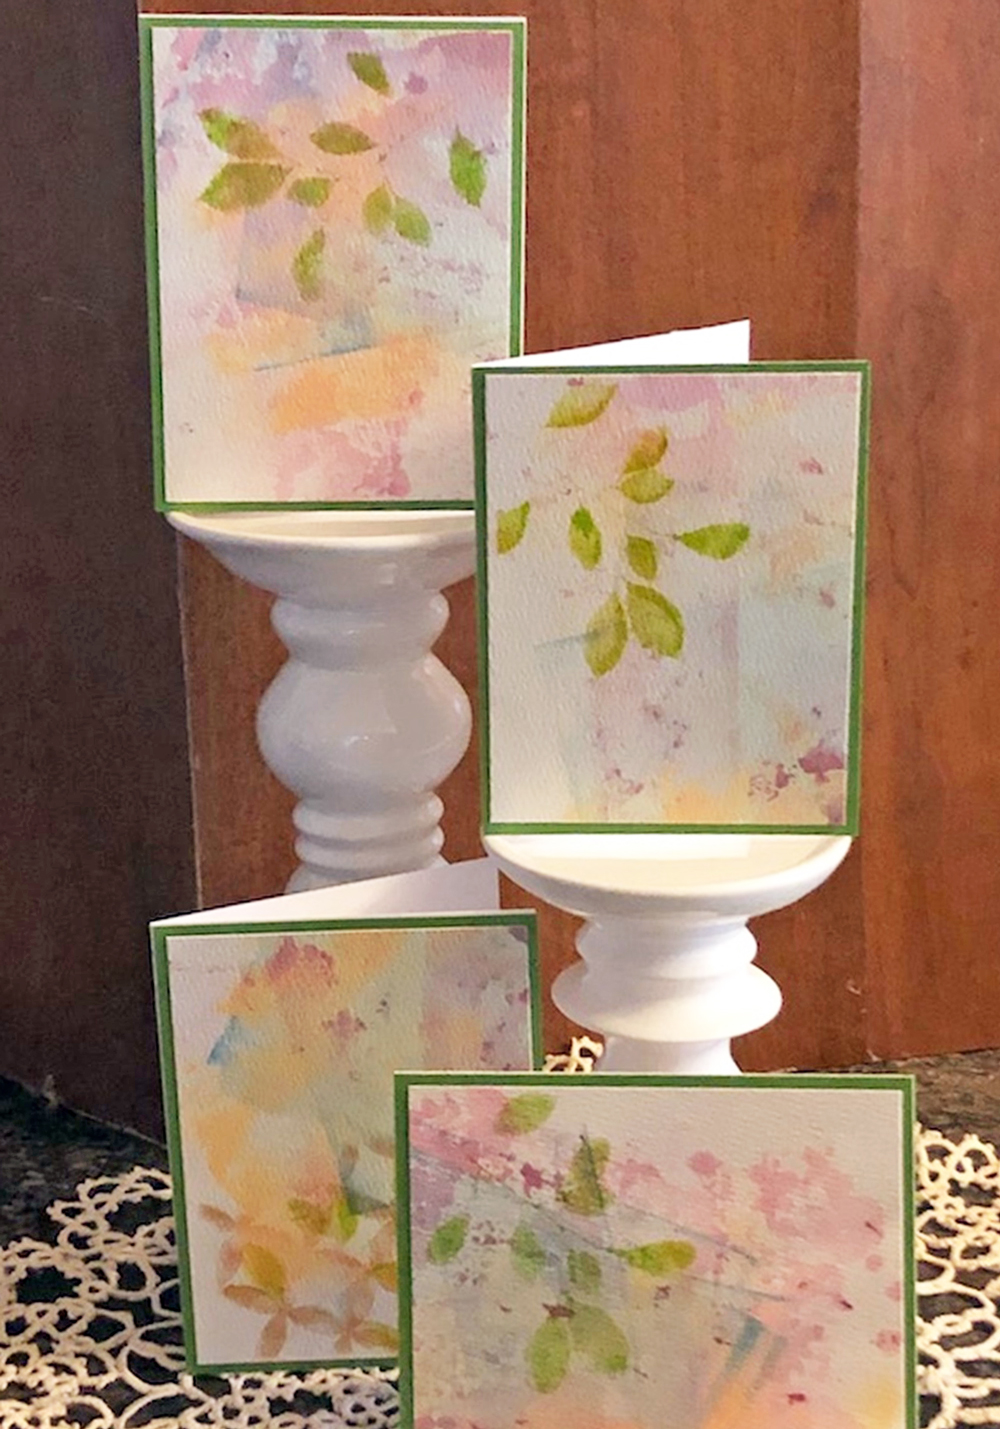
For the cards pictured above I didn't move the stencil but I sprayed it with two different shades of green to add dimension. At this point you can use additional stencils to add a sentiment, quote or personalization. Then mount the image you created to a blank card base to complete your card.
Try using a different stencil on this same background for a different look, or come up with your own handmade card creation. You can see in the examples below how I used the same Ikonart stencil for two completely different cards.
I love creating one-of-a-kind backgrounds with layered stencils to add more texture and depth to my cards. Plus the stencils are reusable, so I can make future prints on gessoed card stock, sketch paper, vellum, presentation paper copy paper or even photo paper. The possibilities are endless with Ikonart. Just let your imagination take you to the next level of handmade cardmaking!
For more card crafting inspiration please visit my blog. Happy Crafting!
Jan Hunter
Nurturing Greatness & Creativity Every Day