
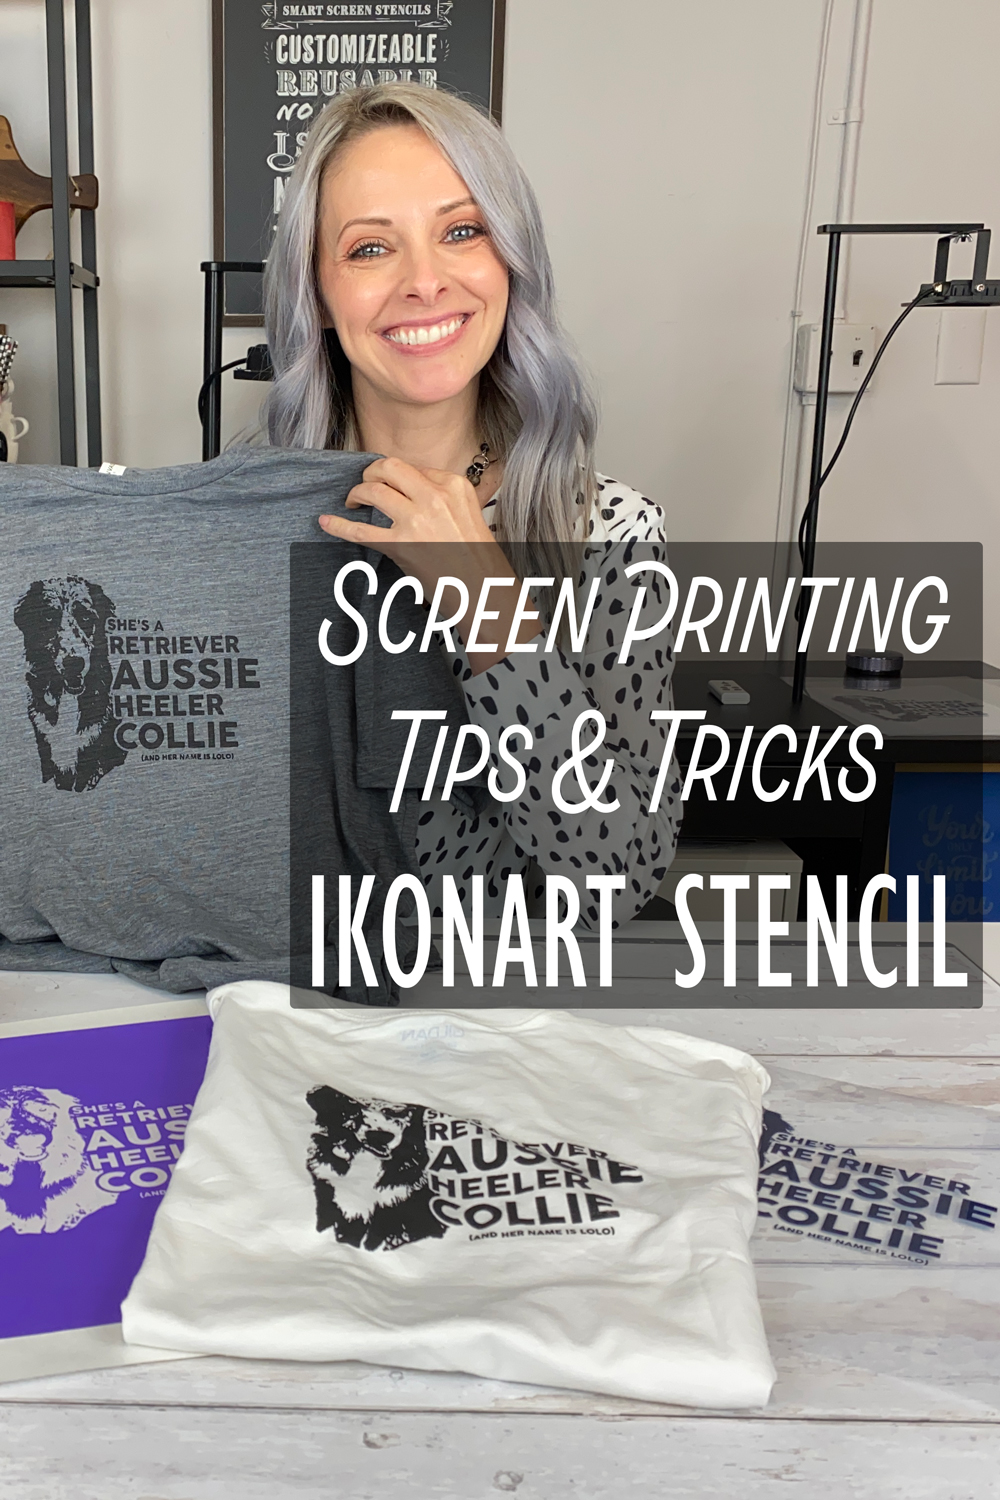
Screen printing doesn't need to be hard and with Ikonart it's not. It never ceases to amaze me how easy it is to customize shirts, tea towels, throw pillows and other fabric with the Ikonart Custom Stencil Kit. No more messy emulsions, reclaiming screens, or weeding vinyl stencils.
With Ikonart you just print your design, expose your stencil film that has the emulsion already coated on the screen, and washout your design. Once your stencil dries you have a reusable silkscreen stencil and you're ready to screen print. Here are some tips I find helpful when screen printing with Ikonart.
> Video: Beginners Guide to Making Ikonart Stencils

Ikonart Textile Stencil Film for Screen Printing
Before you get started with screen printing your shirt you will need to make your screen printing stencil. We recommend the purple Ikonart Textile Film for screen printing on fabric. This film has a sturdier mesh and stronger adhesive than our original blue stencils. Our purple film was designed specifically to use for DIY screen printing on fabric. If you are just getting started with screen printing we also recommend our Ikonart Textile Add-on Bundle. This bundle includes the purple Ikonart Textile Film, a Tacky Textile Mat, a Black Silicone Squeegee and a tub of Speedball Screen Printing Ink in black. I use all four of these items every single time I stencil on fabric.
> Video: Difference Between Blue & Purple Stencil Film
Screen Printing Ink for DIY Screen Printing
After you make your stencil you will need to choose your ink. And yes, your ink choice matters! Make sure to use a paint or screen printing ink that is meant for fabric. We sell Speedball Fabric Ink and Speedball Opaque Fabric Ink on our website, but there are many options and brands out there. If you try one brand and don't like it, we recommend trying another brand. You might find you prefer one over another. Just because one didn’t work for you, don’t give up!

Tips for Screen Printing with Ikonart Stencils
Now that you have your Ikonart stencil made and your screen printing ink picked out, it's time to screen print! Here are our top tips for screen printing your own tshirts, tea towels, throw pillows, or whatever fabric you want.
> Video: Screen Printing Tips for Beginners - Screen Printing with Ikonart
- Tacky Textile Mat: I always, always use a Tacky Textile Mat when I screen print. I place the mat in between my shirt or under my fabric to hold my fabric in place, which makes using my stencil so much easier. The tacky mat also protects my fabric from bleed through. For example, if I am screen printing a tshirt it protects the ink from bleeding through the front of the shirt onto the back of the shirt. I like to have a couple of these on hand in case I want to screen print multiple items at the same time.
- Tshirt Ruler Guide: Of course you can eyeball your design placement, but when I want to be exact I use a Tshirt Ruler Guide to make sure my design is straight and centered on my shirt or surface.
- Squeegee Choice: I prefer using our black silicone squeegee when screen printing. Each side of the squeegee is a different size, so I find it works great for a wide variety of projects. However there are a lot of options available when it comes to squeegee choices, so if you are going to be screen printing a lot of shirts or mounting your screen in a Speedball screen printing frame, then you may want to try a larger screen printing squeegee.
- Squeegee Pressure: Your pressure matters!! If you push too hard your stencil could buckle and then you will get bleed, but if you push too light the ink might not go through your screen. I can't stress this enough... practice practice practice!! Start with a scrap piece of fabric and practice first. You can always wash off your stencil and reuse it again and again, so don't be afraid to practice first!
- Lift & Look Method: We recommend using the “lift and look” method when screen printing with Ikonart. After you cover your entire design with ink, start from once corner and lift up your stencil slowly while looking at your design as you lift. If you notice a spot needs more ink/paint, just lay your stencil back down and add more. This is easier to do before you remove the stencil completely because then you don’t have to worry about trying to realign your stencil with your design.
- Painters Tape: If my design is close to the edge of my stencil and I'm worried about ink getting on my shirt around the edges, I just use painters tape to tape the edges of my stencil. If you do get a little ink on your shirt, just quickly wipe off with a rag and water before the ink dries.
Screen Printing Multiple Colors
If you are are screen printing a design with more than one color and each color is on a different stencil, make sure the first layer is completely dry before doing the 2nd layer. I use a hair dryer or heat gun if I am in a rush, but I prefer to just let each color air dry for a few hours or overnight in between layers. Just remember that if you use a heat gun and you have a tacky mat in your shirt, don't hold the heat gun too close and use a low setting so you don't melt/warp the tacky mat (talking from experience!).
If you are screen printing multiple colors and all your artwork is on one stencil, you can use painters tape to block off the parts of the stencil design that are different colors. This is a little more time consuming than making multiple stencils, but it does work.
In our other blog post, 4 Ways To Register Colors When Screen Printing With Ikonart we show a few different methods for creating multi-colored designs, videos included.
> Video: Screen Printing Multiple Colors with Ikonart

Screen Printing Multiple Shirts at Once
If you would like to screen print multiple shirts or multiple items at one time without washing out your stencil in between prints, one method is to mount your stencil in a Speedball screen printing frame. I use our blue Ikonart Stencil Film when using this method because it is more flexible and easier to mount in the frame using the spline. However you could also use the purple film and just tape it to the frame using masking tape, or you can also use the purple film on it's own without a frame.
> Video: Screen Print Multiple Shirts with Speedball Frame
> Video: Screen Print 17 Family Reunion Shirts with Textile Film
Heat Setting Speedball Fabric Screen Printing Ink
After you are done screen printing and your ink dries, you can heat set the ink to finish curing it and make it more durable. You can use a heat press, Cricut press, household iron, or heat gun. Take a look at our other blog post, 4 Ways to Heat Set Screen Printing Ink to learn more about using each of these methods.
> Video: Heat Set with Cricut Mini Heat Press
If you have any additional questions about screen printing with Ikonart you can contact us directly anytime, or join our Ikonart Crafters Group on Facebook for more screen printing tips and examples from other Ikonart crafters.
.