Using multiple colors on a project may seem intimidating at first, but it doesn't have to be. Whether you're ready to try using multiple stencils for a layered design or just looking for an easy way to "hack" the multi-colored look with just one stencil, we've got you covered.
In this blog post we're sharing four simple ways to register multiple colors when screen printing a shirt. Each video referenced can be found either on our YouTube channel or in the Ikonart Crafters Facebook Group.
4 Ways To Register Colors When Screen Printing With Ikonart
We have tested four different ways to screen print with Ikonart stencils: keep your artwork all on one stencil and tape off parts of your design, use part of the artwork on both stencils to register, add registration marks to your stencils, or simply eyeball it. Which one you decide to use will depend on your artwork and your preference.
1. Use Tape To Block Part of Your Design
Our first method to make a multi-color using Ikonart shows reusing one stencil to apply each of your colors. This technique is a great way to save your stencil film and still get the layered look of multiple stencils. Stencil your first color and let it dry overnight (or use a heat gun on low heat to speed up the dry time). Wash your stencil and let that dry too. When your first color and stencil are completely dry, put your stencil back on your shirt (using the areas of the stencils that you applied the first color to as a guide to line it back up right), then just tape over the areas that you don't want inked with the second color.
2. Put Part of Artwork on Both Ikonart Stencils
This video focuses on using part of your artwork on two Ikonart stencils to ink multiple colors in a logo design. For this logo design we opted for two stencils to make the screen printing process go faster (so we didn't have to be super careful trying to add the blue water to the Y) but we still needed the colors to line up exactly. In order to achieve this we kept the "H" and the "D" on both stencils and then used those two letters to help line up the second stencil. Before adding our second color we taped over those two letters.
Here is another example of this method done on a metal sign using chalk paste. Chalk dries much faster than screen printing ink so you don't need to wait as long to apply the second stencil and you won't need to worry about scuffing up the previously laid ink as much. Just like before, a portion of the first stencil is also kept on the second stencil to help line up the design in the exact location (rather than eyeballing it), and then it is taped off to avoid the chalk paste.
3. Use Registration Marks To Screen Print Two or More Colors
Using registration marks is another way to line up multiple colors so that your design placement is perfect every time. First add small squares to the same place on each of your stencils. Then apply tape to your shirt or sign where those little square mesh openings are so the ink doesn't reach the actual project. When you add your first color make sure to screen print over those squares to leave removable marks on the tape that you can use to line up your second (or third or fourth) color.
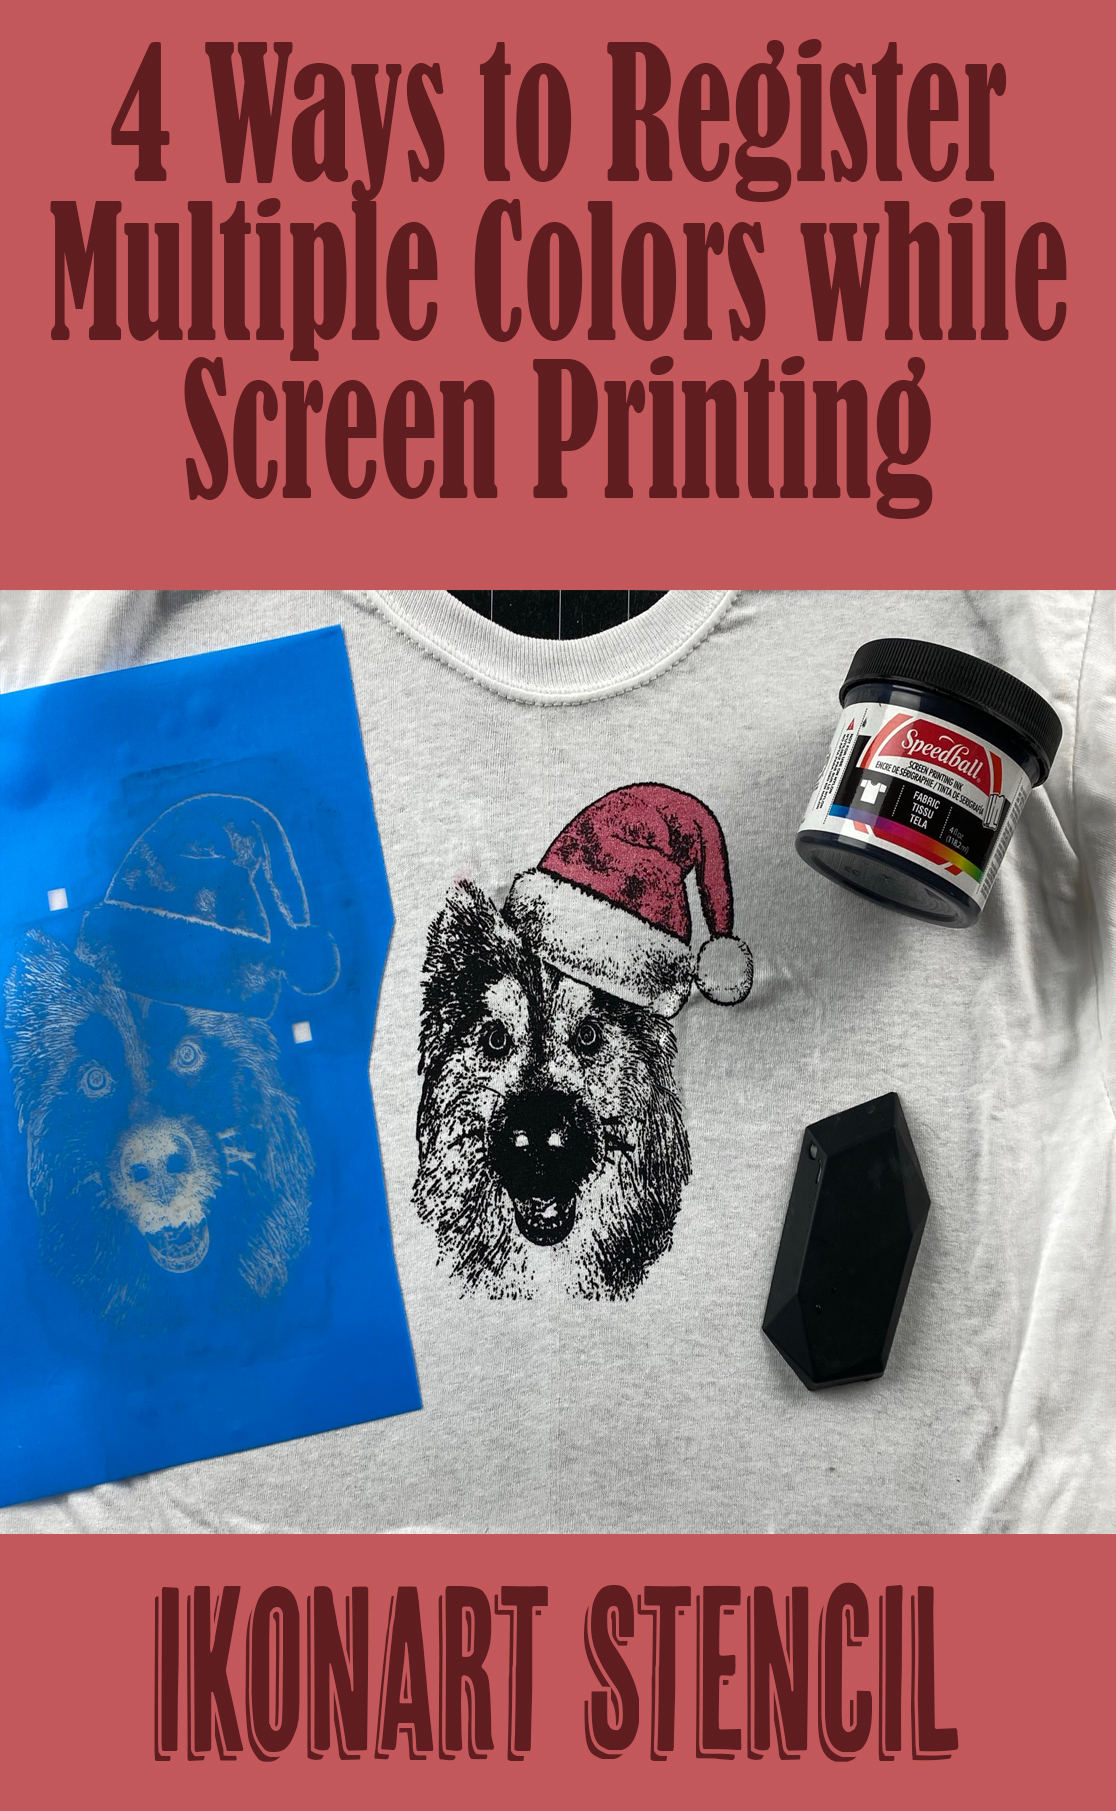
Here is another example of using registration marks to line up two colors where the artwork has to line up exactly. This video comes from our Facebook group, and shows using registration marks on a custom pet design. Each of these videos feature two stencils and two colors, however this technique can be done with as many colors or stencils as you'd like, just be sure to allow the inks to dry thoroughly between colors to avoid any smudging when applying more stencils.4. Eyeball It
Our last method for using multiple colors for one design is to simply eyeball it! This method is great for layering stencils on top of each other when the exact placement isn't critical. In this video, we walk you through the steps of separating design layers on your computer to make multiple stencils. From computer file to finished sign, this video shows that layering multiple stencils for a design doesn't mean each one has to be lined up perfectly. You can achieve beautiful results by simply eyeballing it.
Here is another example of how to layer multiple colors using Ikonart stencils. For this tote bag we used our free Retro Flowers SVG and layered the two stencils on top of each other. This video shows how to get the artwork, set it up in Vectr, and screen print two different colors using Speedball Fabric Ink and a Tacky Mat.
For more tips and tricks for using your Ikonart stencils on shirts and fabric please check out our blog post, Tips for Screen Printing with Ikonart. If you have any additional question about using your Ikonart stencils to screen print multiple colors, please contact us or visit our Ikonart Crafters Group on Facebook.