
Ikonart can be used in a lot of different ways, but one of our favorite ways is wood signs. Ikonart can increase the efficiency of your wood sign making business because you can use one stencil to make many signs in a row without needing to weed any vinyl. Today we are showing you that even if you make multiple signs using the same stencil, all the signs do not need to look exactly the same or be the same size.
In this blog post Jess with Shine Designs Customs shows us how to use one Ikonart stencil to make four different sized signs without washing out her stencil in between signs, then she shows four different ways to embellish those signs to get four completely different looks using just one stencil. Jess is a master sign maker and she shares all her best wood sign making tips and tricks in her Facebook group, Reusable Stencils + FREE SVGs | Shine Designs Digital Creative Community.
Using One Ikonart Stencil For Different Sized Signs
Hello, my name is Jess. While doing a Facebook live last month, someone asked me if it was possible to create different sized signs using the same size stencil. I’m here to tell you that it’s totally doable and fun, it just takes some creativity!
For this project I am making four different sized signs. I used boards that were (roughly): 6”x8”, 6”x12”, 5”x4”, and 4”x7”. For paint, I use Folk Art Chalk Paint almost exclusively for both base coats and stenciling.
Watch Video: I created these four signs during a Facebook Live over in my Shine Designs Creative Community Facebook Group (you will need to be a member of the Creative Community in order to view the video). This project and conversation starts at the 45:45 minute mark.
Make Your Ikonart Stencil for Your Wood Sign
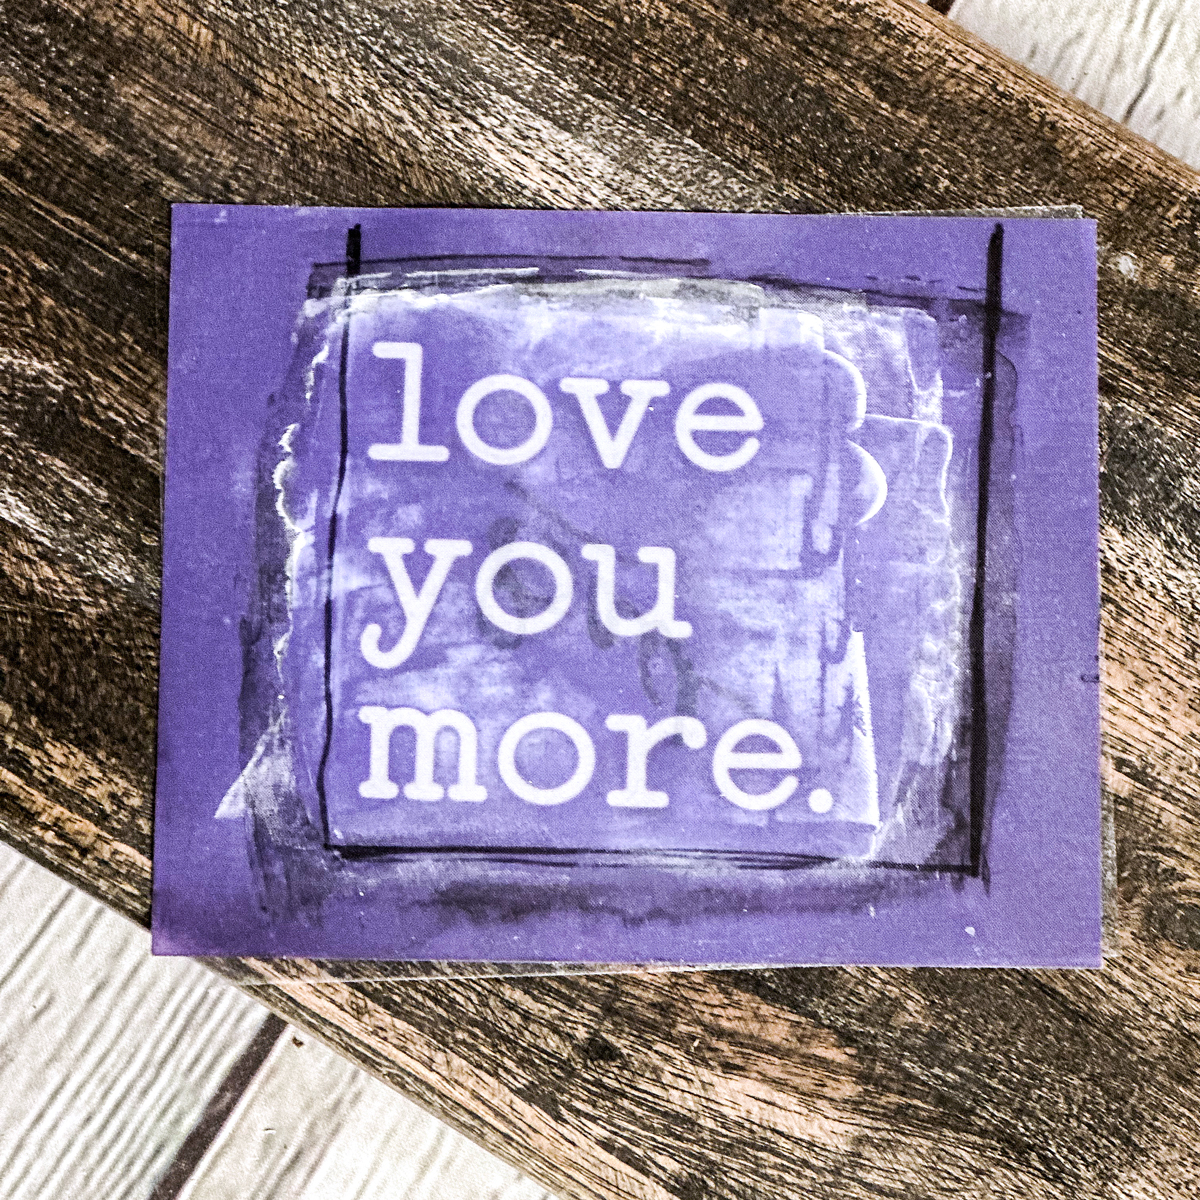
I made the stencil for this project on the purple Ikonart Textile Film with a design that is roughly 3”x3”. This was made with an SVG from the free file library on my Shine Designs Maker’s Hub, but you can also download the Love You More SVG bundle from Ikonart's Free Artwork page.
If you’re like me, when you’re creating stencils, you usually have a little bit of extra room on both your printer sheets and your stencil films. When this is the case, I find smaller elements that I can print out and make into small filler stencils to be used on later projects. I will be using one of those filler stencils later on in this project.
If you are new to making Ikonart stencils, check out the Ikonart Demo Videos for step-by-step instructions.
Base Coat and Stencil Your Wood Signs
For these signs I already had the base coat painted and sanded. To see exactly how I base coat my signs, check out my other blog post on the Ikonart blog, Tips for Creating Wood Signs with Ikonart.
Once you boards are prepped, all you need to do is find a stencil you’d like to use and a few wood pieces in various sizes and colors. Then imagine where on each board you would like to place your stencil. I mixed it up a little bit for each one. I put some in the middle and some towards one side.
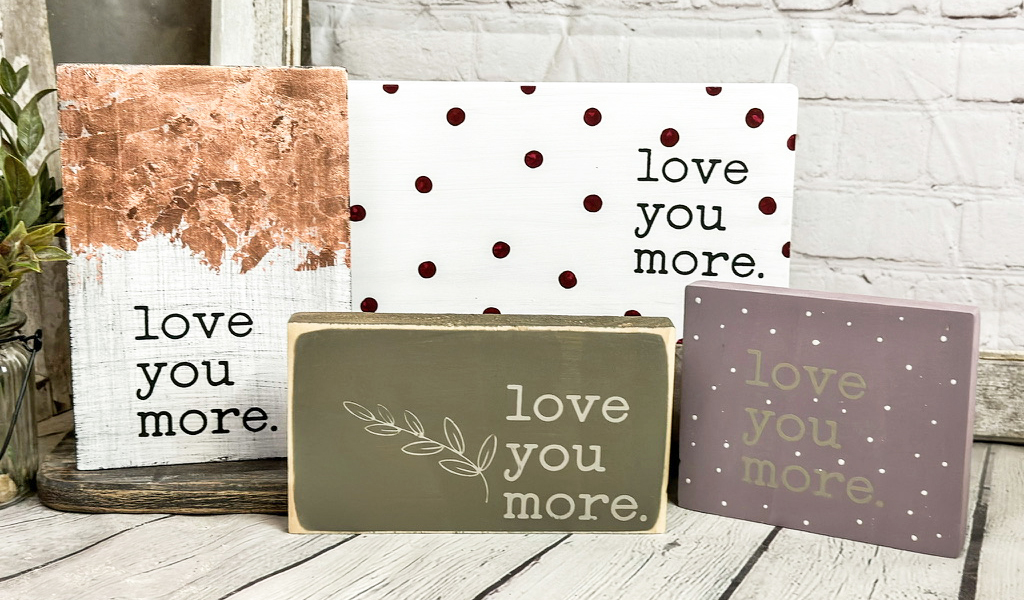
First up, I stenciled the “love you more” on the purple and the green pieces of wood with a light tan color (Folk Art Castle), followed by using the same stencil with black paint (Folk Art Rick Black) on the two white boards. When going from a lighter color to a darker color there is no need to wash out your stencil between signs.
Add Embellishments To Your Ikonart Wood Signs
Now it’s time to get creative! Depending on where you placed your stencil and what size your board is, you may have some blank space to fill in on a few of your boards.
For example, a 3” stencil on a 6”x12” board is going to look fairly small. This is where those “filler” stencils and creativity come into play! Here are four different way that I added embellishments to these four signs.
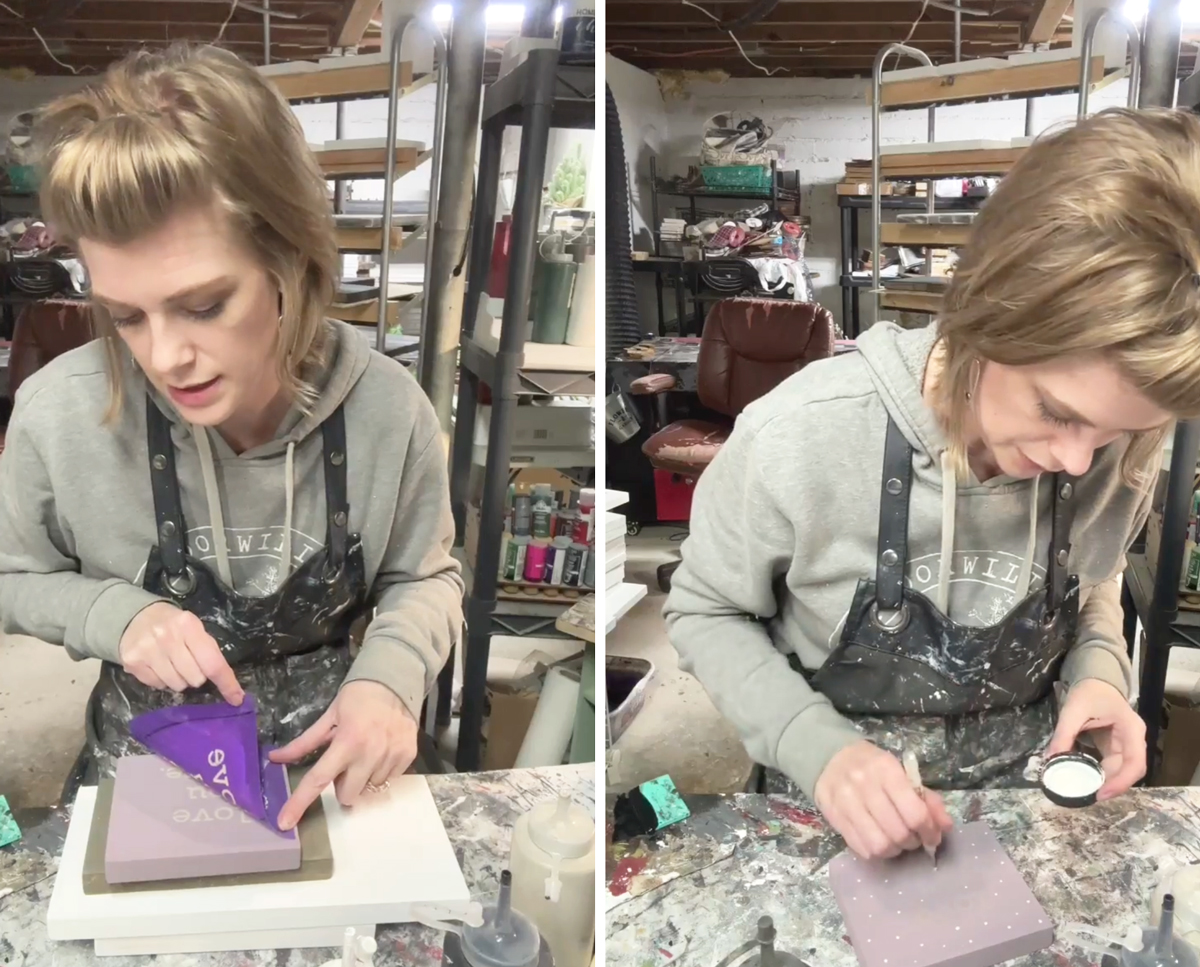
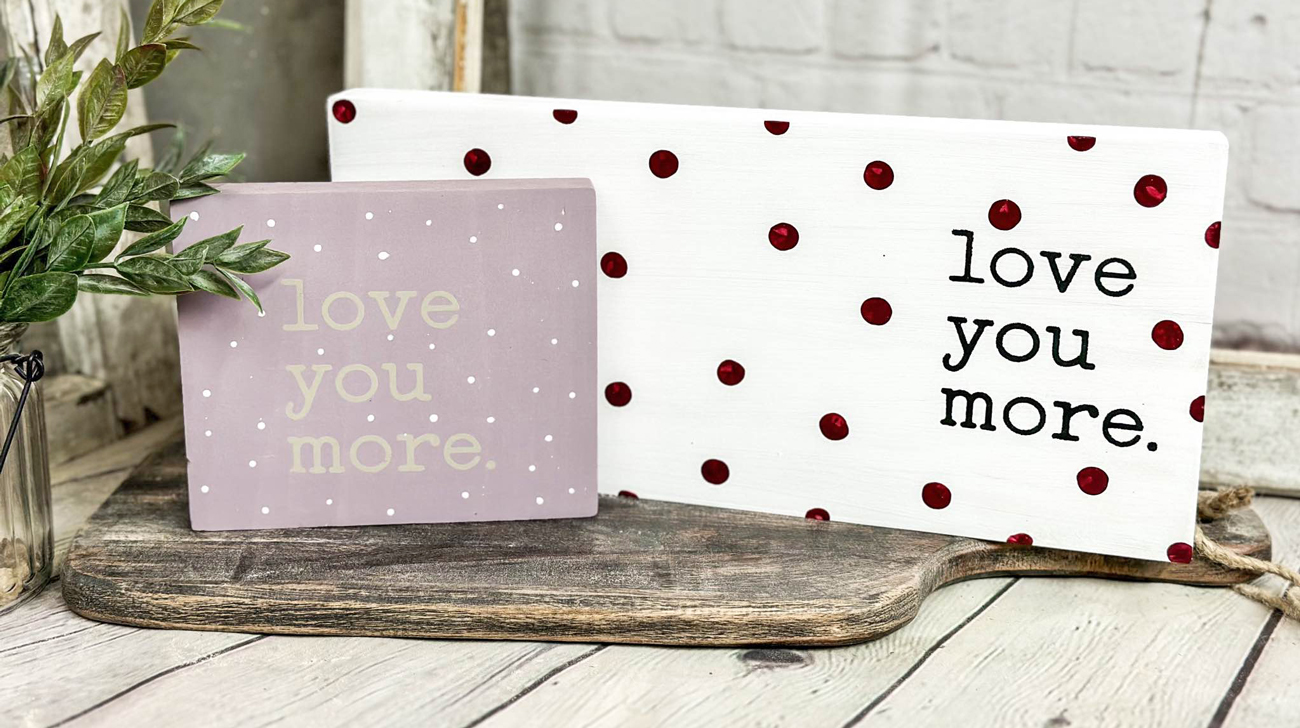
On the small purple board, I added polka dots using a small ball stylus and metallic white paint. The small metallic polka dots add the perfect touch of whimsy to this small shelf sitter sign.
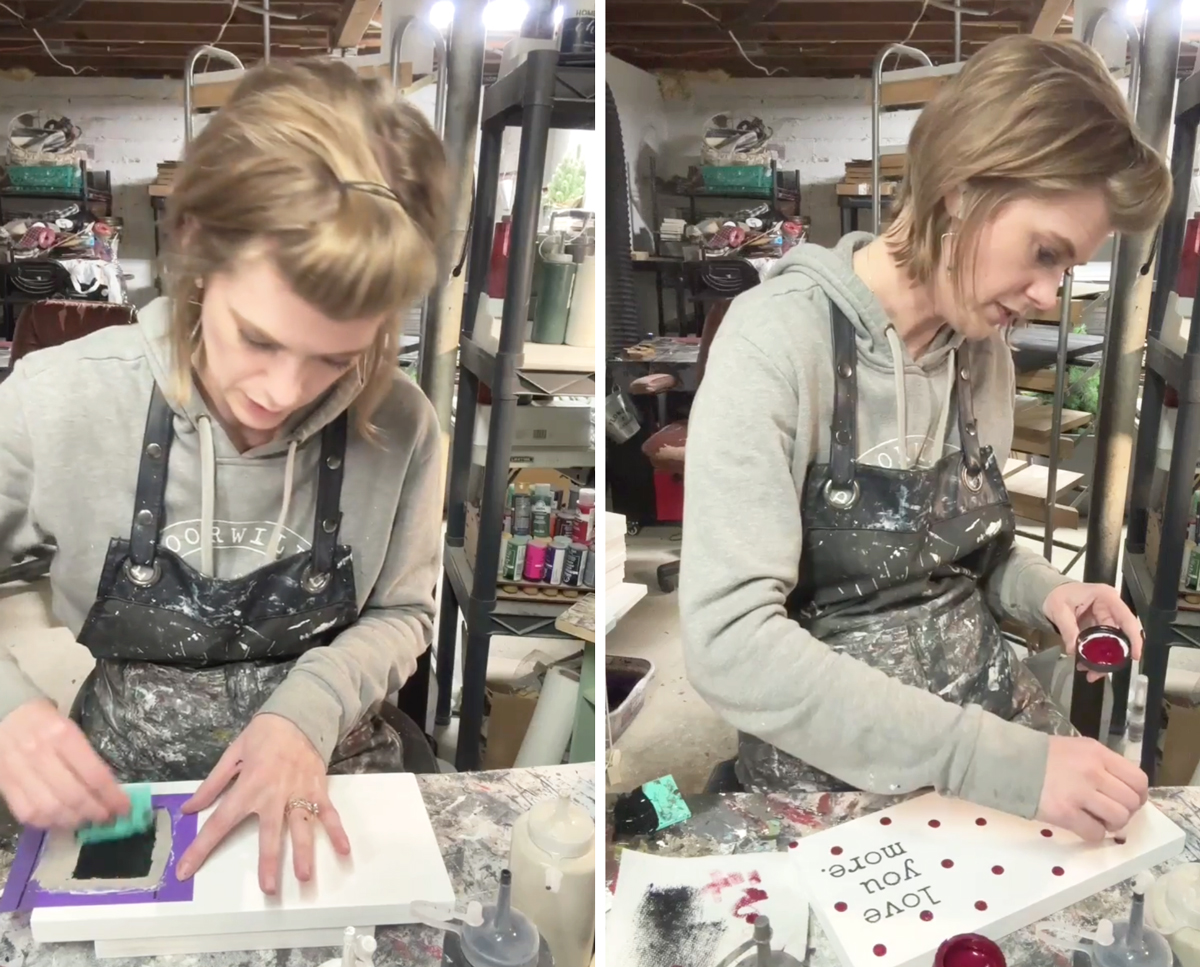
For the larger white board I added larger polka dots using the end of a pen. You could also use a dowel, end of a foam brush, pencil eraser, or another other larger circular object.
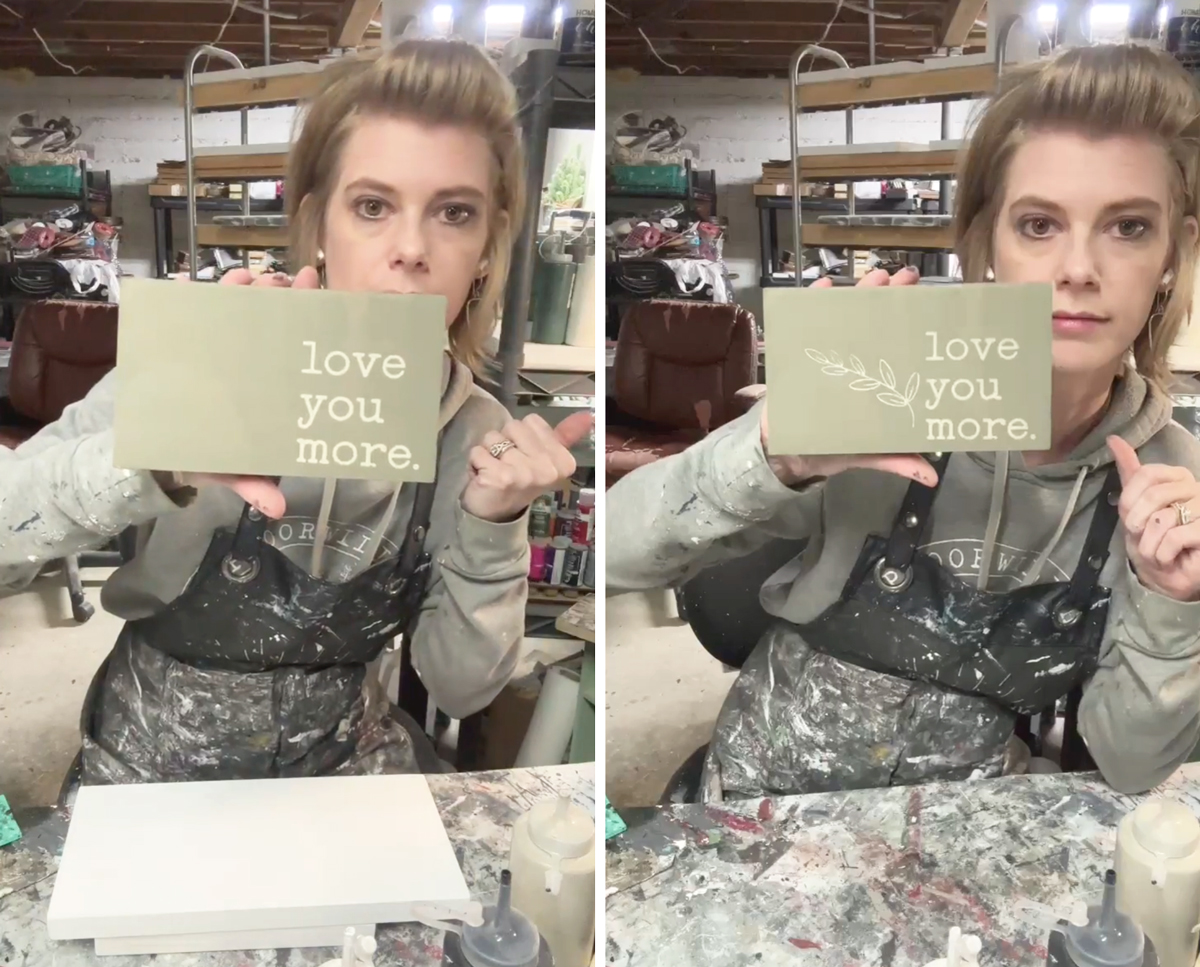
For the smaller green board, I used one of my filler stencils to add a leaf design to the left hand side of the board. This helps to take up the extra space that was there and it also adds a little more interest to the sign. Different filler stencils can be used to match different decor styles and seasons.
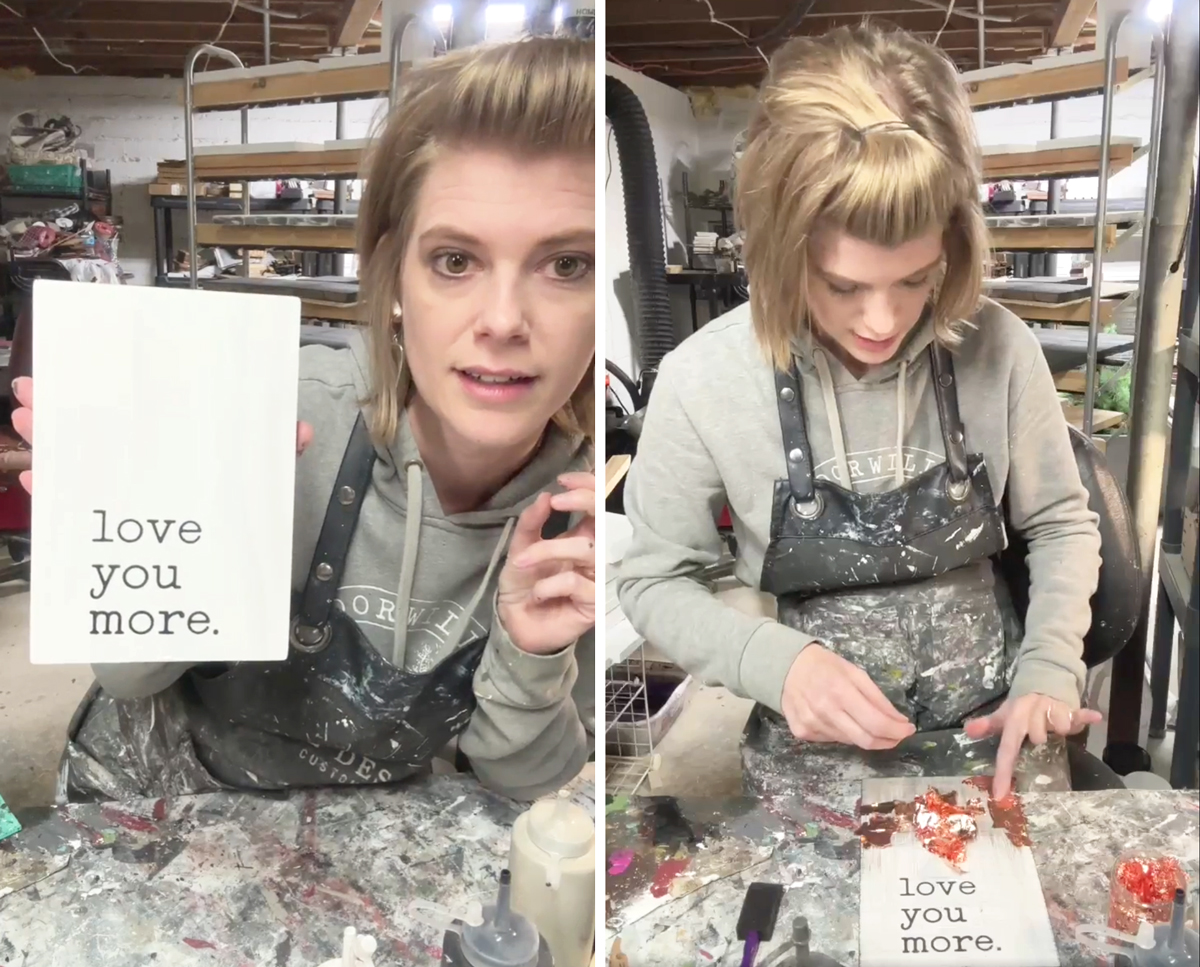
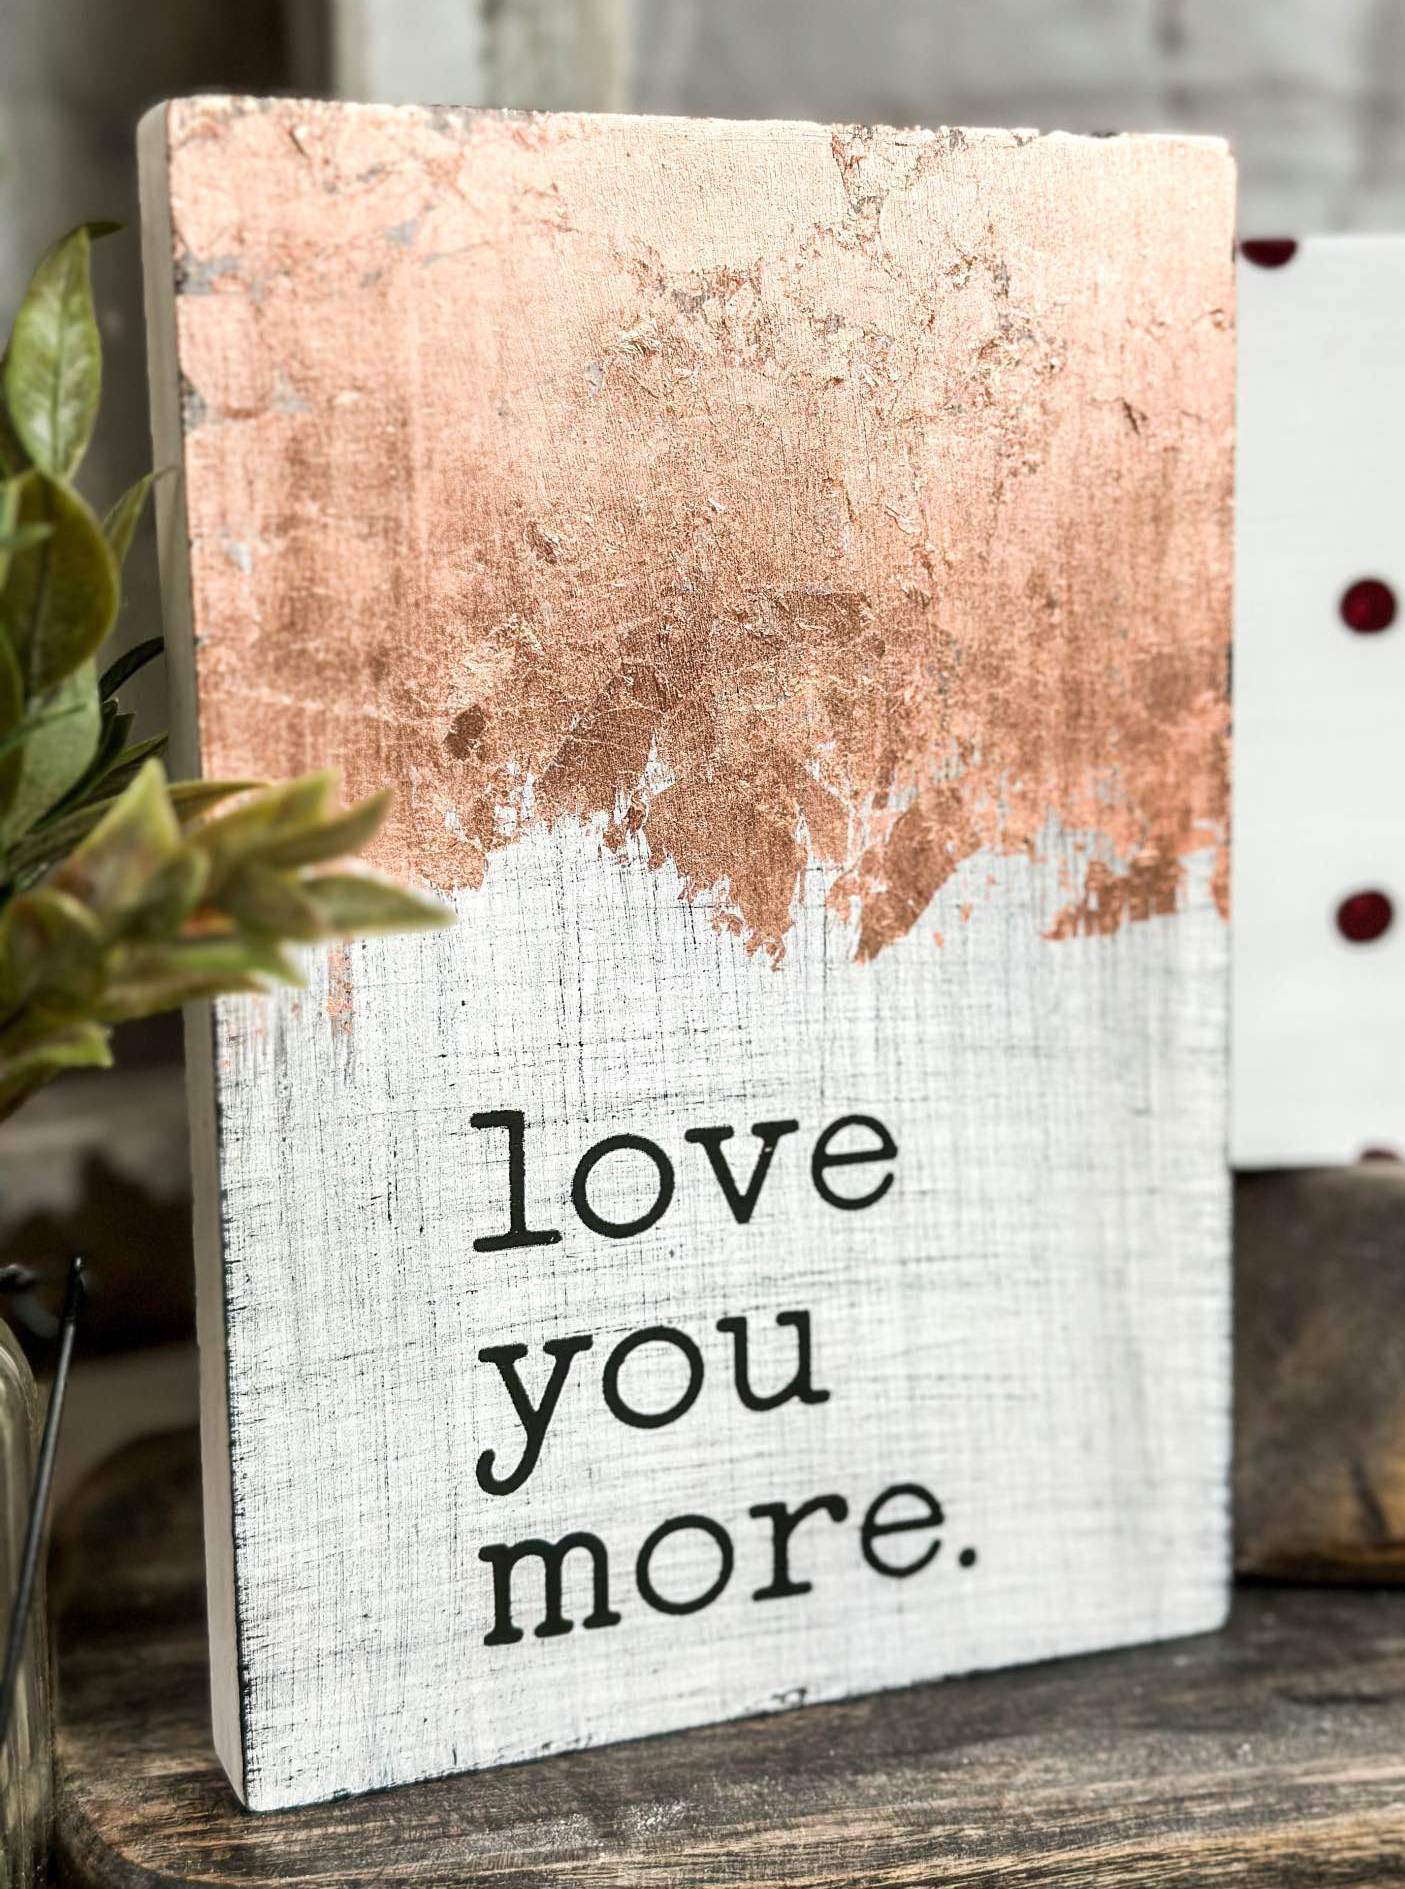
The larger white board was done using a combination of dry brush distressing and metallic metal leaf, which is always a fun thing to add for a little something extra!
First I used a chip brush in a tiny bit of black paint to dry brush the background. Then I applied the metal leaf adhesive along the top using a foam brush, leaving it a little bit uneven towards the bottom. I let the adhesive dry for about 30 minutes. Once the adhesive was dry I applied the metal leaf.
To apply the metal leaf just lay the metal leaf on top of the adhesive and press down with your fingers, covering the whole area. It can make a little bit of a mess, so I suggest doing it over a piece of paper that you can easily clean up. After you have it laid down on the adhesive, use a dry foam brush to brush over the top and sides, getting off any of the pieces that aren’t stuck down to the adhesive.
Sealing is optional, but I like to seal these afterwards with Rustoleum 2X Matte Clear spray paint just to keep the gold leaf from rubbing off. Even though I use a matte sealer I haven’t noticed it take away the metallic shine of the metal leaf.
So that's it! This is a really fun way to get multiple signs made quickly, with a variety of looks, without having to make multiple stencils. I can’t wait to see what you do with this idea!
Jessica Lynne, Shine Designs Customs
Website: Shine Designs Customs
Facebook Page: Shine Designs Customs
Facebook Group: Shine Designs Digital
Instagram: @shinedesignscustoms
TikTok: @shinedesignscustoms
Etsy Shop: ShineDesignsCustoms