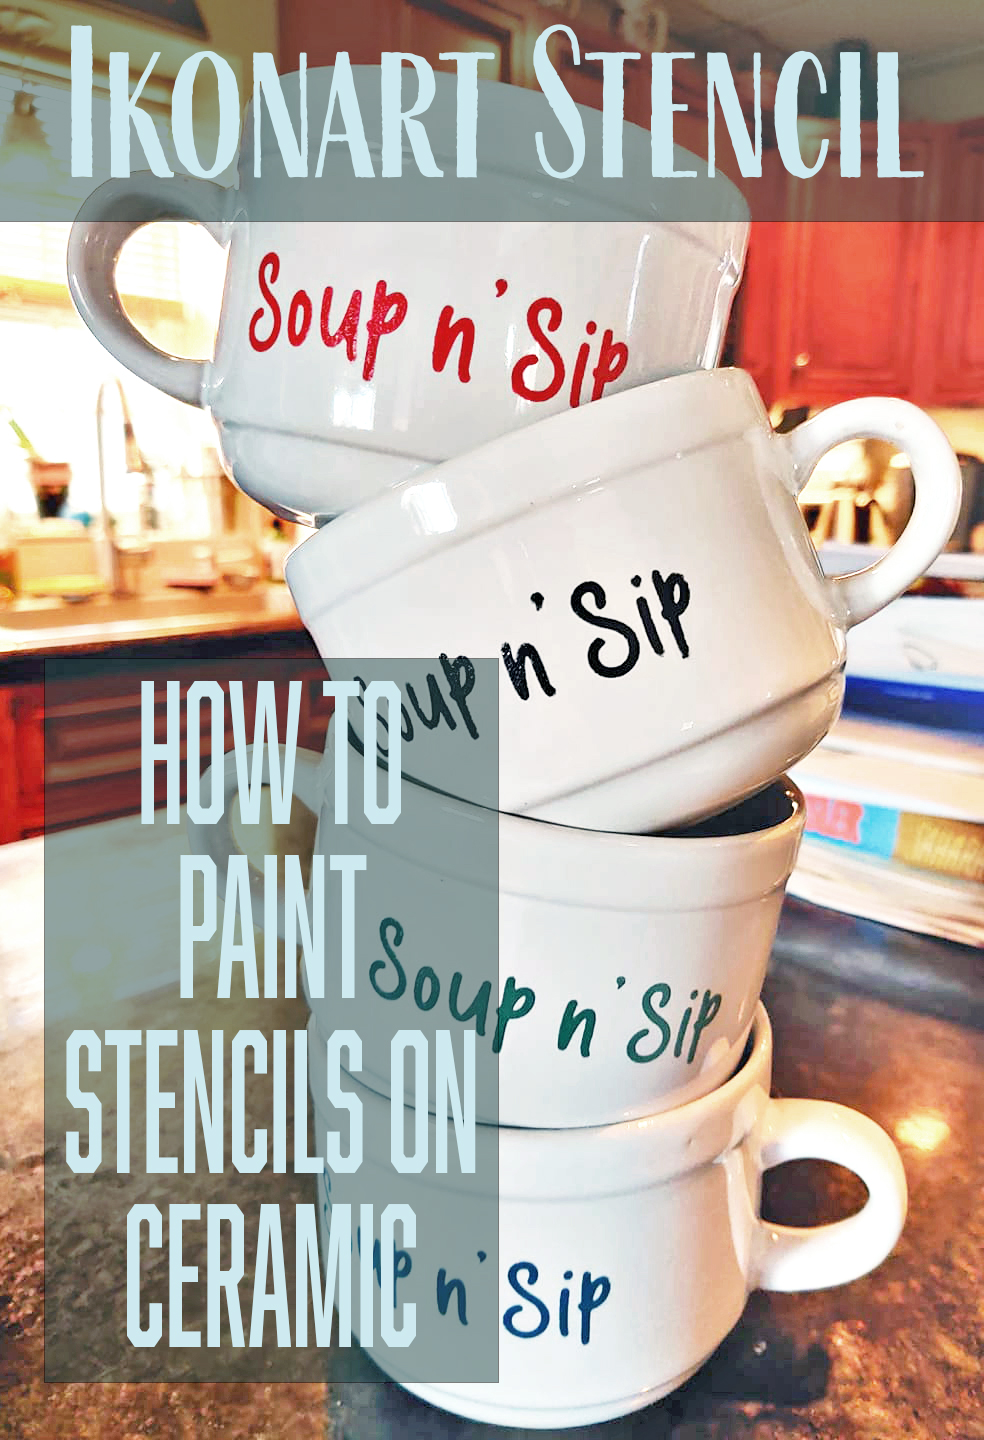
I love soup all year long but especially during these cold months here in Duluth, Minnesota. And what better way to enjoy soup than from a custom bowl? Ikonart stencils can be used on a lot of different surfaces, but one of my favorite ways to use them is to customize ceramic bowls and mugs.
The soup bowls below were created by Debbie Gentle, a member of our Ikonart Crafters Group on Facebook, for an event that one of her clubs was having. Debbie used her Ikonart Custom Stencil Kit to make the stencils and then used the stencils to create 48 soup bowls! Keep reading to see exactly how she made them and scroll to the end of the post for a bonus soup recipe.
Supplies For Making A Custom Soup Bowl:
- Ikonart Custom Stencil Kit
- Laser Printer or Inkjet Printer
- Artwork
- DecoArt Multi-Surface Paint
- Ceramic bowl or mug
- Squeegee, brush, makeup sponge, or cotton round to apply paint
- Smart Jig to hold your bowl or mug (optional)
Create Your Ikonart Stencil
To create your stencil you first need to create or choose your design. You can create your own artwork by typing your words into a program like Microsoft Word, Silhouette Studio or Gravit Designer. Then just adjust the font and size to your liking.
Need some help with text ideas? Here are a few fun ones we came up with:
- Miso Happy
- Pho Sho
- Soup-er Star
- Soup-er Hero
- Soup-erb
- How Ramen-tic
Once you have your design the way you want it, print it out on our clear printer film that comes in the Ikonart Kit. When printing be sure to adjust your printer settings to print as dark and black as you can so that your stencil washes out easier. Once you have your text printed, follow the steps in the Ikonart Quick Start Guide to create your stencil. Don't forget to post-expose!
Is this your first time making an Ikonart stencil? Check out this video for a full tutorial.
How To Stencil On Ceramic Mugs with Ikonart
Now that your stencil is ready we can start creating!
- Prep Surface: Make sure the surface of your ceramic mug or bowl is clean before starting. Clean the surface with rubbing alcohol and allow to dry completely.
- Apply Stencil: Remove the clear backer sheet and apply the stencil to the outer surface of your bowl. Smooth down all the edges and make sure there aren't any wrinkles or bubbles. You can reposition the stencil, if needed, until it is exactly where you want it. *Pro Tip: before you remove the clear backer sheet either snip a corner of your stencil or write "back" on the back side so you know which side of the backer to place your stencil on after you are done using it. If the backer is put on the wrong side it can ruin your stencil.
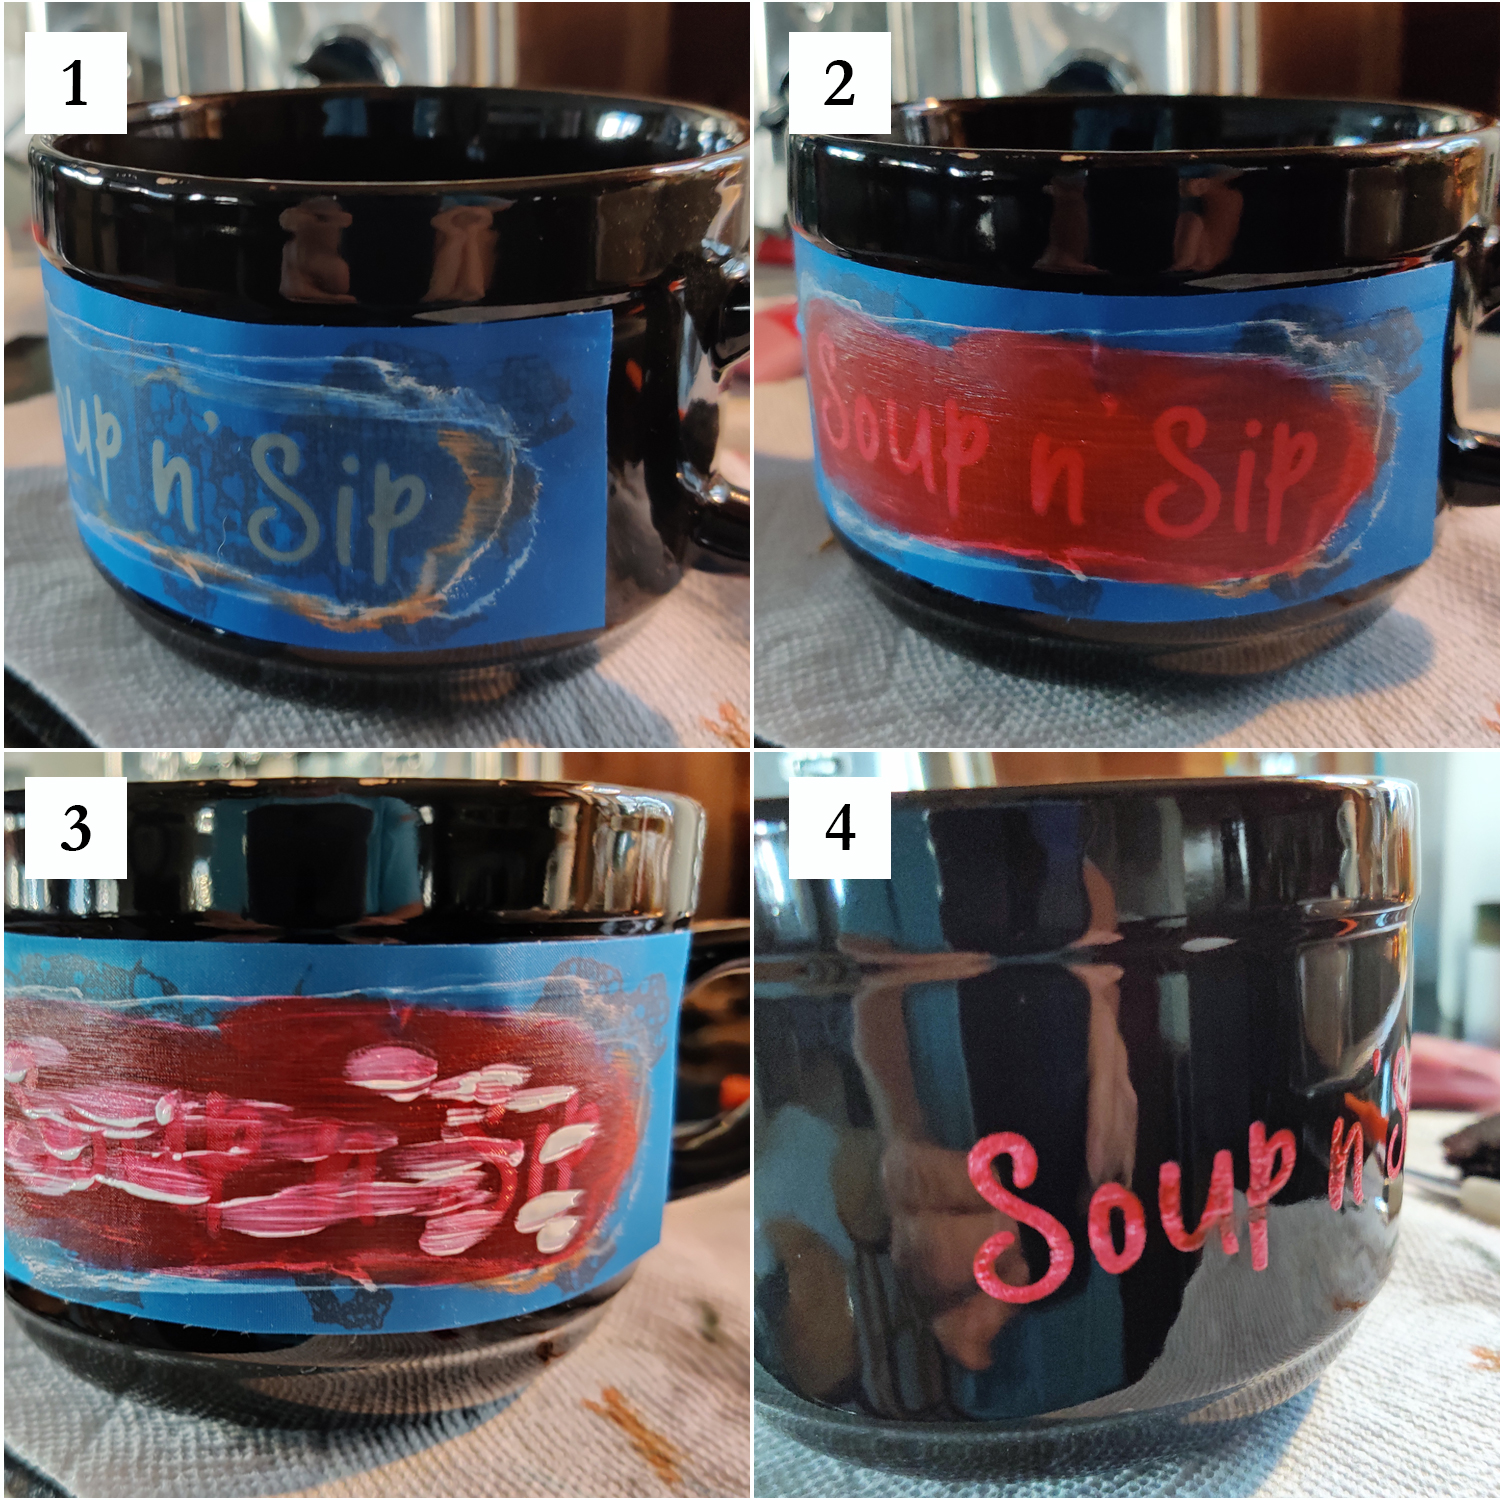
- Apply Paint: We recommend using DecoArt Multi-Surface Paint if you want the paint to be permanent and dishwasher safe. You can use a brush, squeegee, or your finger to apply paint over your stencil. Through testing we have found a makeup sponger or cotton makeup round also work great to avoid bleed. Make sure all the mesh openings are covered and remove any excess paint. At this point you can add an additional color for an ombré effect like shown in the picture above, if you want.
- Remove Stencil: Peel a corner of the stencil up from the bowl and slowly lift your stencil, checking under the stencil as you lift to make sure the design or text left behind is crisp. If any spots need to be touched up place your stencil back down (before removing it all the way) and add more paint.
- Cure Paint: To cure (or harden) your design on the bowls allow the paint to dry for about 4 days*. Then place the bowls in a cool oven, set the temperature to 325°F and let them bake for 30 minutes. Afterwards, allow them to cool in the oven with the door partially open before removing them. Once they cool they will be top-rack dishwasher safe for regular use.
*NOTE: The instructions on the bottles of DecoArt Multi-Surface paints say to allow to dry for four days before baking. We tested what would happen on glass, ceramic and a powder-coated tumbler without waiting four days and all three items passed the scratch test and dishwasher test. You can see the results in this video in our Ikonart Crafters Group on Facebook. As always, if you are intending to sell your products please do your own testing (as your particular surface may react differently).
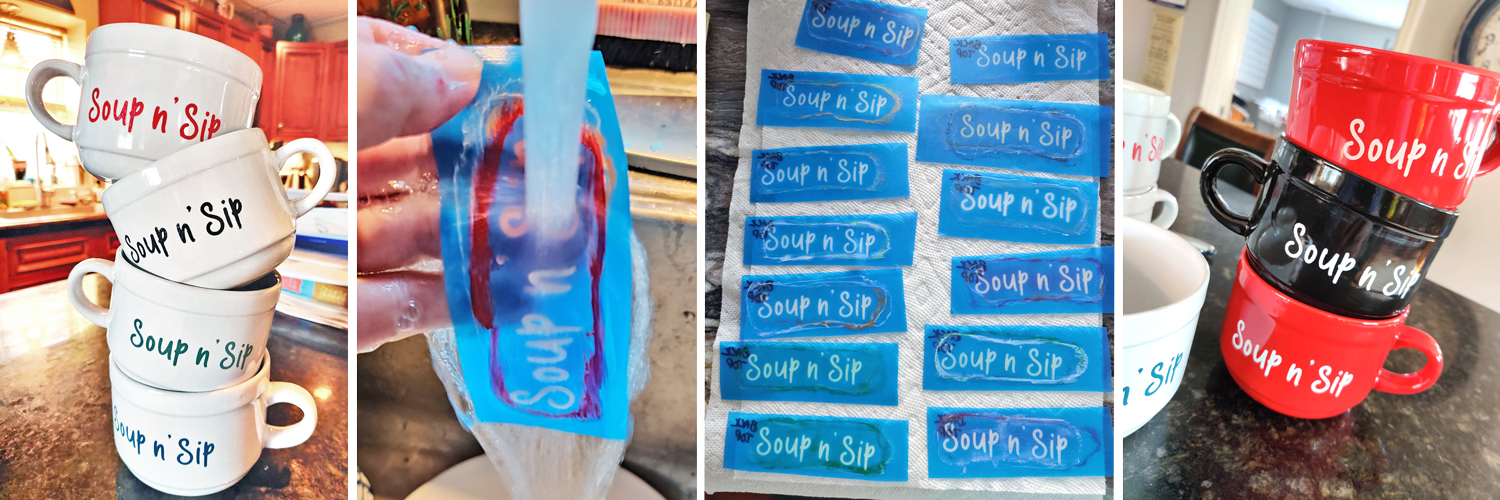
Debbie's Hot Tip: To make my 48 bowls I had a set of 12 stencils that I rotated (shown above). I stenciled on six bowls, washed out the stencils, and while those were drying I stenciled more bowls. I was consistently reusing the stencils after they were dry so I could complete the 4 dozen cups (I added the design to both sides of these soup bowls).
Jacquie's Easy Creamy Chicken Wild Rice Soup
What better way to enjoy these bowls than to cook up a hearty soup to put in them?! Attached below is a Creamy Chicken and Wild Rice soup recipe provided to us by Jacqueline Robbins (serves 6).
Ingredients:
- 1 1/2 cup wild rice
- 6 cups of chicken stock (broth can be substituted, however stock provides more nutrients and better flavor)
- 4 Tbsp. butter
- 1 cup diced carrot
- 1 cup diced celery
- 1 cup diced onion
- 1 1/2 tsp of fresh thyme (3/4 tsp if dried)
- 1/2 tsp cracked black pepper
- 1/2 cup all purpose flour
- 2 cups pulled cooked chicken (if you have some leftover rotisserie chicken, use it!)
- Chopped flat leaf parsley (for garnish)
Directions:
Simmer your wild rice in your chicken stock, covered until tender and barely popped. Strain the rice, reserving broth.
In either a Dutch oven or large (6 cup) sauce pan, melt your butter. Sauté your diced carrot, celery, and onion, adding in your thyme and pepper. Cook until vegetables have softened. Add the flour to vegetables off heat. Stir to combine.
Add the cooled rice stock (you should have about 4 cups now, but can add water to equal if necessary) to the vegetable mix, and gently stir until flour is dissolved. Taste stock and adjust seasonings to taste.
Return stock to simmer and thicken, stirring constantly to prevent sticking.
Add cooked rice and cooked diced chicken to hot stock. Bring all to temp. Garnish with 1-2 Tbsp. chopped flat leaf Italian parsley.
Enjoy!
If you have any additional question about using your Ikonart stencils on ceramic, please contact us or visit our Ikonart Crafters Group on Facebook.