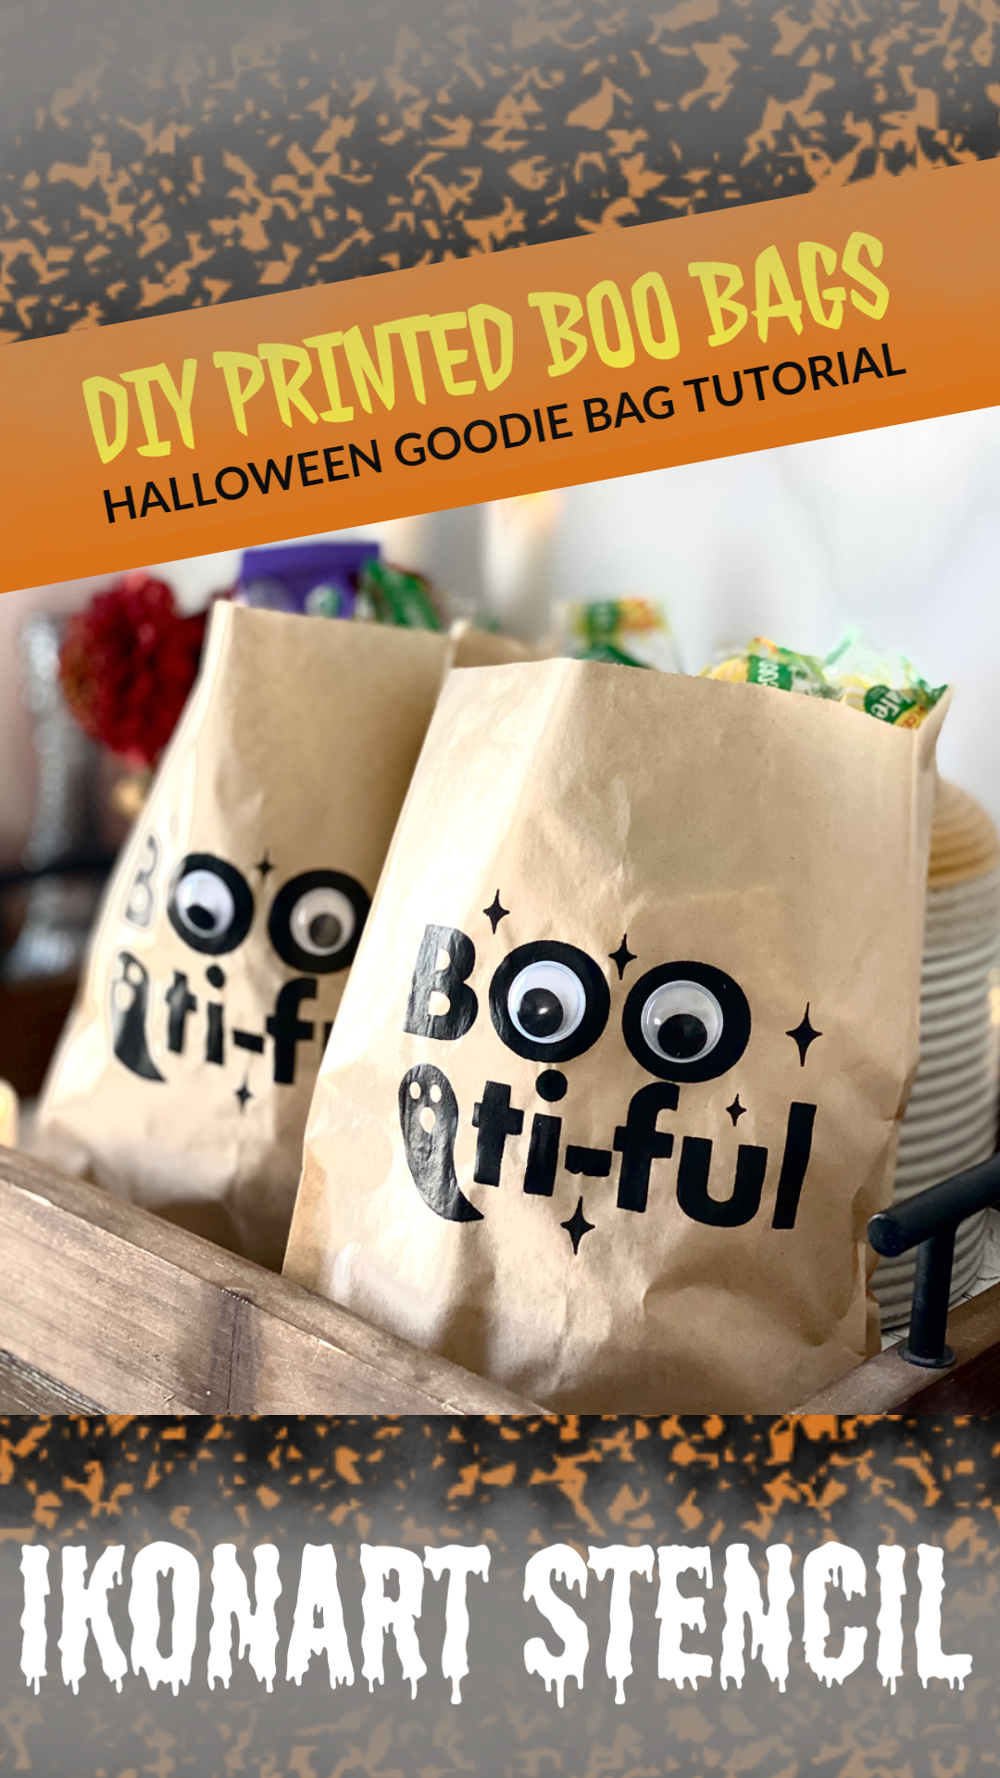
Spooky season is here and we are so excited about all the fun crafts that go with it. We kicked off this year's round of Halloween projects a couple weeks back with this light-up stenciled pumpkin, and now we have Denise with West Avenue Crafts here to share these super fun kraft paper goodie bags for candy and treats.
Denise uses her Ikonart Custom Stencil Kit to create and sell custom Ikonart stencils, and shares her process, tips, and tricks for screen printing using Ikonart stencils on her social media. In this guest blog post Denise will be walking us through her process of making these adorable boo-bags, from making her stencil to filling them with goodies!
Screen Printed Boo Bags for Halloween Candy
Hello. My name is Denise and Halloween is one of my favorite holidays. We live in a rural area so we don't get a lot of trick-or-treaters, but I still like to be ready with treat bags for that rare occasion we hear a knock on our door. Worse case scenario is that we end up with tons of candy for ourselves! We also like to visit with friends around Halloween or have our own Halloween get-together, and these easy DIY screen printed treat bags are perfect for that too.
In this tutorial I am going to show you exactly how I set up a screen printing station so I can easily make multiple Boo Bags in a row without needing to washout my Ikonart stencil between each bag. Here are the supplies needed for this project.
Supply List
- Ikonart Custom Stencil Kit
- Boo To You Ghost SVG
- Kraft Paper Bags
- Acrylic Ink or Paint (I used Speedball Fabric Ink)
- Hinged Speedball Screen-Printing Frame
- Squeegee
- Painters Tape
- Googly Eyes
Step 1: Make Your Ikonart Stencil
Setup Your Artwork: Once you select the design that you want to use on your bags, make sure you have sized it appropriately to the bag dimensions. I used Inkscape, a free graphic design program, to create these designs. The bags I used are 5.5 inches wide so I made sure my design was no wider than 4.5 inches. That way the design would not look distorted when I fill each bag with candy.
Print Your Artwork: Make sure the artwork is 100% black. I like to flip my artwork horizontally so that it prints in mirror image. If using an inkjet printer make sure to print on the rough side. You can identify this side by lightly rubbing one finger on the surface of the film. The rough side is the side where your finger encounters more friction and does not slide as easy as on the other side.
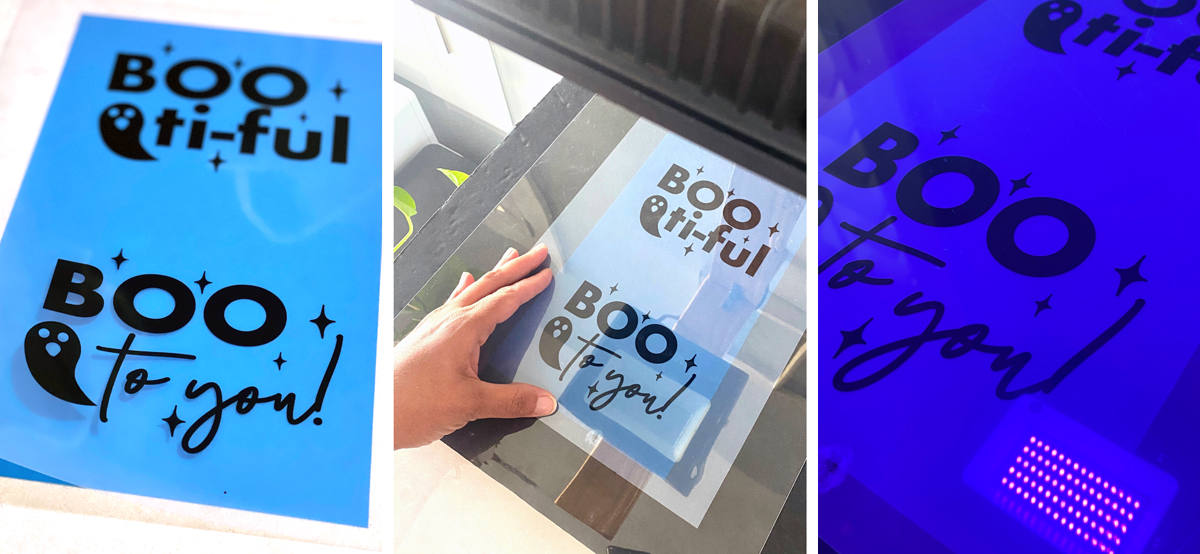
Prep Your Stencil Film: For this project I am using the blue Ikonart Stencil Film. Before exposing it cut your stencil sheet to the size of your artwork, if necessary.
Make Your Stencil: Place your stencil sheet on the base of the Ikonart Exposure Stand with the textured side up. Then add the transparency film on top so you can read it. Make sure to center it properly. Place the clear cover sheet on top of the stencil and film and press down to make sure they are making good contact. Turn on the UV lamp and expose for 35 seconds. Turn off the light, take the stencil and soak it in lukewarm water, covered from any light, for about a minute. Rinse the stencil with pressured water until all the design areas are washed out. Let the stencil film dry completely and then post-expose under the UV light for an additional 2 minutes on either side to ensure the stencil's durability.
>> Watch Video: How To Make An Ikonart Stencil
Step 2: Set Up Your Screen Printing Frame
I like using a screen printing frame when I am making multiple items with the same stencil. If you are only making a few and would just like to estimate the position, you can do that too. If you are not using a frame, be careful when printing not to load on too much ink, this will make it easier to simply lift the stencil after each print and place it on the next without getting ink on the underside of the stencil film. You don’t need to wash your stencil in between each print, only when you see paint starting to dry/clog in the mesh openings and/or when you're finished printing.
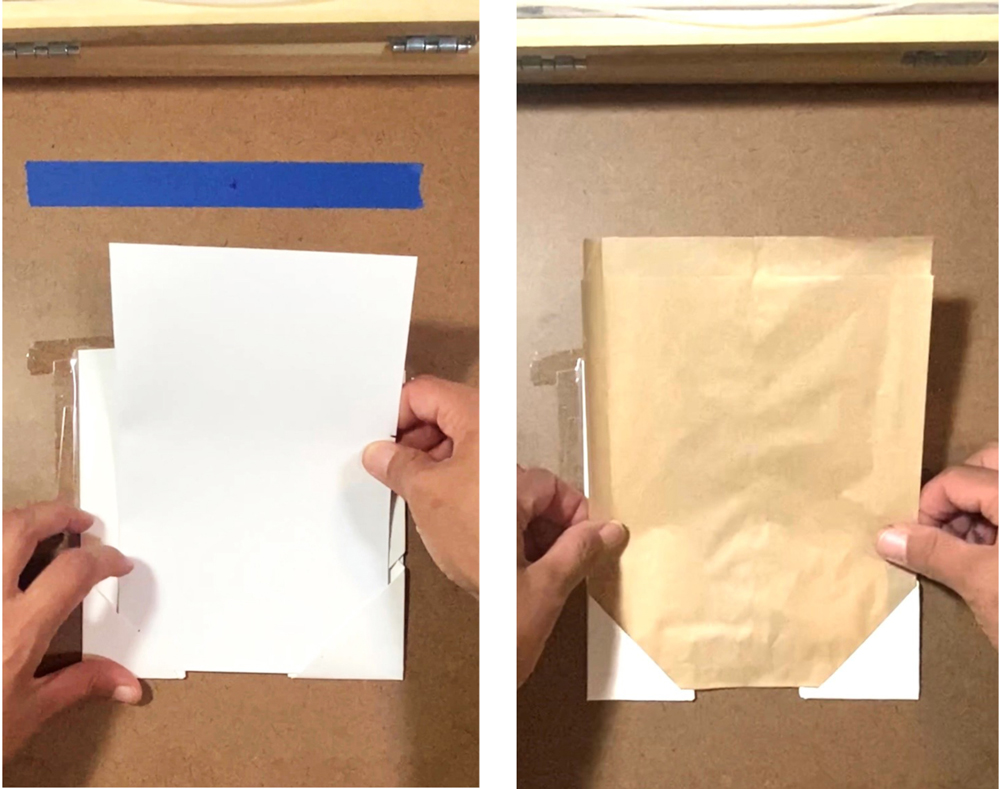
The frame I use has hinges and a base for easier transitions from one blank bag to the next. In order to get all the bags printed on the same spot I made two triangular folded pockets out of plain printer paper and taped them on the base piece under the screen frame. The bottom of the paper bag slides in and fits in those pockets to get a relatively uniform print every time.
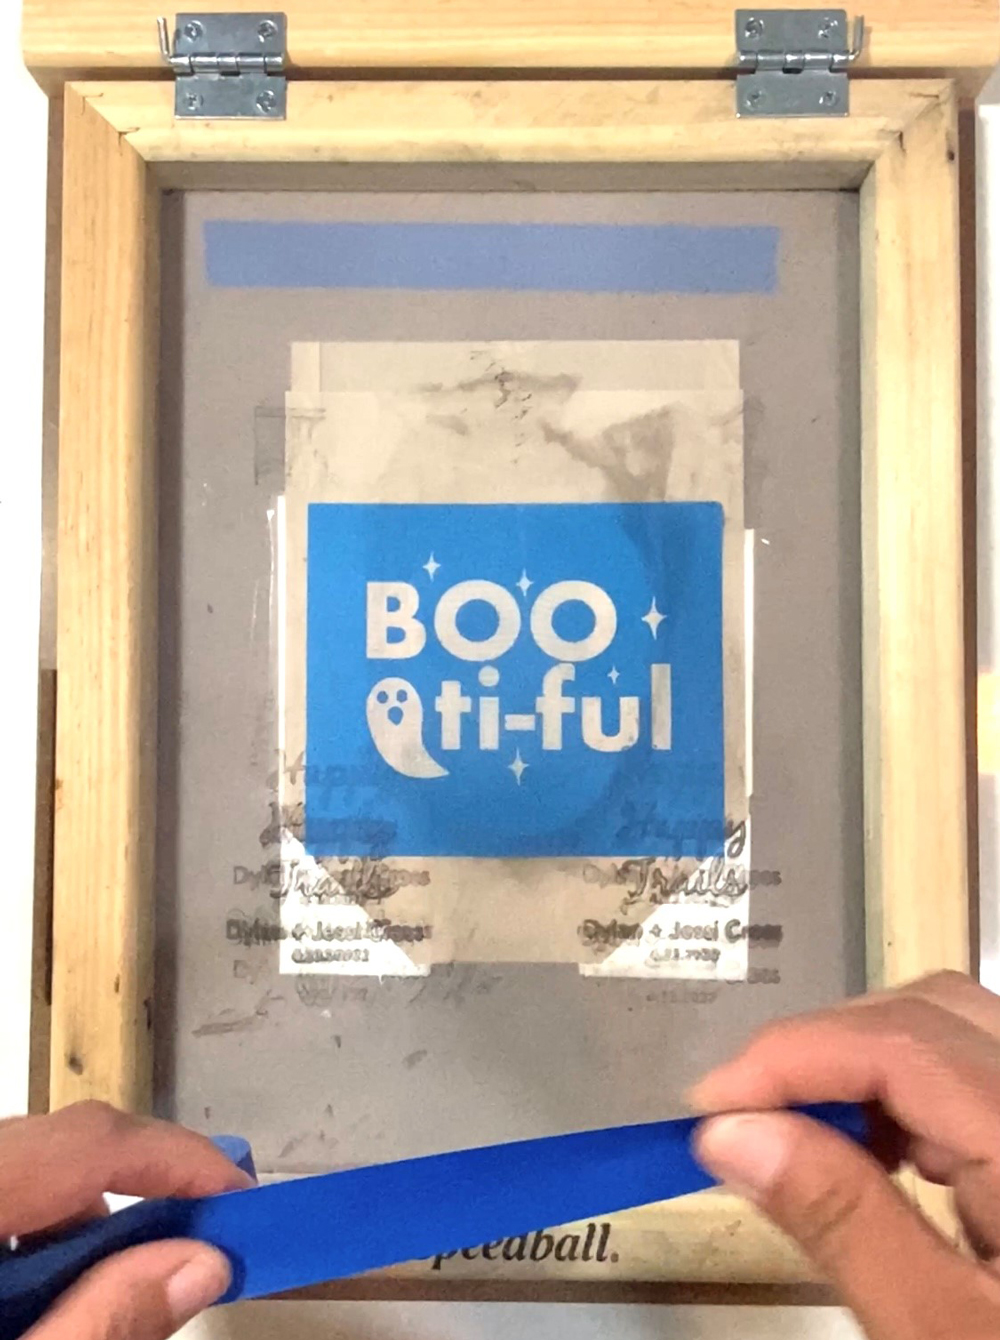
Use one bag as a template to tape the pockets onto the screen printing frame's base. Slide the bag into the pockets until it is snug and straight, then secure it with painters tape. Next, place the stencil on the screen and align it with the bag. Reposition it as needed and tape down the four sides of the stencil on the screen of the frame with painters tape to secure everything in place.
>> Watch Video: How To Make Corner Pockets
Step 3: Screen Print Your Boo Bags Using An Ikonart Stencil
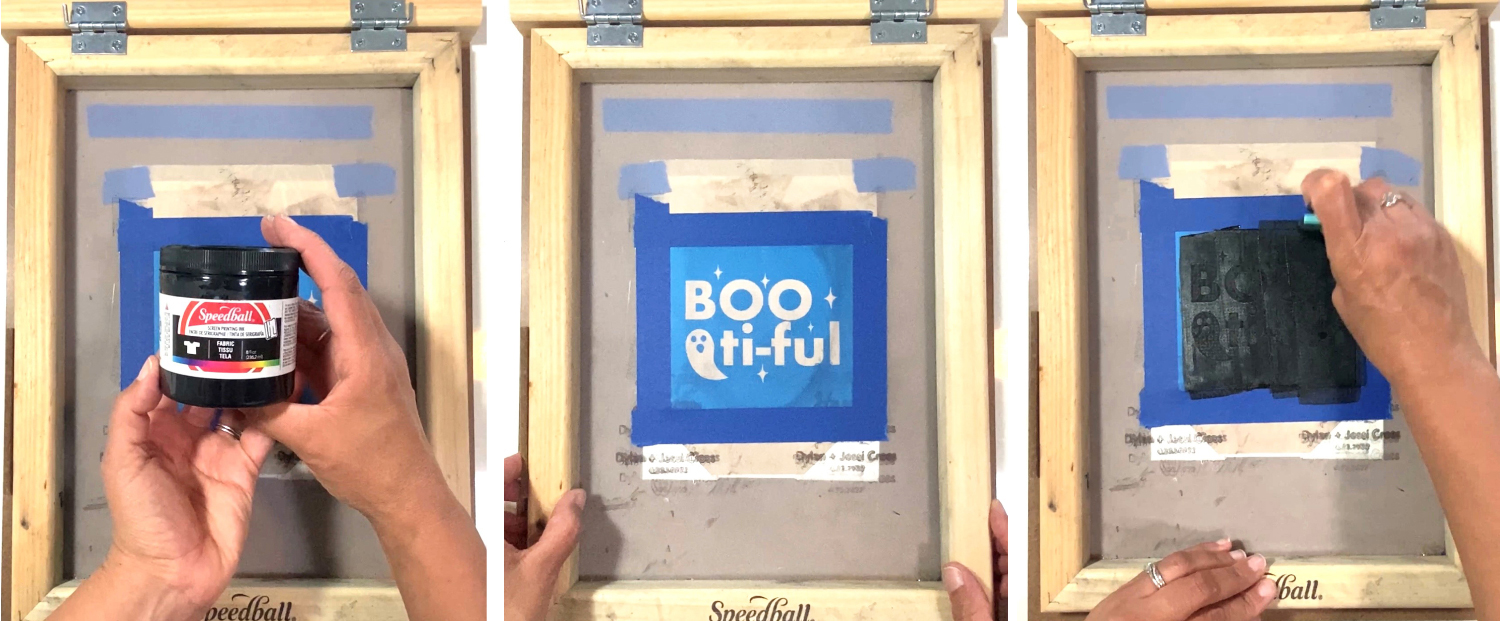
Drop the frame down to the bag, and put a small amount of ink along the top part of the stencil with a spoon, spatula, or your squeegee. You can use acrylic paint, but for this project I used Speedball Fabric Ink. The consistency is a bit thicker and the bags I used have a very light sheen which did not work well with the runnier acrylic paint. You could also experiment with adding some Coco's Chalky Powder to a runnier acrylic paint, just to thicken it up a bit.
When applying your ink to the stencil you want to put enough to cover the design but not too much that you end up with a bunch of excess, which can get messy quickly. The less ink the better. The paper will soak up a lot of the ink and depending on your bag, it may run a little. You may need to find the perfect amount or consistency of ink/paint by trial and error. Spread the ink down the stencil with the squeegee, following one direction and using light but firm pressure. Squeegee the surface again to remove any excess ink and lines that may have formed as a result.
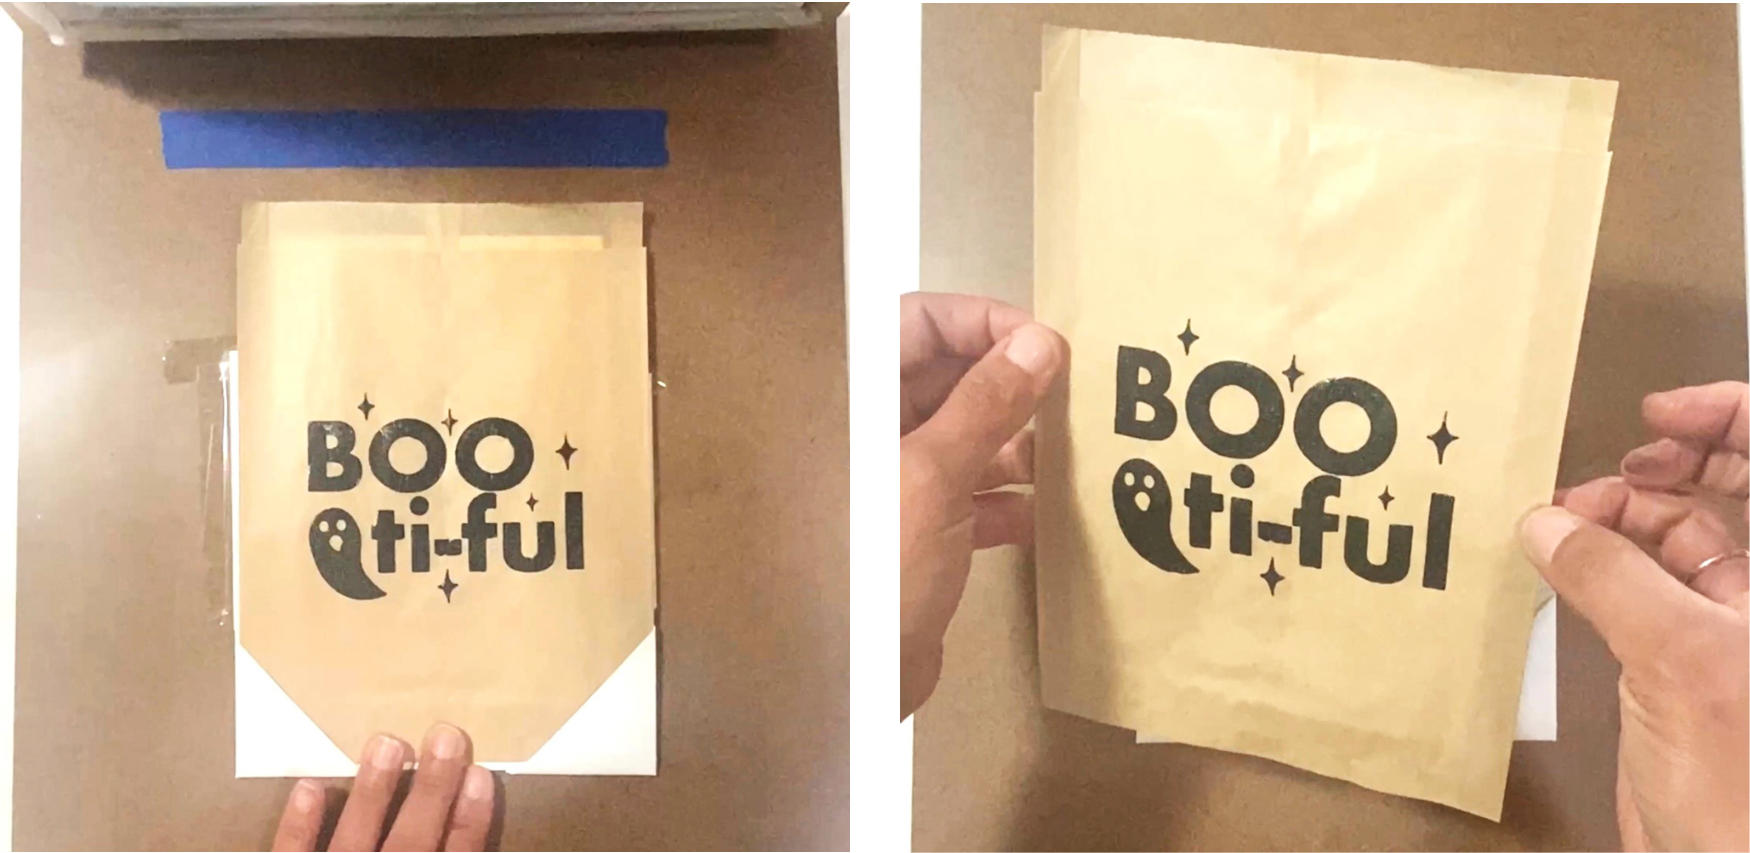
Lift your frame to reveal your printed bag. Remove the bag from the paper corners and replace with a blank one to repeat the process with as many bags as you'd like.
Note On Heat Setting: You can heat set these bags but you don’t really need to. Heat setting them will prevent the ink from running if it gets wet. The ink will not rub off by simply handling or touching the bags, or even getting them a little wet if you did not heat set them. Your ink's durability may also change depending on the ink used. Since I used Speedball Fabric Ink that typically is heat set on fabric to make it permanent, I chose to heat set. If you want to heat set them, that will make the ink even less prone to smearing or running. I used my heat press at 350F for 15 seconds, let it cool slightly and pressed it again for another 15 seconds. Make sure to use parchment paper or a Teflon sheet, and be careful not to leave the press on the paper bags unattended and follow your heat press use and safety instructions.
>> Watch Video: How To Screen Print Using A Hinged Screen Printing Frame
Step 4. Add Finishing Touches to Your Boo Bags
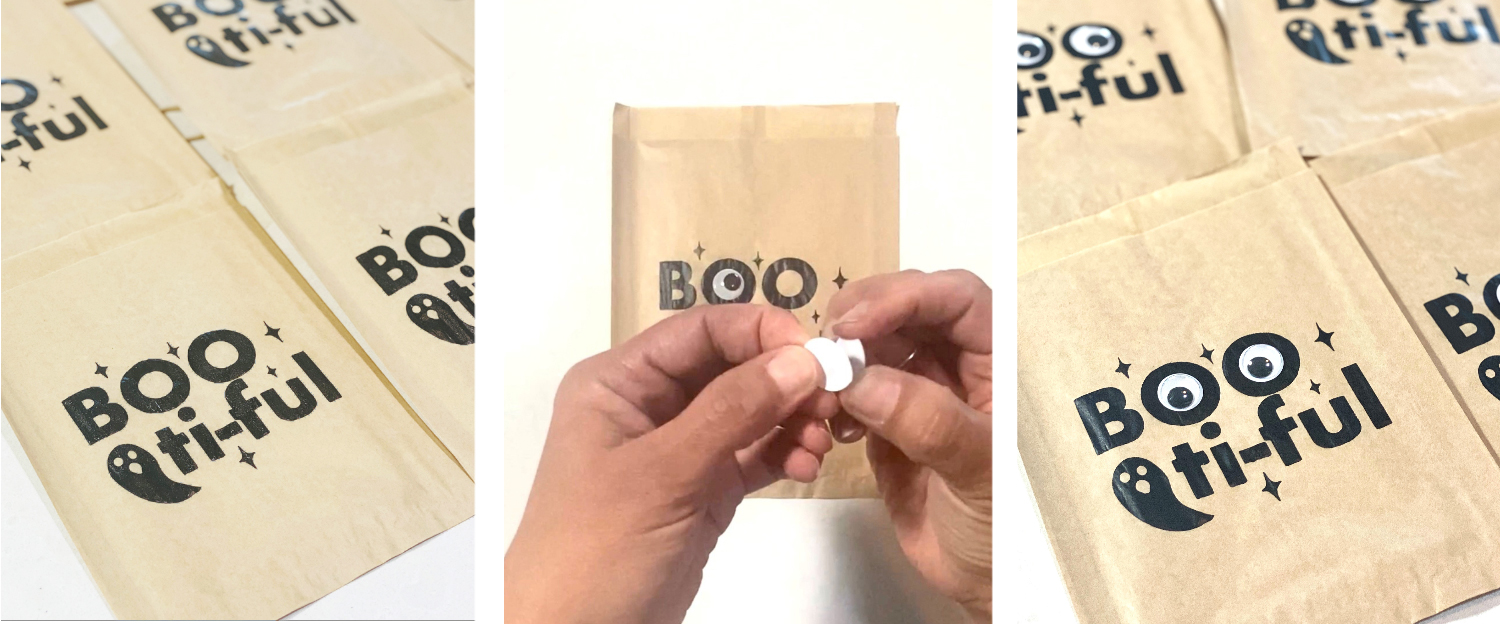
Let your bags dry for a few hours. Once my bags were dry, I decided to attach these googly eyes to each of the O's in BOO. This is an optional step but they sure do make a fun addition. The eyes I used were 13/16 inch, which are just larger than 3/4 inch. You could also add glitter or add color with markers at this point.
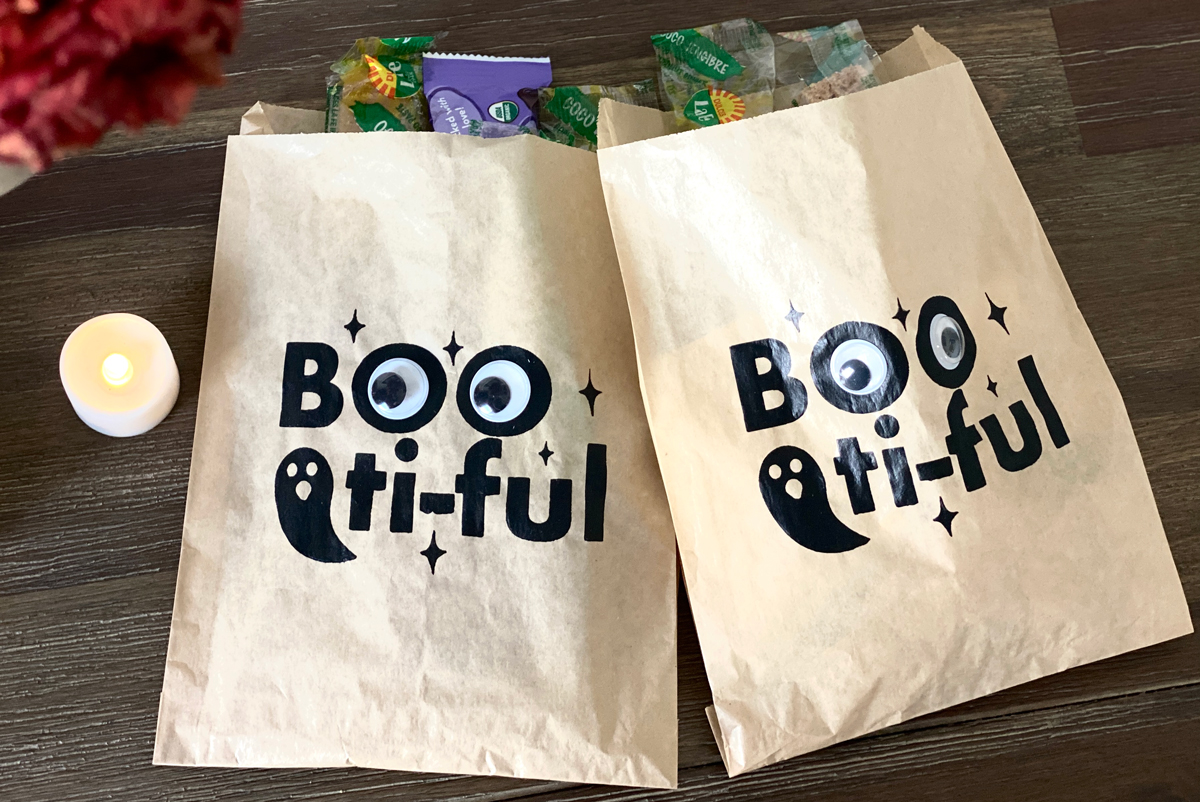
Once your completed bags are all dry and dolled-up, you're ready to fill them with candy or other Halloween goodies! I can't wait to see your takes on this project in the Ikonart Crafters group on Facebook. You can also follow me on my Instagram, website and YouTube channel for more Ikonart tips, tutorials, inspiration and ideas for.
Denise Rodriguez Steidel
West Avenue Crafts
Website: westavenuecrafts.com
Instagram: @WestAvenueCrafts
Etsy: WestAvenueCrafts
Youtube: West Avenue Crafts