Lisa Coles is a hand lettering artist from Batesville, Arkansas. She uses her iPad and the Procreate app to create custom SVG files out of her own hand lettered designs. She then turns those designs into custom signs, shirts and other personalized items using her Ikonart Custom Stencil Kit. In this post Lisa takes us through the exact steps on how to create a reusable stencils using her own hand lettering, and then how to use that stencil to make both a shirt and a wood sign.
Hand Lettered Stencils with Lisa's Letters
Hello! I'm Lisa from Lisa's Letters. I use my iPad to turn my hand lettered artwork into SVG files. Once my hand lettered design is converted into an SVG file, I am able to use my Ikonart Custom Stencil Making Kit to turn my designs into reusable mesh stencils, which I use to make make signs, shirts and other personalized items for my customers. In addition to creating stencils with my Ikonart Kit, I also turn my designs into vinyl stickers and mylar stencils using my Silhouette.
Today I want to take you through my process of how I added my own hand lettering to a t-shirt and wall art sign. If you would like to create your own Ikonart stencils with my design, you can download the SVG file for free. I can't wait to see what you come up with!!
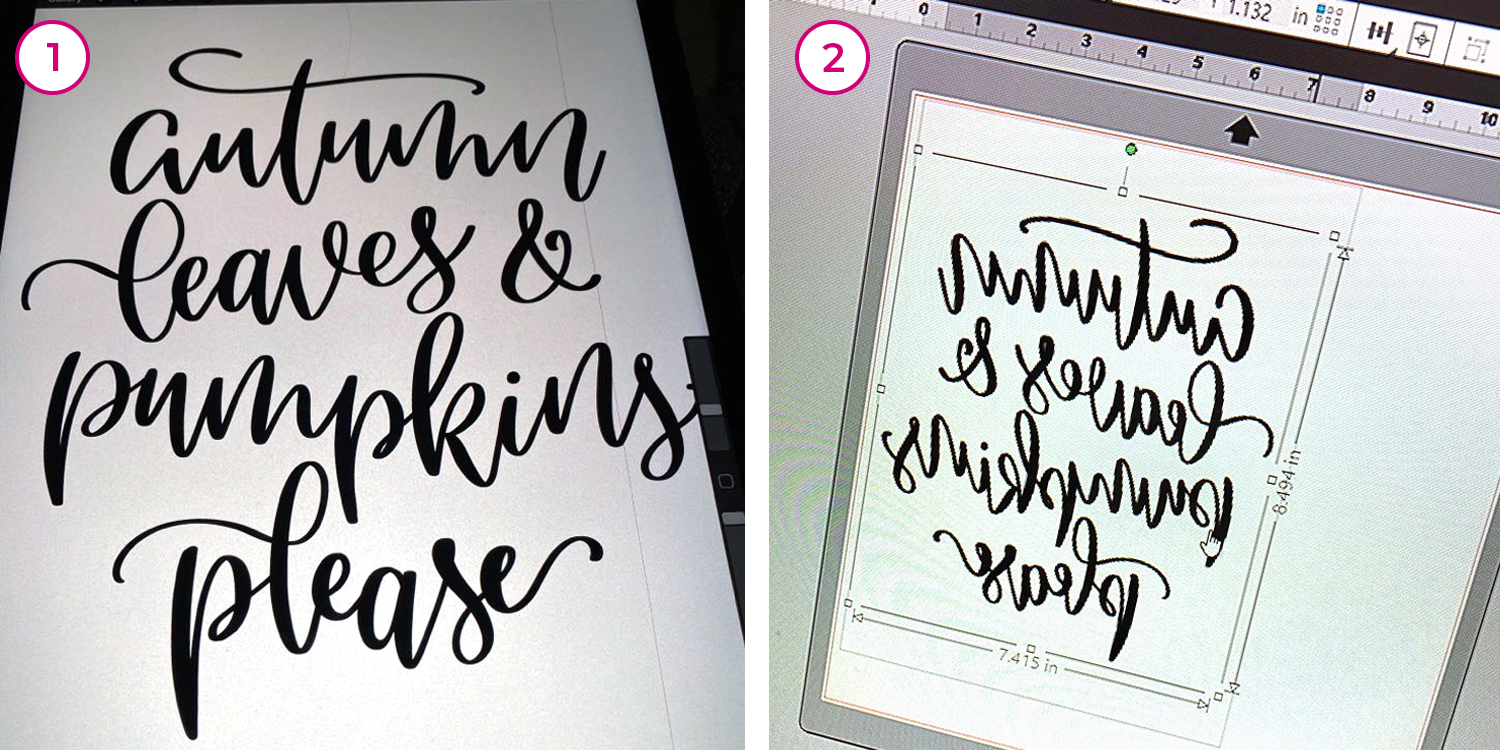
I began by hand lettering a quote on my iPad using my iPencil and the Procreate App (1). After it looked the way I wanted it to, I emailed it to myself and saved the design to my computer. Once it was on my computer I was able to open it using my Silhouette Studio software, which is free for everyone to use even if you don't own a Silhouette cutting machine. In Silhouette Studio I sized my design to the size I needed and then reversed it so it would print mirror image (2).
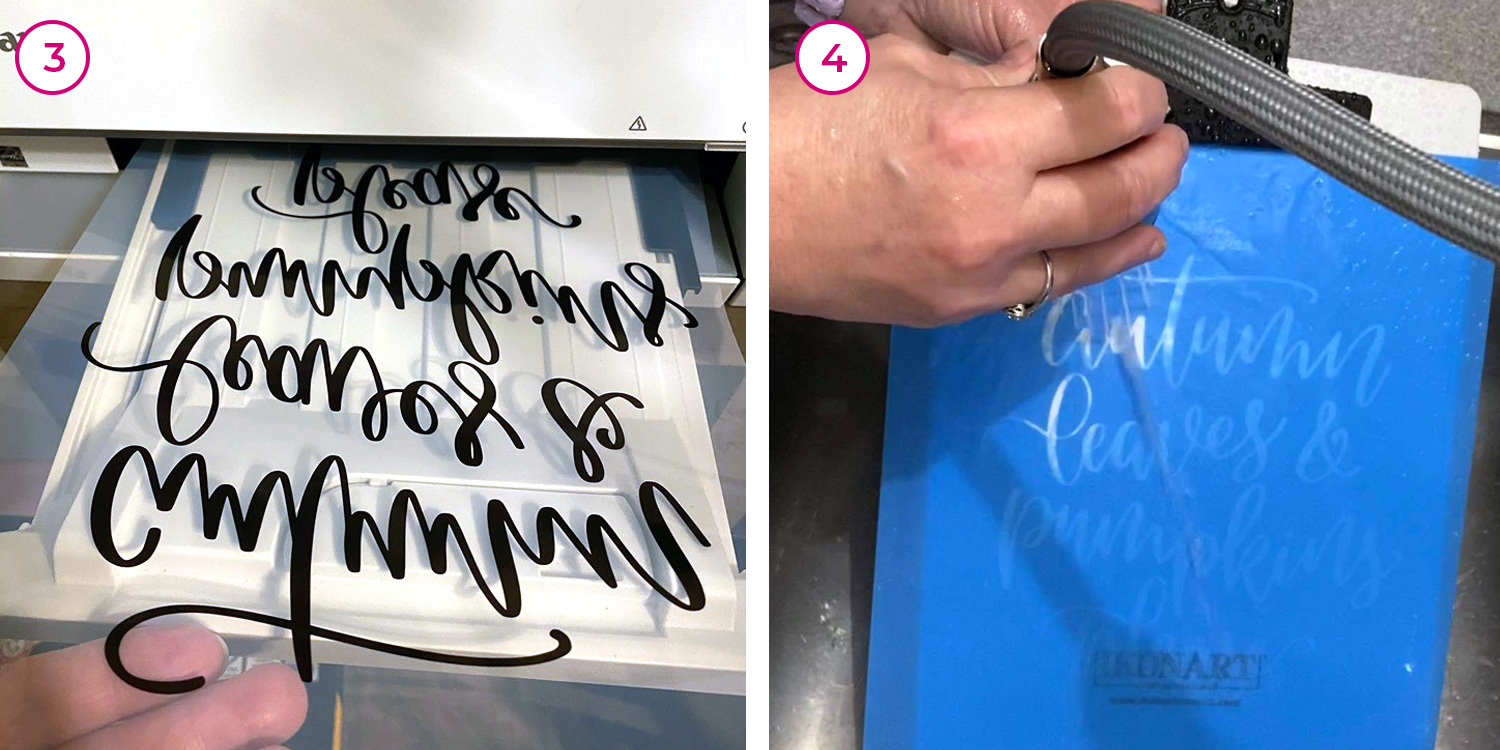
Next I printed my design on my Ikonart Inkjet Printer Film using the best print options I have in order to get a nice dark print (3). After I printed my design I used my Ikonart Exposure Stand to expose my design onto my blue Ikonart Stencil Film. I washed out my stencil (4) and I was super happy with how it turned out.
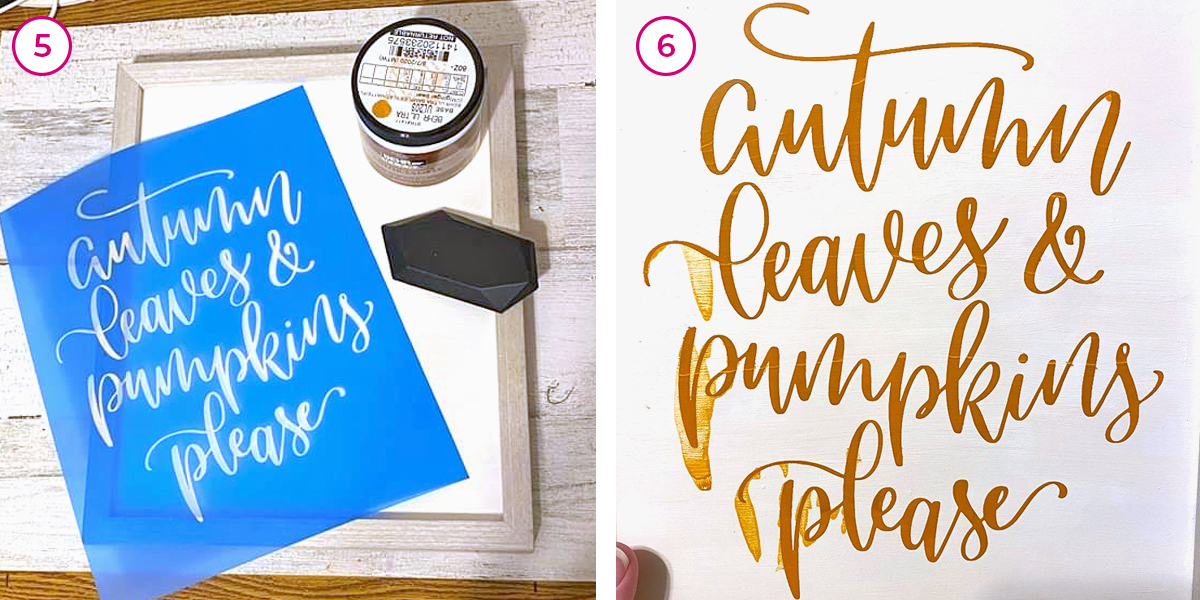
I let the stencil dry completely as I gathered all my supplies (4). My first attempt at using my stencil on a wood sign taught me a valuable lesson... the paint you use really matters! I tried using Behr paint from Home Depot and even though it is a water-based paint, all I can say is... just don't do this. Behr paint is great for a lot of projects but it is quite runny and ended up bleeding under my stencil (5). Also, when I tried to wash the paint off the stencil it just would not wash off. So, lesson learned with this project: DO NOT USE BEHR PAINT WITH THESE STENCILS!
Side note: Ikonart has created a Paint & Ink Selection Guide with a list of paints, pastes and inks they recommend using based on what surface you are printing on, so make sure to check that out as well.
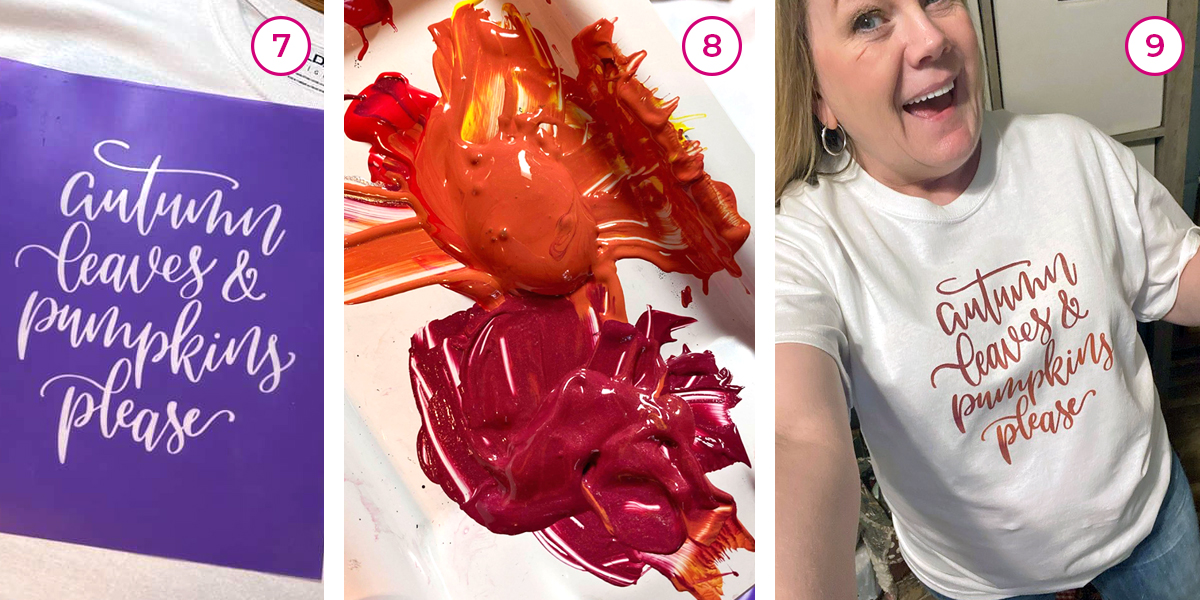
Even though I ran into a few snags with the Behr paint, I didn't give up! I simply used the film positive I had printed and I created another stencil. This time I chose the purple Ikonart Textile Film (7). Again, it washed out perfectly and now I was ready to make two different projects, a sign and a shirt.
I started with my t-shirt. I created some fall colors by mixing Speedball Screen Printing Ink (8) and stenciled the colors on my shirt using an ombre technique going from red to orange (9). After stenciling I let the ink dry, then I heat set the shirt using my Cricut Easy Press. Now I have a great t-shirt for fall that I created myself.
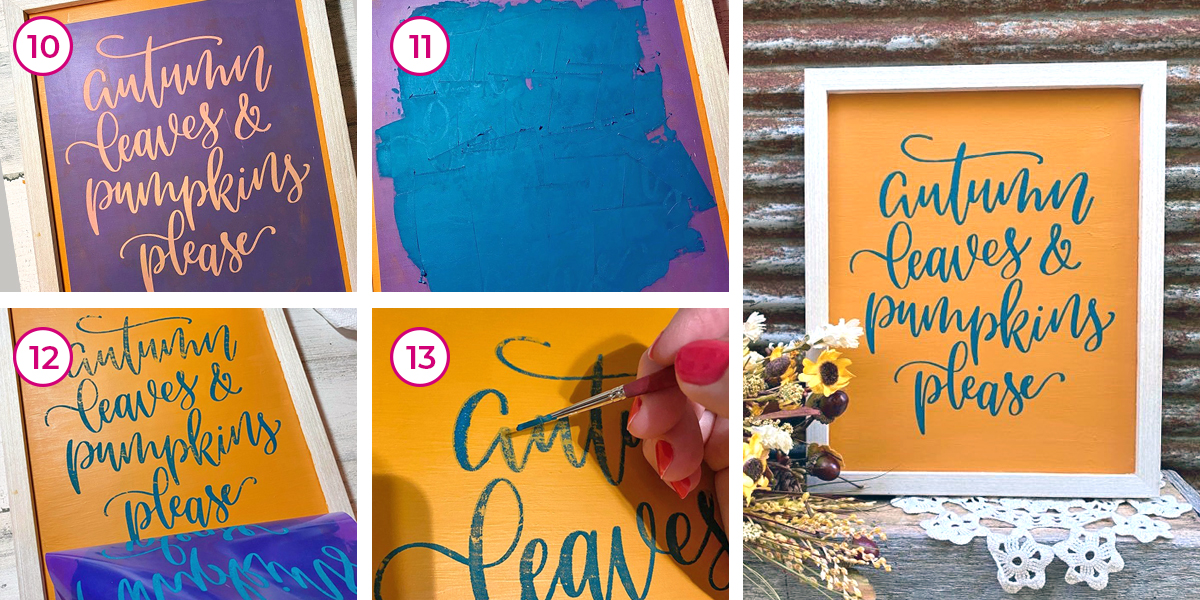
Don't worry, I didn't give up on the wall art project I had started earlier. I simply painted over the failed attempt with a new base coat and went to work (10). This time I used chalk paste instead of paint (11). As I pulled back I noticed some of the chalk paste pulling up because my paste was a bit dry when I started (12). But again, I did not give up! I simply watered down the paste and used a small brush to fill in where the coverage wasn't as good as I wanted it to be (13).
The stencil cleaned up great after using the paste. All the paste washed out and now my stencil is ready for another project. As you can see here, you can fix most any problem with just a little time, patience and TLC. I love how both projects turned out.
Satisfaction with Ikonart
To be able to design a product from scratch is such a great thing! The "satification" (satisfaction + gratification... I might have created a new word as I quickly wrote this out!) is real. It is so satisfying to see something that started with my own lettering now on a t-shirt and hanging on the wall.
Please follow me on Facebook and Instagram to stay up-to-date on all my hand lettered creations. I also sell my hand lettered SVG files in my Etsy shop. I've just opened my shop back up after some time off and I am working to fill it with more and more goodies and digital files, so please come back often and check for new things.
I hope you enjoyed this tutorial. If you use the "Autumn Leaves & Pumpkins Please" free SVG file please tag me on Facebook or Instagram so I can see!
Lisa Coles, Lisa Letters
Facebook: @lisaannletters
Instagram: @lisaannletters
Etsy Shop: LisaLetters
All photos courtesy of Lisa Letters