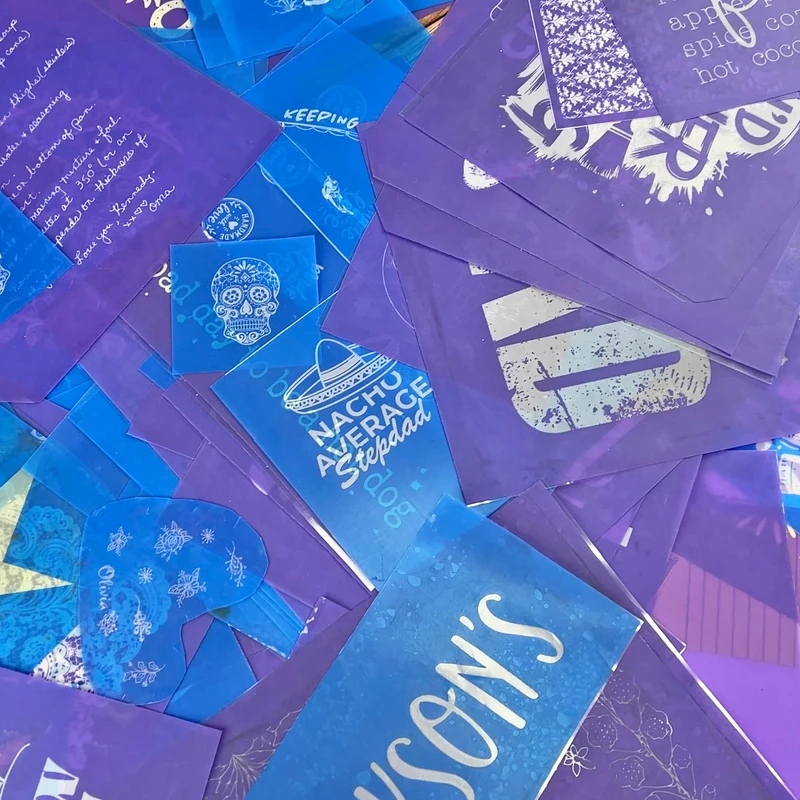
After making hundreds of Ikonart stencils using the Ikonart Custom Stencil Kit over the past few years, I’ve learned that some of the smallest steps can make the biggest difference.
The basic Ikonart process is simple, but a few habits can help make stencil making easier, faster, and more consistent. From printing your artwork to washing out and post-exposing your stencil, these are some of the things I do every time I make an Ikonart stencil.
WATCH VIDEO: What I've Learned Making Hundreds of Ikonart Stencils
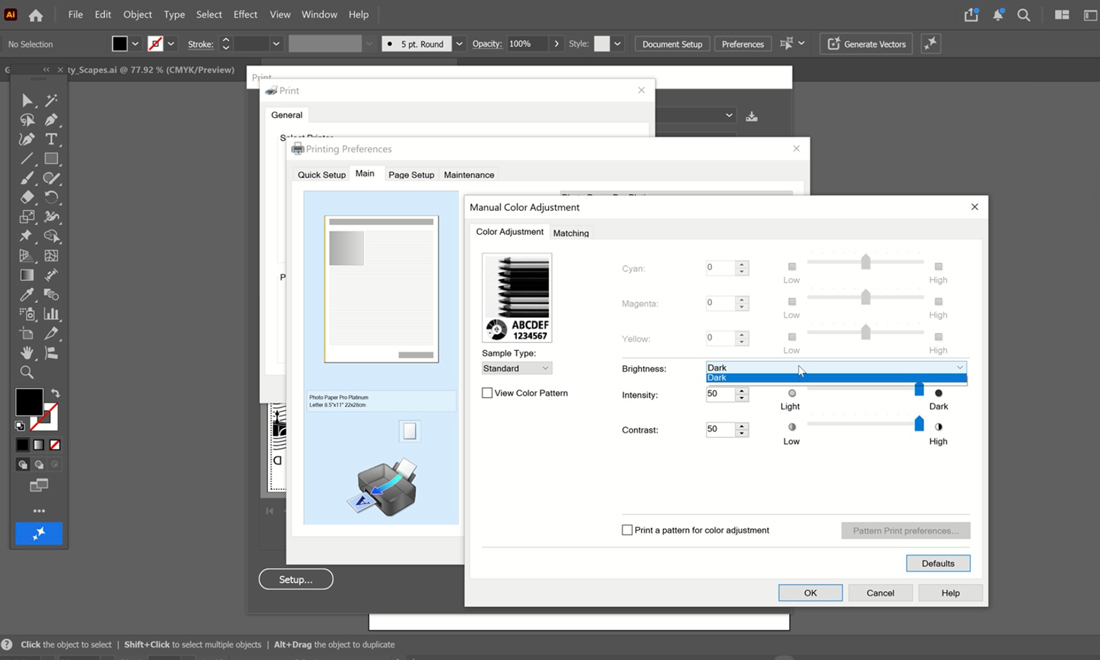
1. Adjust Your Printer Settings for Darker Artwork
A good stencil starts with a good print. Before printing my artwork, I always adjust my printer settings to get the darkest print possible. The exact settings will depend on your printer, but I typically recommend:
- Printing in 100% black
- Selecting a high-quality print setting
- Using a photo or similar high-resolution setting
- Increasing the contrast or darkness if your printer allows it
The goal is to create a dark, opaque image on your Ikonart Inkjet Printer Film or Ikonart Laser Printer Film. The darker your artwork is, the better it will block the UV light during exposure.
If your black areas look light, gray, or transparent, take a look at your printer settings before moving on to making your stencil.
2. Work Quickly & Protect Film From Light
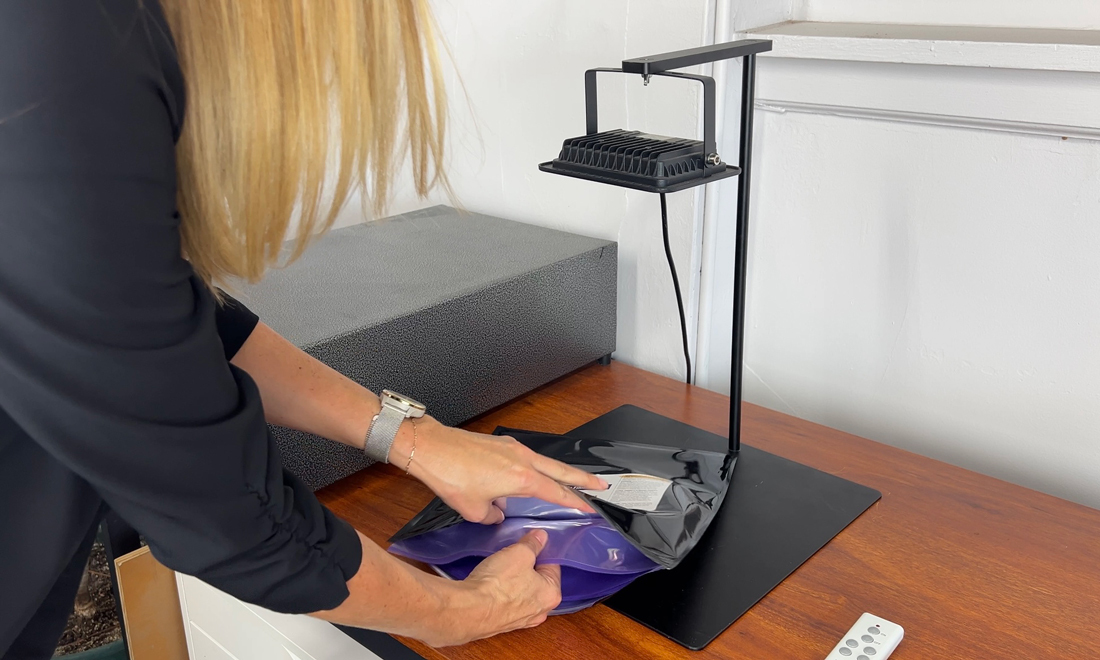
Ikonart Stencil Film is light sensitive, so I try not to leave it sitting out longer than necessary.
When I’m ready to make a stencil, I remove one sheet of stencil film and the cover sheet from the package. Then I immediately seal the bag and put the remaining film back in a drawer.
I also avoid working directly in front of a bright window or any source of UV light.
You don’t have to rush through the process, but it’s a good habit to have everything ready before taking your stencil film out of the package.
3. Rub Down the Cover Sheet Before Exposure
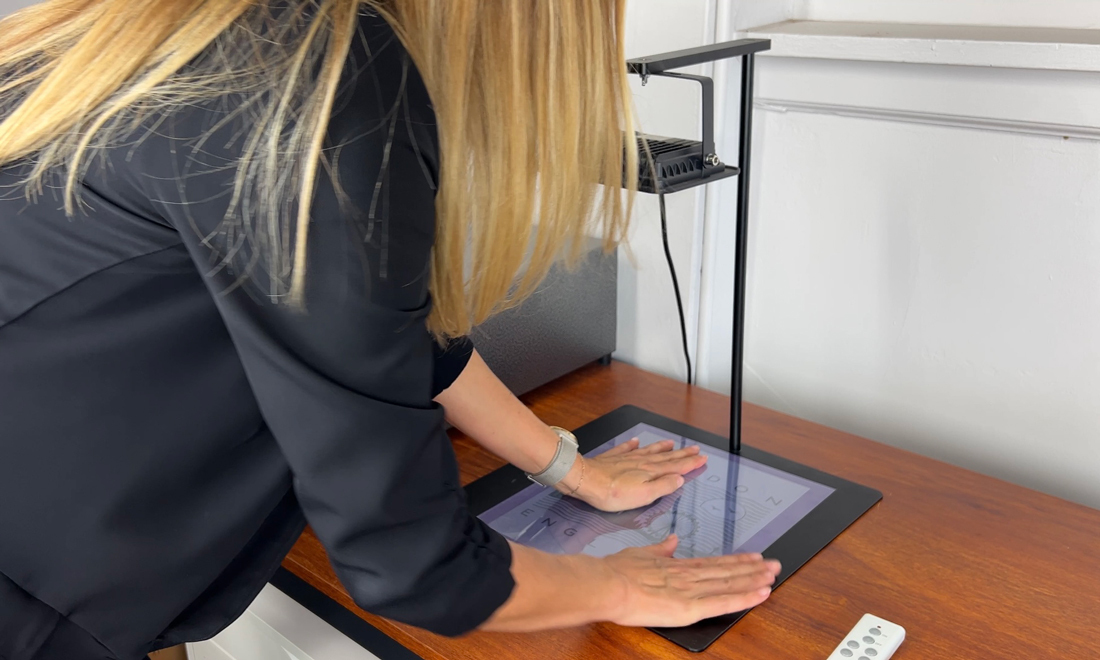
Before turning on my exposure light, I rub down the cover sheet really well. This helps press the printed artwork tightly against the stencil film.
You want as little space as possible between your artwork and the stencil film. If there is a gap, UV light can sneak underneath the edges of your design and affect the details of your stencil (this is called undercutting).
The cover sheet adds a little weight and helps hold everything together while the stencil is being exposed. Take a few seconds to press it down firmly before turning on your exposure light.
4. Use A Clipboard When Soaking To Protect Stencil From Light Until Fully Washed Out
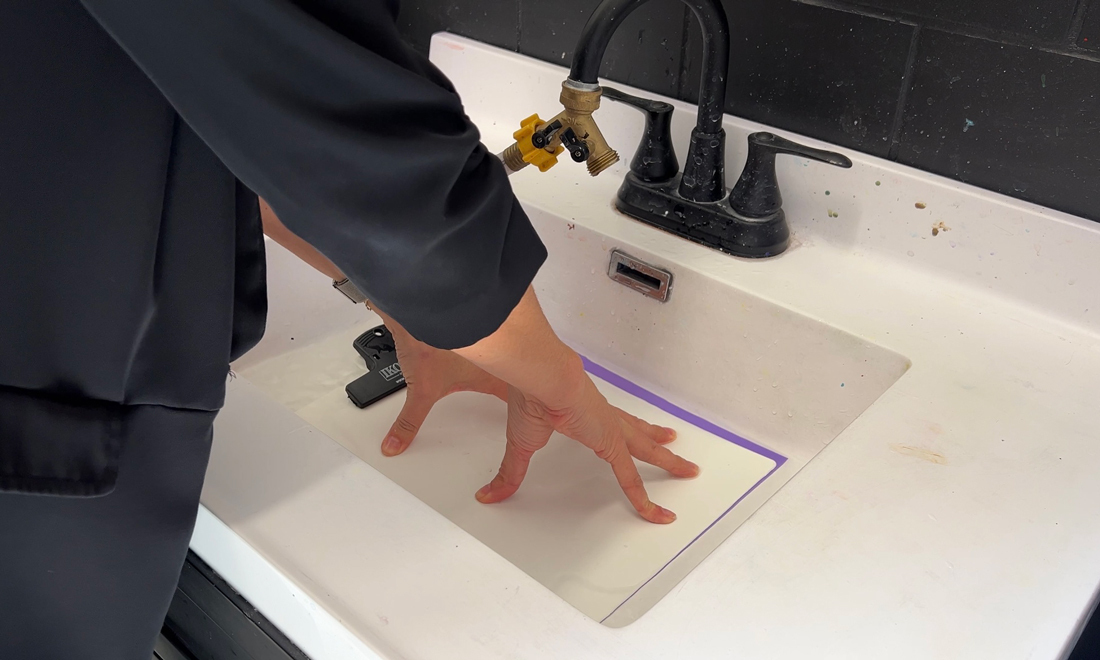
Once the exposure is finished, I head straight to the sink. The stencil film will continue to react to light until the unexposed coating has been completely washed away. Because of this, I avoid washing out my exposed stencil under bright lights or near a sunny window.
I even cover my stencil while it is soaking before washout with the Ikonart Clipboard that comes in the Ikonart Custom Stencil Kit.
Keeping unnecessary light away from the stencil during this stage can help protect the areas of your design that still need to wash out.
5. Do NOT Soak Stencils for Too Long
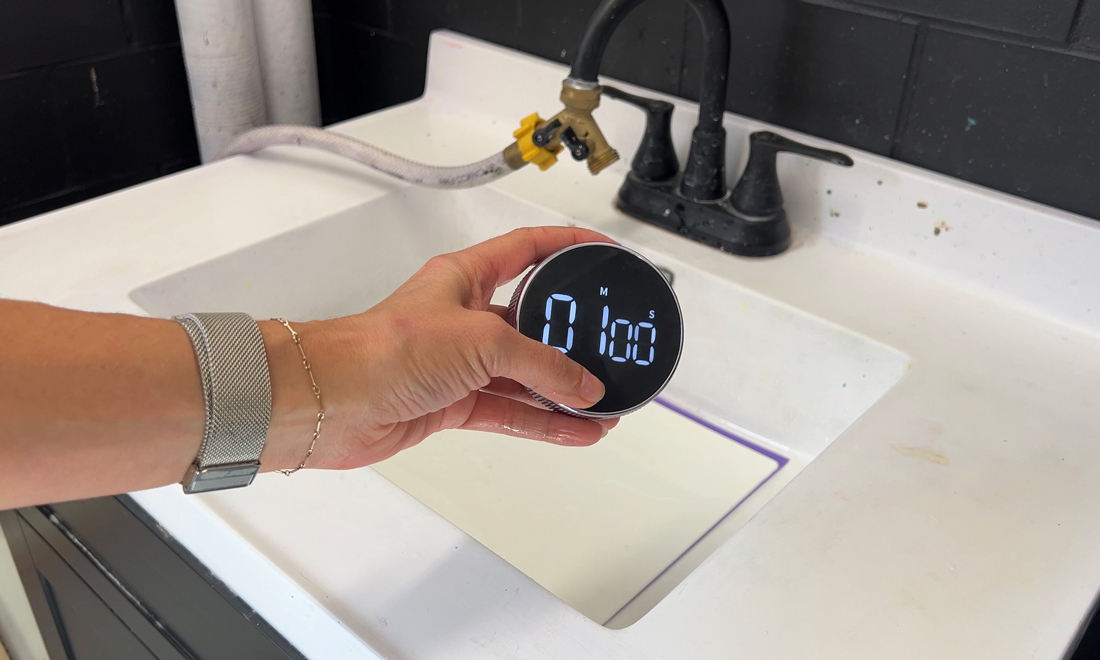
Before washing out my stencil, I like to soak it in warm water for about one minute. This helps soften the coating and usually makes the washout process faster and easier.
But longer is not necessarily better!
I generally do not soak my stencil for much more than a minute. Leaving it in the water too long can weaken the stencil and make it more likely to break down during washout.
A short soak is usually all you need.
6. Use Warm Water and Good Water Pressure
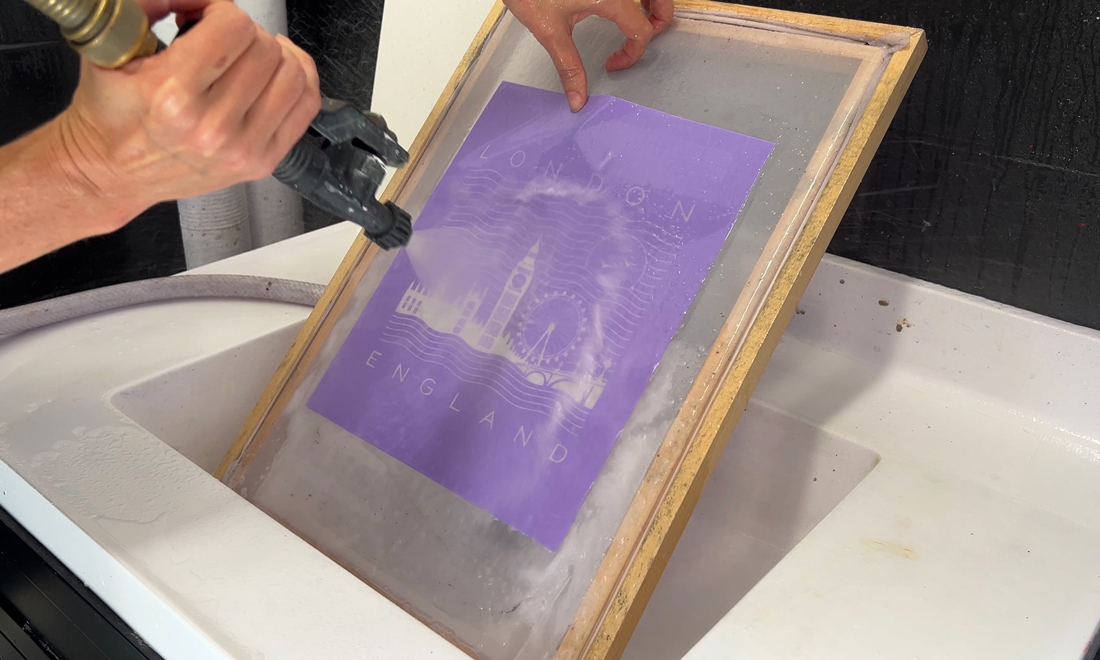
When it’s time to wash out the stencil, I use warm water and a spray nozzle with good water pressure. I use the TriggerJet Nozzle, but any kitchen sprayer nozzle should work. There are also attachments available on Amazon to increase your water pressure.
The warm water helps soften the coating while the water pressure helps clear the open areas of the stencil.
I also keep the nozzle moving. Instead of concentrating the spray on one small area for a long time, I continuously move across the stencil. Focusing strong water pressure on one area for too long can weaken the stencil.
Be patient and let the combination of warm water, water pressure, and movement do the work.
7. Check Your Stencil Against a Light Source
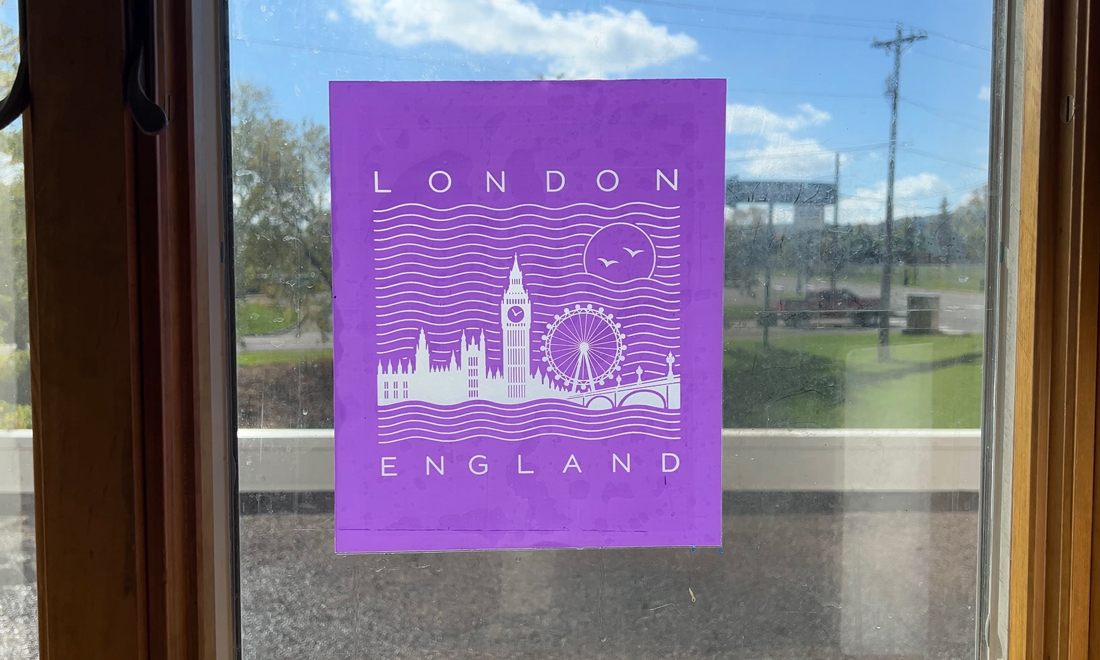
When I think my stencil is completely washed out, I hold it up to a light source. A bright window works great.
This makes it much easier to see whether any areas are still partially blocked. Fine details and small openings can sometimes be difficult to see when the stencil is lying flat in the sink.
Checking it against the light gives you one more opportunity to catch anything you missed before drying the stencil. If you see any areas that aren't fully washed out, now is the time to take it back to the sink and rinse it out some more. After the stencil dries you won't be able to.
8. Blot Away Excess Water Before Drying
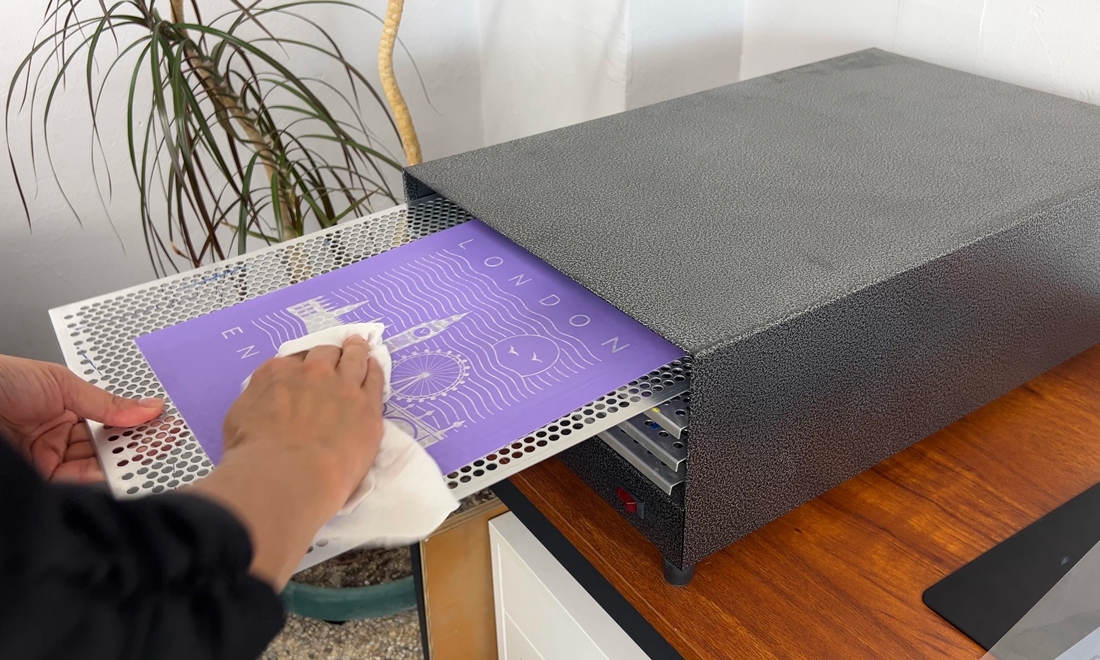
After washout, I gently blot the stencil with a cloth to remove excess water.
Whether you plan to air dry your stencil or use the Ikonart Film Dryer, removing some of that extra water first can speed up the drying process.
The key is to blot rather than aggressively rub the stencil. At this point, the stencil is still delicate, so handle it carefully until it is completely dry.
9. Don’t Forget to Post-Expose
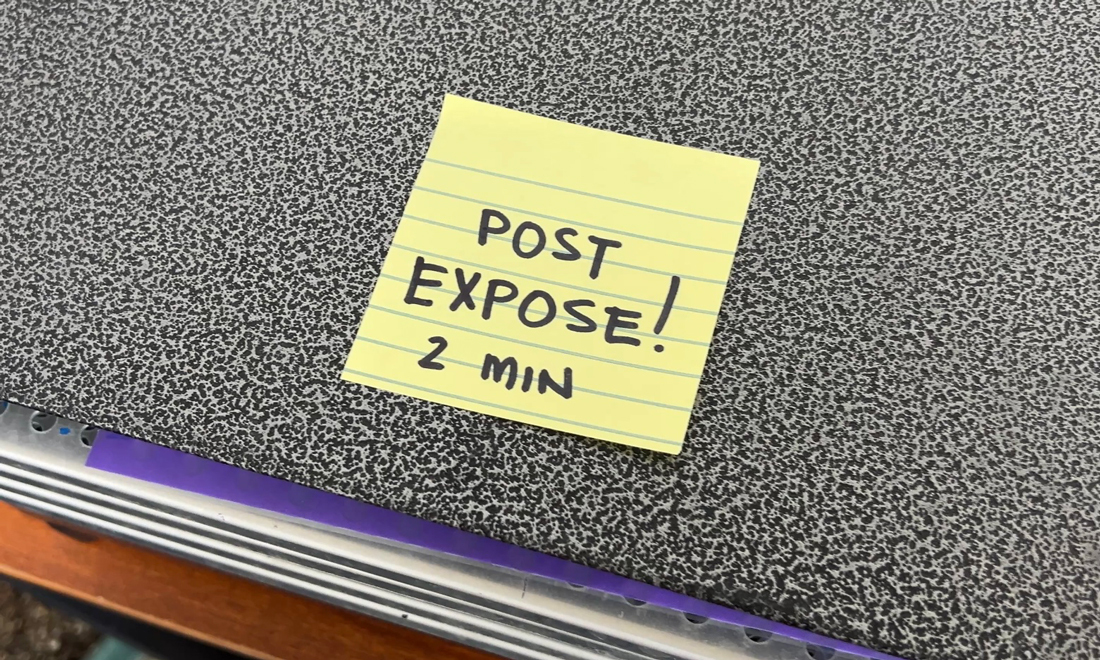
This is one of the easiest steps to forget, which is exactly why I keep a reminder near my workspace.
Once the stencil is completely dry, post-expose it for at least two minutes. Post-exposure helps further cure the stencil and makes it more durable when you start using it for your projects.
It only takes a little extra time, but it can make a noticeable difference in how well your stencil holds up.
Small Habits Can Make a Big Difference
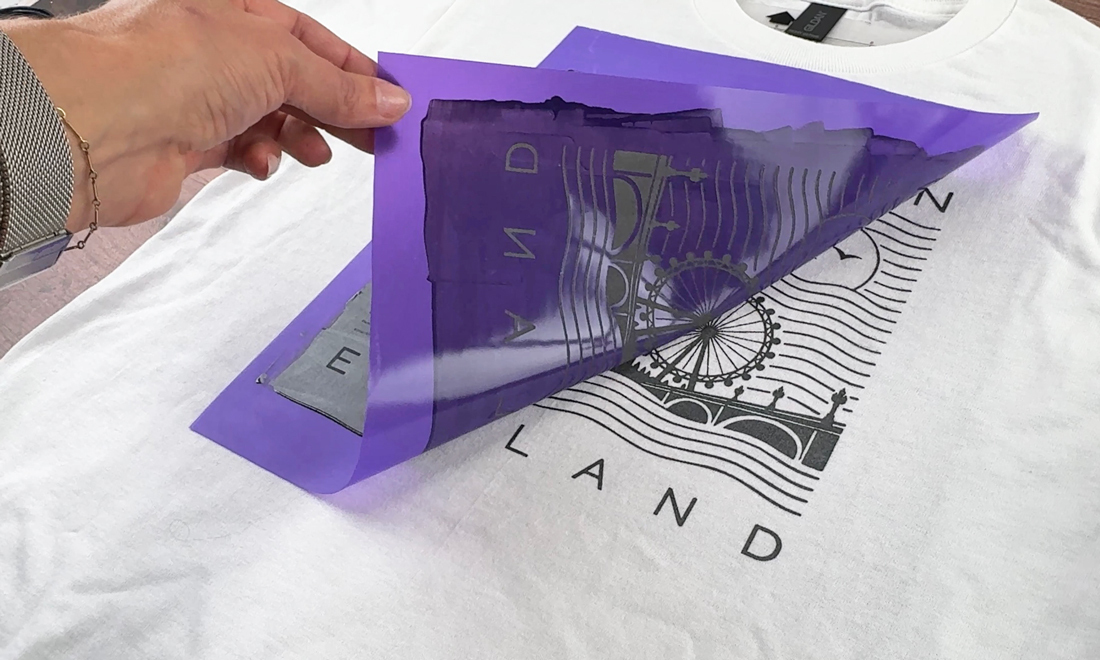
Making Ikonart stencils gets easier with practice. After making hundreds of them, I’ve found that consistency often comes down to a few simple habits:
- Start with dark, high-quality artwork
- Protect your stencil film from unnecessary light
- Make sure your artwork has good contact with the stencil film
- Use a 1 minute warm-water soak before washout
- Keep your spray nozzle moving during washout
- Check your stencil carefully before drying
- Remove excess water to speed up drying
- Always remember to post-expose
None of these steps are complicated, but together they can make the stencil-making process smoother and help you get more consistent results.
If you’ve made a lot of Ikonart stencils yourself, what tips have you learned along the way? Share them in the Ikonart Crafters Group on Facebook. We’d love to hear what works for you.