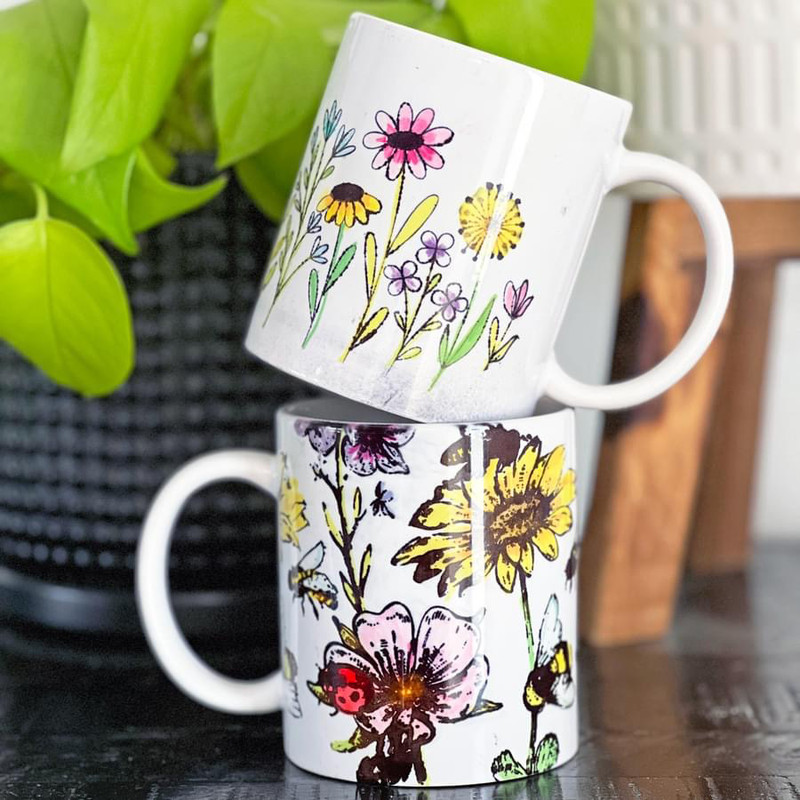
Have you ever wanted to try sublimation, but you don't want to invest in a sublimation printer? Well, Nancy Cross with Sweet Traditions has figured out a way how.
Nancy uses her Ikonart Custom Stencil Kit to make reusable silkscreen stencils, then she uses those stencils to apply her images to her laser printer instead of using a sublimation printer. Here's exactly how she does it.
Use Ikonart Stencils To Sublimate Without A Sublimation Printer
Hello. My name is Nancy and usually I use my Ikonart Stencil Kit to screen print designs onto beautiful cookies and cakes, but I also figured out a way to make sublimation mugs using my Ikonart stencils. Here are the sublimation supplies you will need to sublimate on a mug without using a sublimation printer.
SUPPLIES LIST
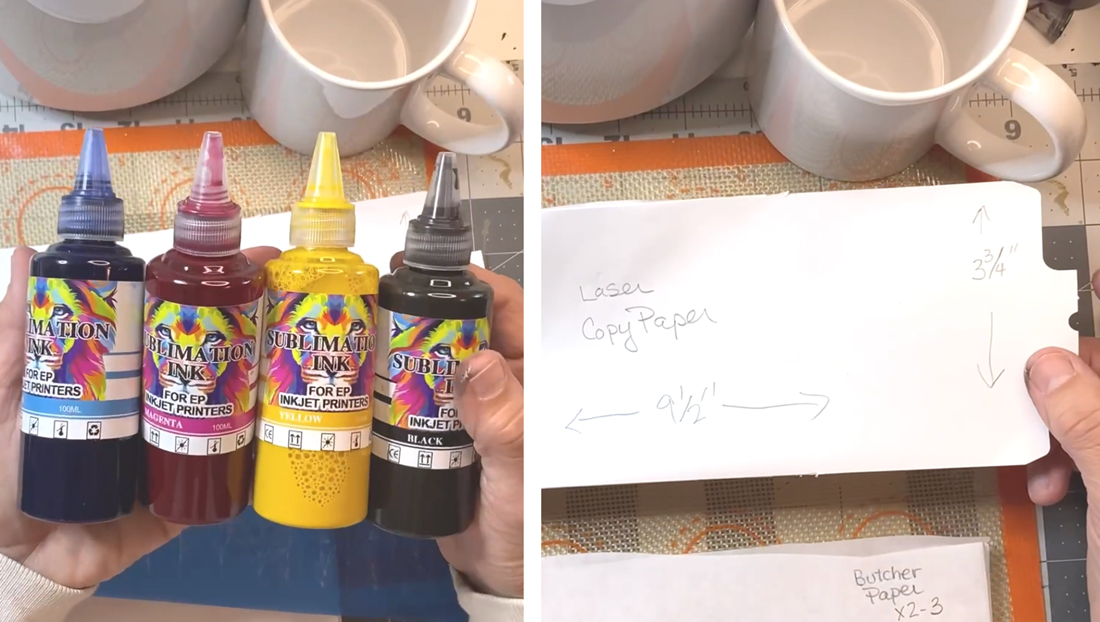
- Laser paper (brightness of 97-100)
- Butcher paper
- Sublimation mug
- Sublimation ink
- Ikonart stencil
- Paintbrush
- Mug press
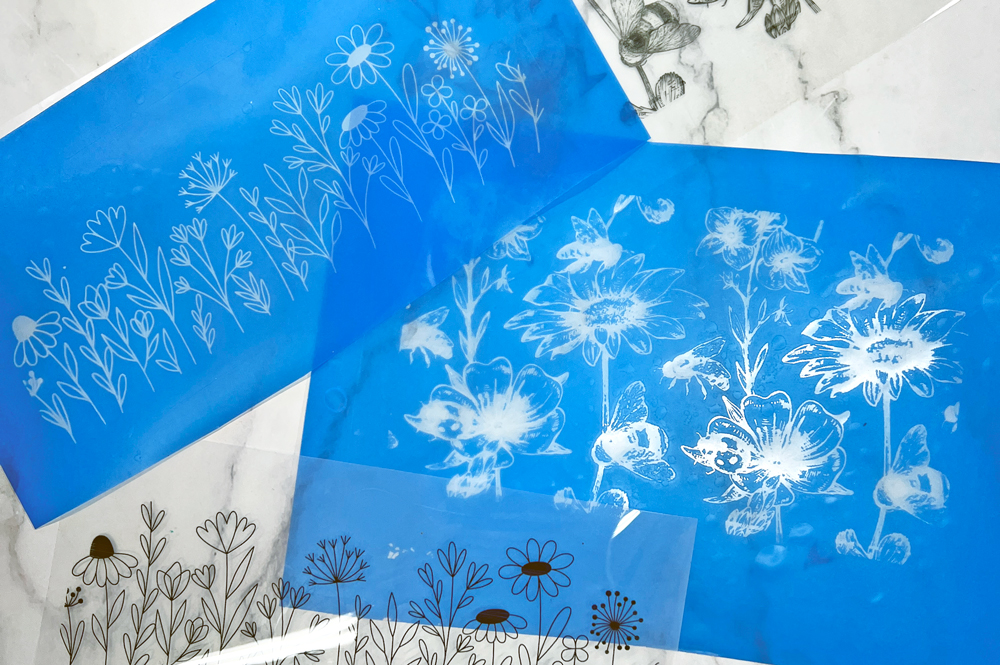
Create Your Ikonart Stencils For Sublimation
The first thing you have to do is make your Ikonart stencils. I already had these Ikonart stencils made, but if you are new to Ikonart you can check out their Artwork FAQ page, Free Artwork Page, and Demo Videos page for more information on how to create artwork and stencils using the Ikonart Custom Stencil Kit.
>> WATCH VIDEO: Make Your First Ikonart Stencil
Apply Your Sublimation Design To Laser Paper
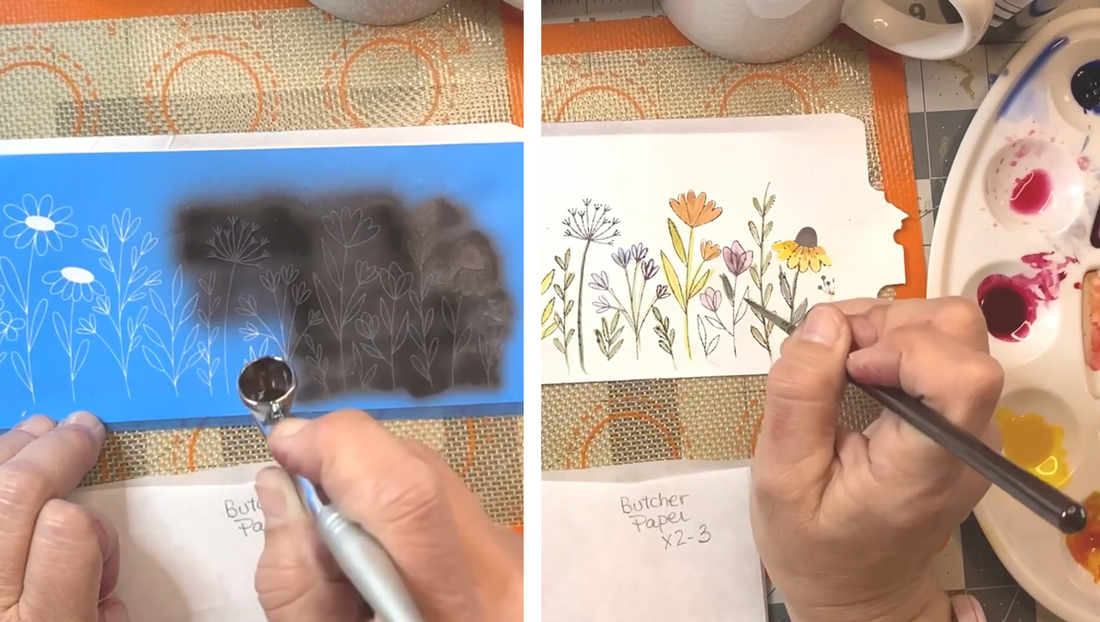
After your stencil is made you are ready to get your design onto the laser paper. Normally you would use a sublimation printer for this, but today we are going to use the Ikonart stencil. Note: Some brands of laser paper may say laser inkjet paper, but just make sure the label states a brightness of 97 to 100.
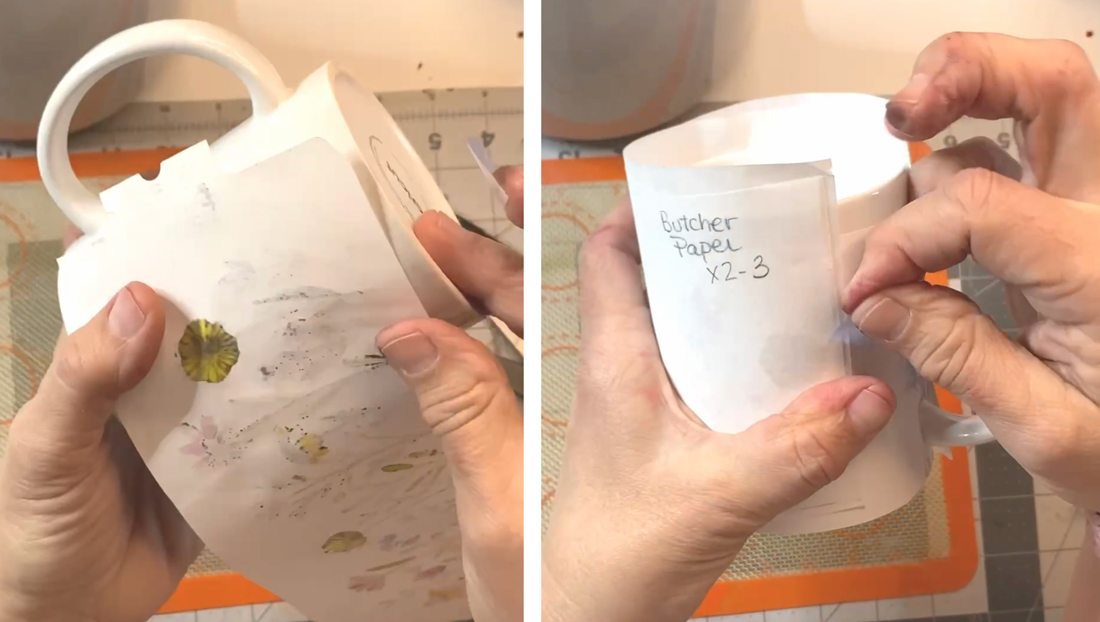
I cut my laser paper to be 9.5" by 3.75" with a notch to go under the handle.
You can either use a sponge or an airbrush to apply the sublimation inks. If you use a sponge you just have to be careful not to saturate the stencil too much because the ink will bleed underneath the stencil. Airbrushing goes much faster and it's a bit easier to apply a nice even layer. You just add your sublimation inks to your airbrusher and then apply the ink to the stencil that way.
After I applied the outline of my design using my Ikonart stencil, then I used my sublimation inks like a coloring book to fill in the design. The sublimation inks work just like watercolor paints. The only downside is you only have four colors to work with - cyan, magenta, yellow and black - so if you want other colors, you will have to mix them. I painted all of my flowers in varying shades of green, yellow, pink and purple.
Sublimate Mug Using A Mug Press
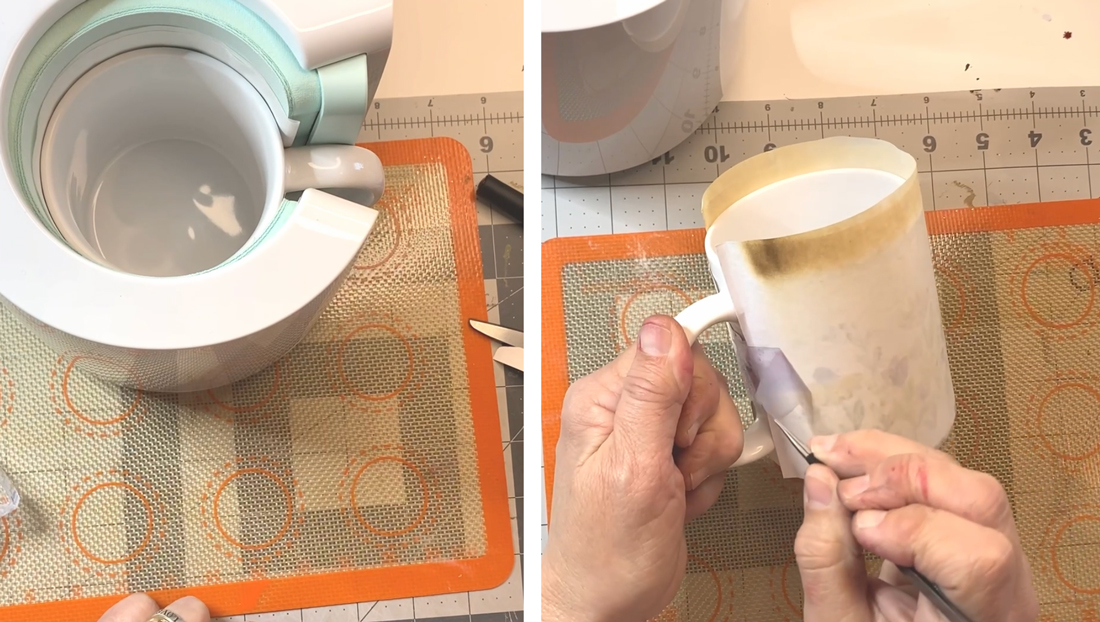
Once you have your design colored in the way you want, use some heat resistant tape and snugly tape your design to the mug with the design facing the mug. Then take the butcher paper and tape that over your design, making sure it is tight. The butcher paper will prevent any ink bleed onto the mug press. You can also tape the bottoms if you want to.
Next put your mug in your mug press and let it run its course for the full setting. When the time is up and you take your mug out of the mug press it will be really hot, so be careful. Let the mug cool or use a large tweezers to pull off the tape and reveal the design underneath. Note: The mug press is optional, but adds convenience. You can also sublimate using a convection oven (just look for a tutorial on YouTube).
Benefits of Sublimation
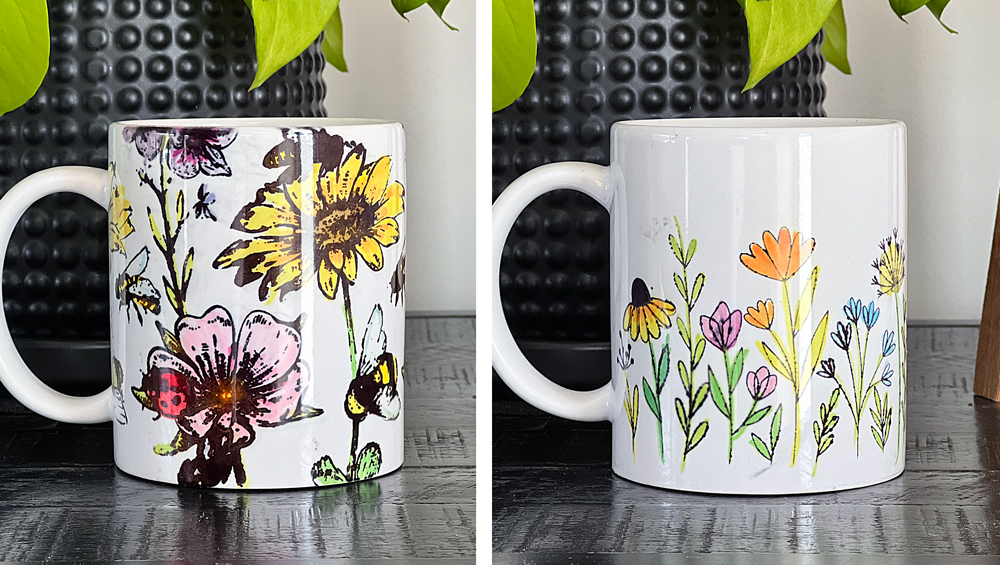
This method goes really fast. I really like sublimation because unlike some other ways of doing mugs, there's not any raised edges on these mugs. The design is also permanent. I've run a couple in the dishwasher several times, and they've done really nicely. Plus I can get a very detailed design with lots of beautiful colors and layers, which would be very difficult if I was trying to stencil the mugs with paint. I hope you enjoyed this tutorial and let me know in the Ikonart Crafters Facebook Group if you have any questions!
Nancy Cross, Sweet Traditions
Website:
Sweet Traditions
Facebook:
Sweet Traditions
Instagram:
@nancyssweettraditions
YouTube:
Sweet Traditions

