Catherine Morris always had a love for crafting, but it wasn't until she was stuck at home during the pandemic that she tried creating with polymer clay. She immediately fell in love with creating clay earrings and as her collection started to grow she realized she needed to start selling some of her creations to make room for all the ideas she had swirling around in her mind.
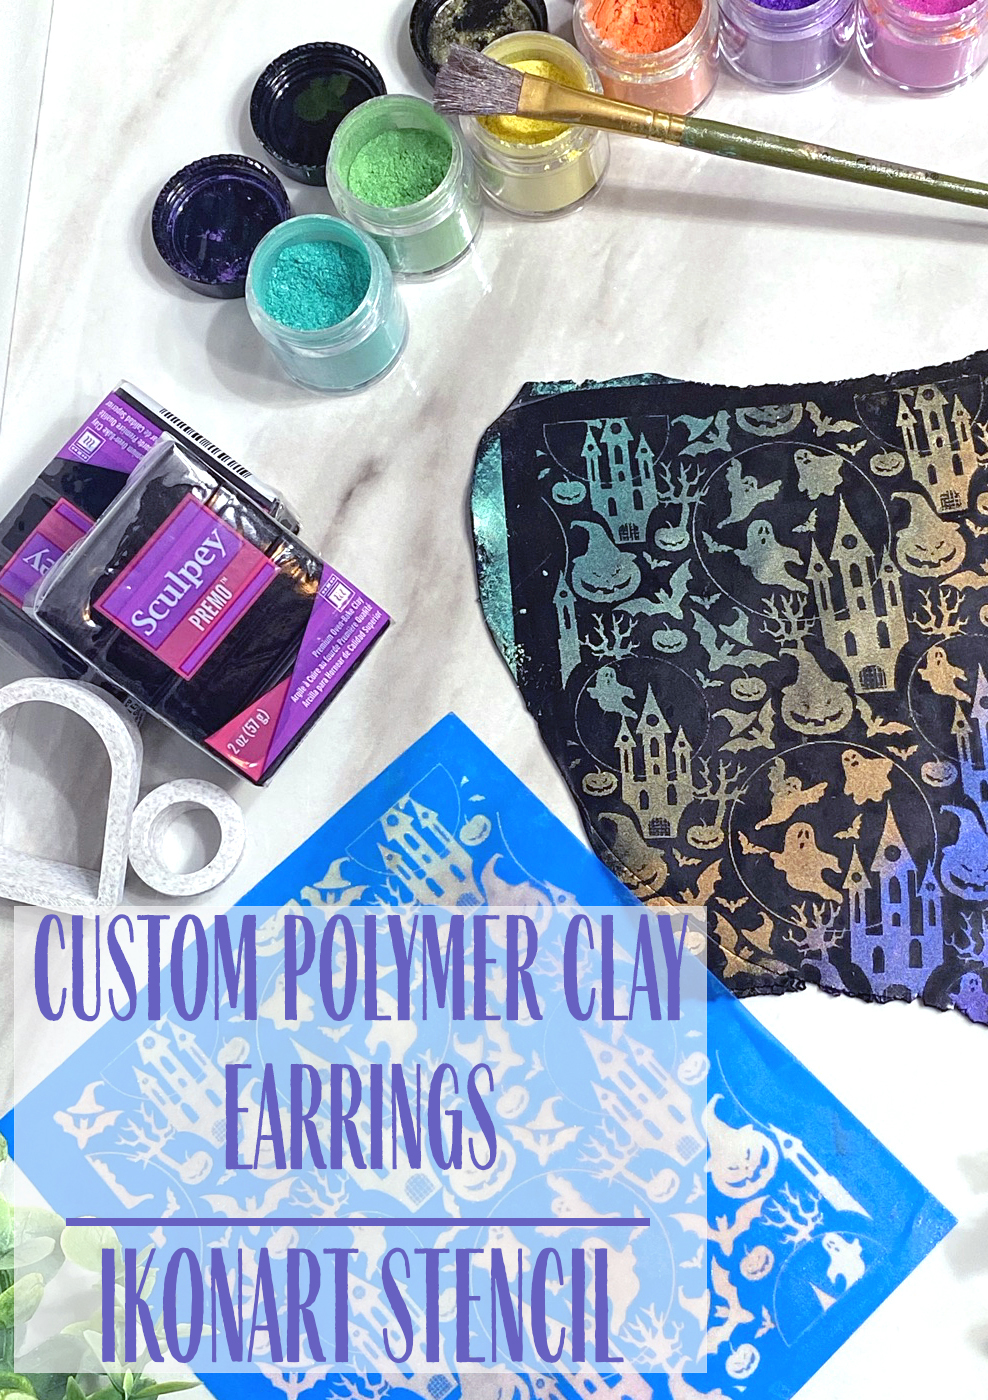
Catherine is known for her use of creative methods to create unique earring designs, but she also sells custom silkscreens for jewelry making, clay cutters for different earring shapes, and a variety of other miscellaneous crafts. In this post, she will take us through the steps for creating these awesome spooky earrings with polymer clay, mica powder, and of course her Ikonart Custom Stencil Kit.
SUPPLIES NEEDED
- A digital image/design (if making your own silkscreen)
- Ikonart Custom Stencil Kit or a Silkscreen Stencil
- Sculpey Premo Polymer Clay
- Soft Bristle (or eyeshadow) brush
- Tissue Blade
- Shape-cutter of your choice
- Oven and baking sheet
- Duraclear or resin
MAKING YOUR IKONART SILKSCREEN STENCIL
You can either make your own silkscreen stencil using the Ikonart Custom Stencil Kit, or you can purchase a pre-made silkscreen stencil from my website. If you choose to make your own, here is how you do it.
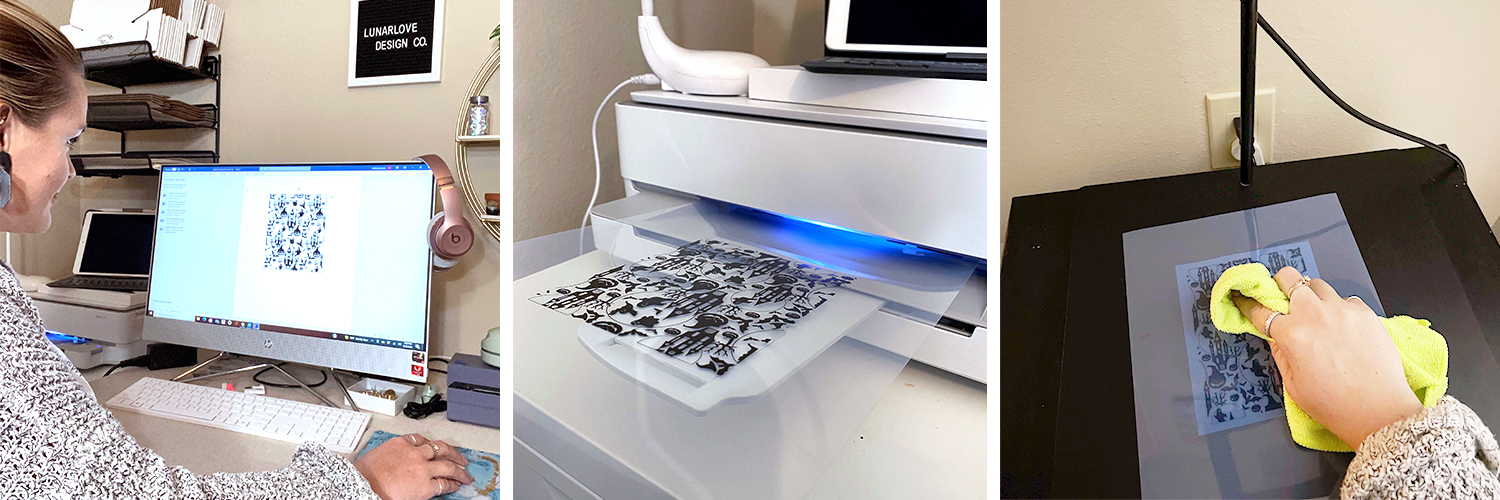
1. PRINT: Choose a black and white image and open it in your software of choice (I prefer to do mine in Microsoft Word). Load your printer film into the printer and print onto your transfer sheet (make sure you print in black only and adjust your printer settings to print as dark as possible; I use Max DPI setting for my printer). *Helpful Hint: If you are using the Inkjet Printer Film print on the side that DOESN'T show your breath when you breathe on it; if you are using the Laser Printer Film you can print on either side.
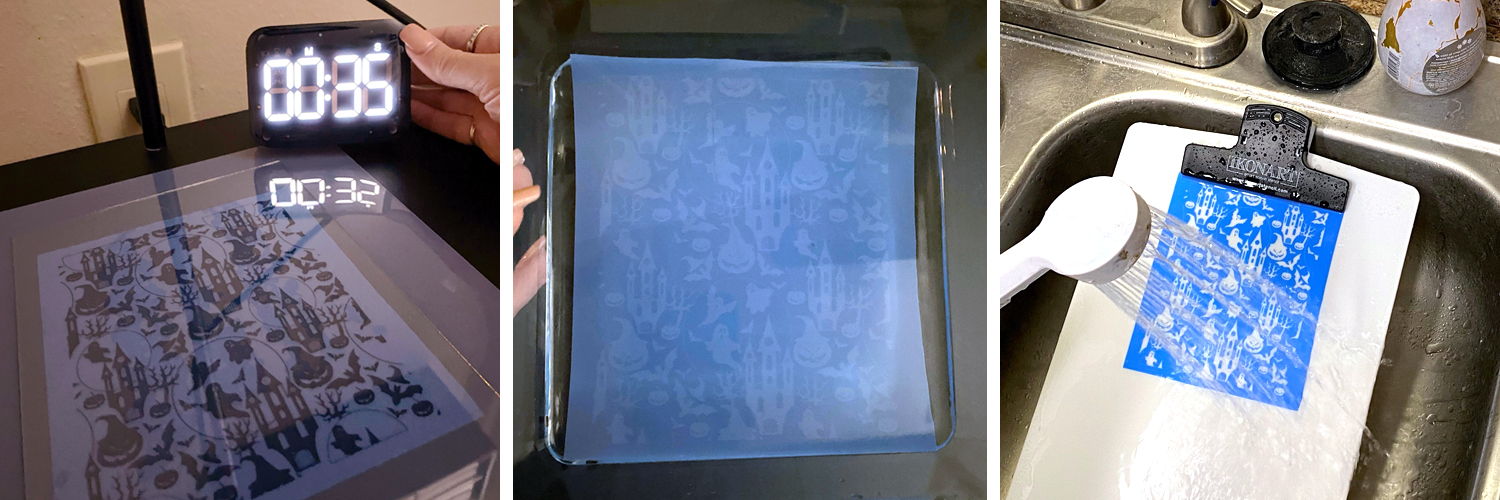
2. EXPOSE: Cut a piece of your blue Ikonart Stencil Film to your desired size BEFORE exposing. No point in wasting a whole precious emulsion screen if you are only making a small stencil! Place your printed design onto the textured side of the emulsion sheet. *Helpful Hint: It's very important to get a secure contact. To do this, I use a microfiber cloth and rub it down so there is no air in-between the two mediums. Then, for added protection, I place a piece of cheap glass to weigh down the transfer paper. You can use the clear sheet that is provided in your kit but I find that I like the added security a cheap $1 Dollar General glass frame provides (just make sure your glass doesn't have any lead in it, because lead blocks UV light). To each their own though! Burn the screen for 35 seconds under your Ikonart light, I use an inkjet printer so this is what works best for me. If you have a lot of fine detail, you can cut it down 5 seconds.
3. RINSE: Now its time to rinse! Place your blue exposed film in water for 1 minute to soften the image. This is the exciting part because you start to see your image appear almost instantly! Get your water temp to a comfortable luke warm temperature (too hot and the emulsion will detach!). If you don’t have a sprayer attachment on your sink, you can purchase a TriggerJet Nozzle from Ikonart to provide that extra pressure you will need to rinse your screen out. Once your screen is rinsed out and you feel confident in your details, lay it out to dry. Be patient. *this one is important! Wait for it to be COMPLETELY dry before you proceed. Good things come to those that wait!
4. POST-EXPOSE: Once your stencil is completely dry, place it back under your Ikonart light to post-expose for a minimum of two minutes. After you have post exposed your stencil, its ready to use!
NOTE: Additional instructions for creating your Ikonart custom stencil can be found in the Ikonart Quick Start Guide or watch one of their demo videos.
MAKING YOUR POLYMER CLAY EARRINGS
The first time you make polymer clay earrings with mica powder can feel overwhelming, but don't let that stop you! After you make a few pairs you will see how easy it is to create one-of-a-kind jewelry pieces. Here is how I make mine.
1. CONDITION CLAY: Using Sculpey Premo Polymer Clay, condition clay through a pasta machine or with a roller until all air bubbles are removed and the clay has a slight shine to it.
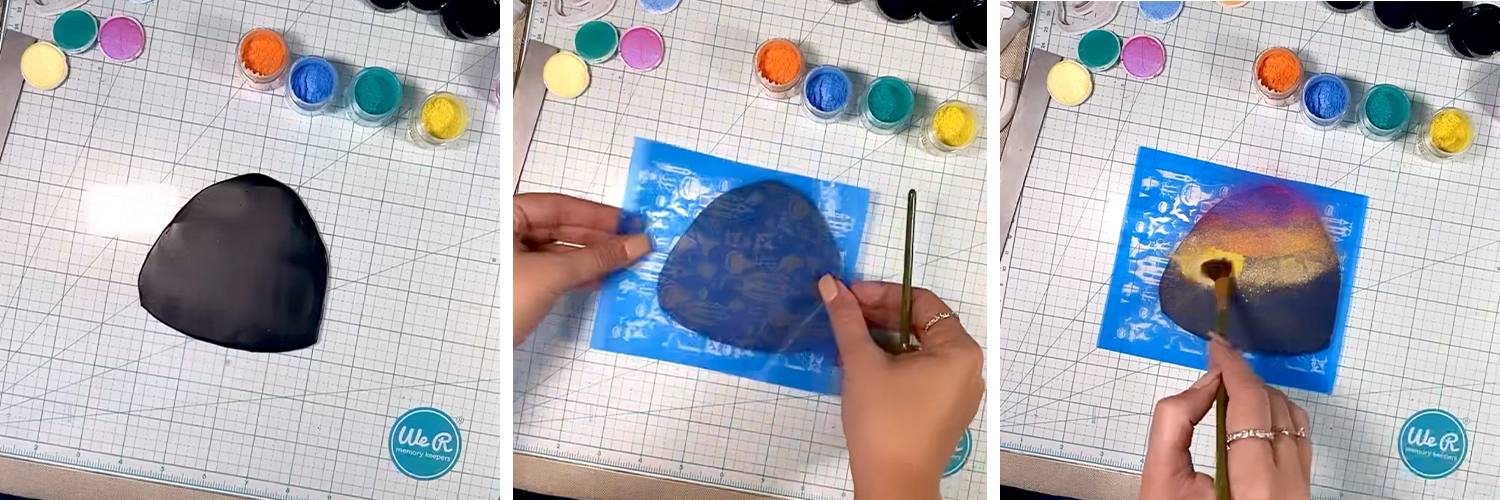
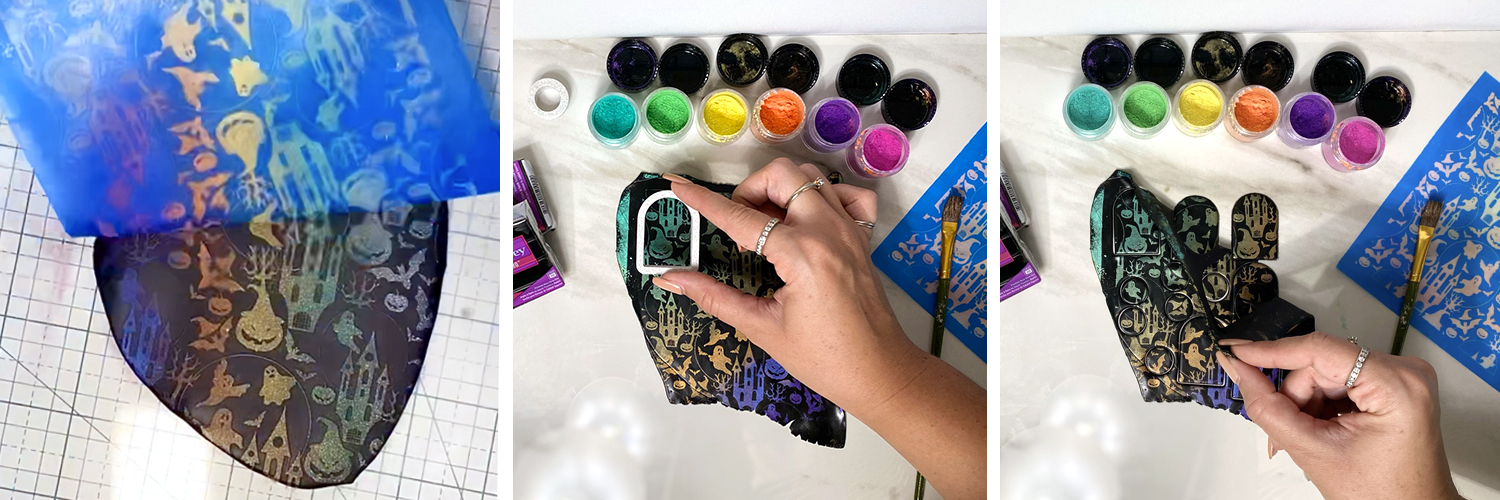
2. ADD SILKSCREEN: Place sticky side of silkscreen onto a conditioned smooth piece of raw clay, smoothing out any air between the two mediums.
3. ADD MICA POWDER: Dip your soft bristle brush into the mica pigment powder and brush the pigment onto the screen. Slightly patting with the brush ensures the mica penetrates through to the clay. Once your confident in your pigment saturation, chances are you’ll need to wipe off the excess pigment with a paper towel. Do this lightly though! The goal is to prevent a mess when you pull up your screen but NOT remove the pigment.
4. REVEAL YOUR DESIGN: It's time to pull! Slowly peel the screen from the corner, revealing your beautiful design
5. CUT YOUR EARRINGS: Now you can cut your desired shapes. I used a circle stud shape and an arch window shape for this design.
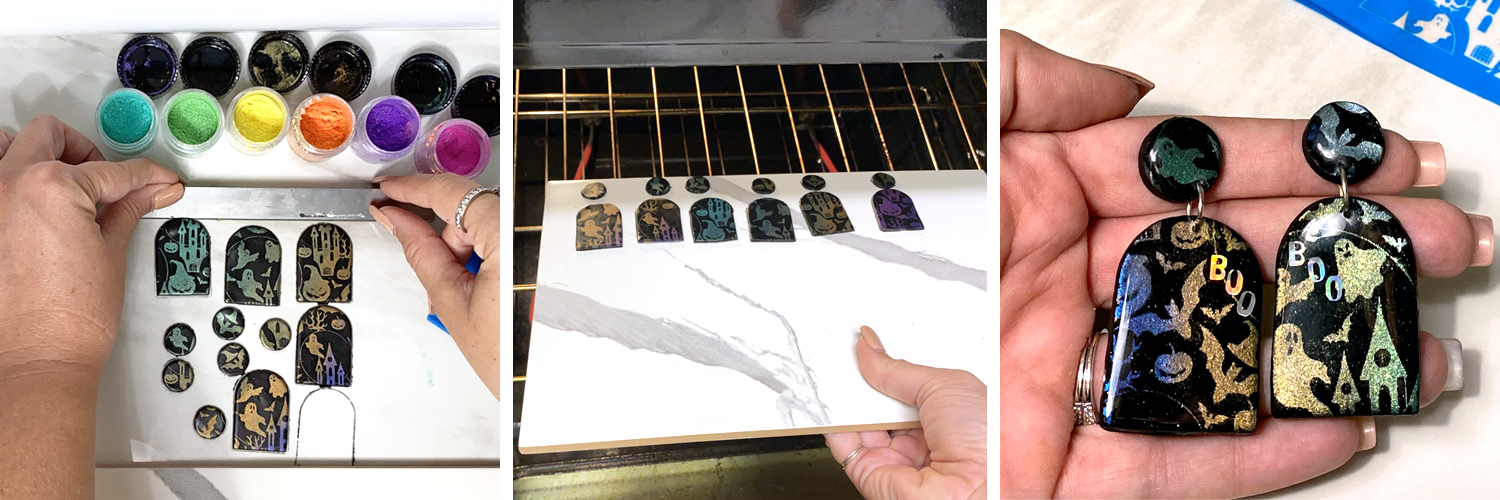
6. BAKE YOUR EARRINGS: Carefully remove the earring pieces (I use a tissue blade) and place them on a flat cookie pan or ceramic tile. Ceramic tiles can be found at Home Depot for under $1 and they work wonderfully for polymer clay baking. Preheat oven to 275 degrees. Once the oven is pre-heated, place your clay pieces in the oven for 30 minutes. After 30 minutes, remove from oven and leave to cool. NOTE: If you are using a clay other than Sculpey Premo follow the instructions on the package.
7. SAND EDGES: Once your pieces have finished cooling, you can sand any edges that need a little TLC. After you finish sanding you will need to seal your mica with either resin or a polyurethane glaze like Duraclear.
8a. SEAL WITH DURACLEAR: Duraclear is safe to use, about $2.00 USD for a bottle that will last you 6+ months, and they have it in all sorts of finishes from matte to glossy. If you choose to seal your polymer clay earrings with Duraclear then just brush it onto your baked pieces. Let dry completely in between layers (about 1 minute). I typically do 3 layers to fully protect my pieces from harmful debris and facial oils. And don’t worry, it won’t ruin or dull the mica.
8b. SEAL WITH RESIN: If you choose to seal your polymer clay earrings with resin I recommend a UV resin. Simply place a generous dot of resin onto your clay piece and using a toothpick or silicone brush spread the resin evenly across the earrings. Then, place your earrings under a UV lamp (or even your Ikonart light) for 5 minutes.
And that's it ... if you've been following along with this tutorial you just made some adorable spooky earrings! If you have any additional questions about using polymer clay to make earrings and jewelry, please reach out to me on one of my social channels listed below. Happy Making!
Catherine Morris, Founder of Lunar Love Design Co
Website:
lunarlovedesignco.com
Instagram:
@lunarlove_design_co
Instagram:
@polymerclaysilkscreens
Facebook:
@LunarLoveDesignCo
TikTok:
@lunarlovedesignco