")
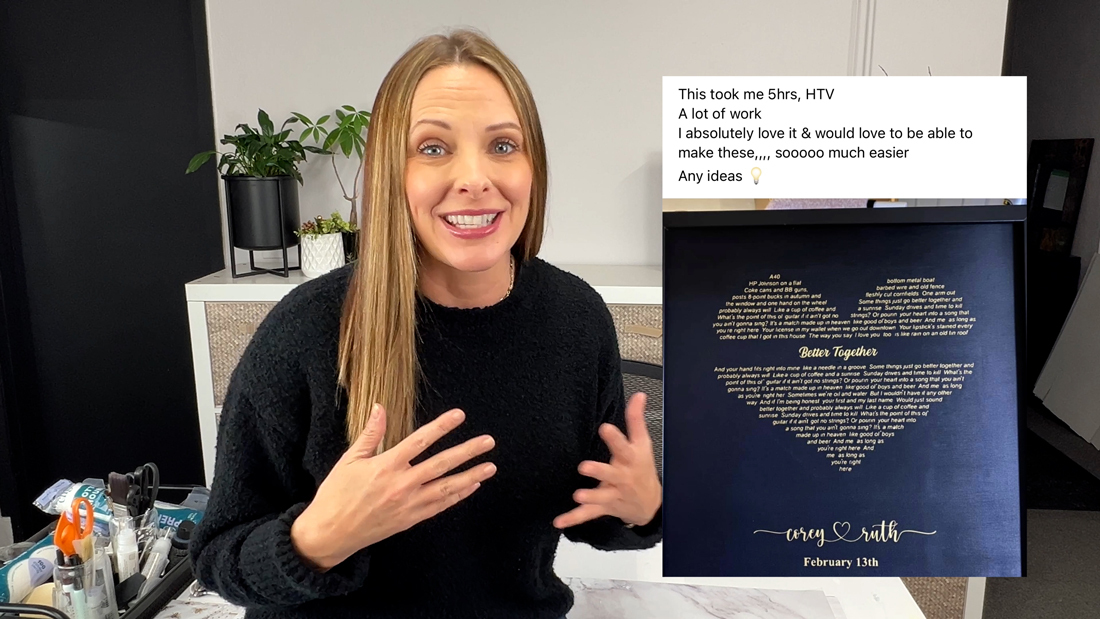
If you have ever finished weeding an intricate vinyl stencil and thought, “That took forever,” you are not alone. I recently saw a post in a Facebook craft group where someone shared a beautiful, high-detail lyric heart design and said it took five hours to weed the vinyl. She loved the result, but wanted an easier way.
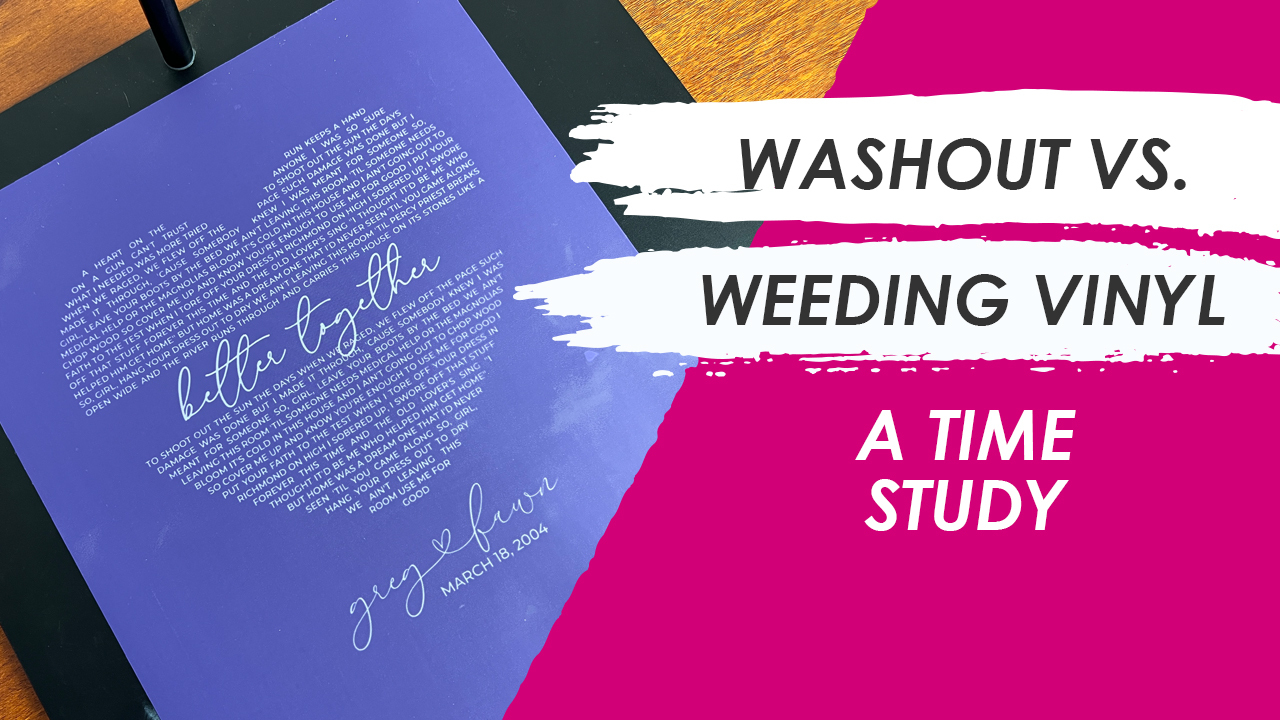
That post made me curious, so I decided to recreate a similarly complex design and run a simple time study: How long does it take to make an Ikonart stencil from start to finish, compared to weeding a highly detailed vinyl stencil?
Spoiler alert: it was not even close.
The design: high-detail, vinyl-weeding nightmare level
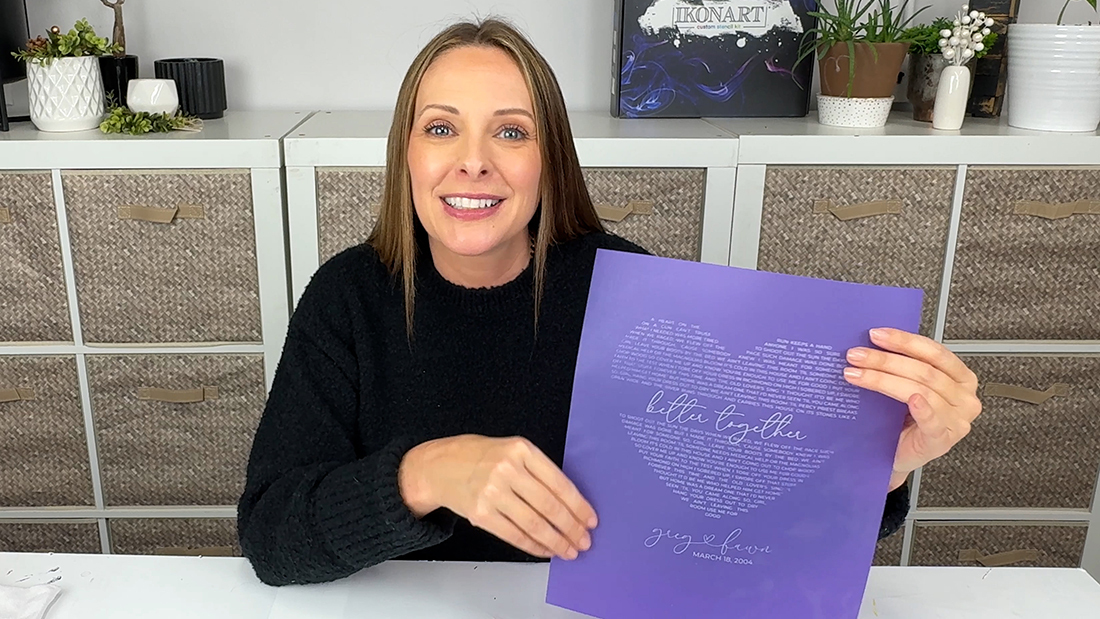
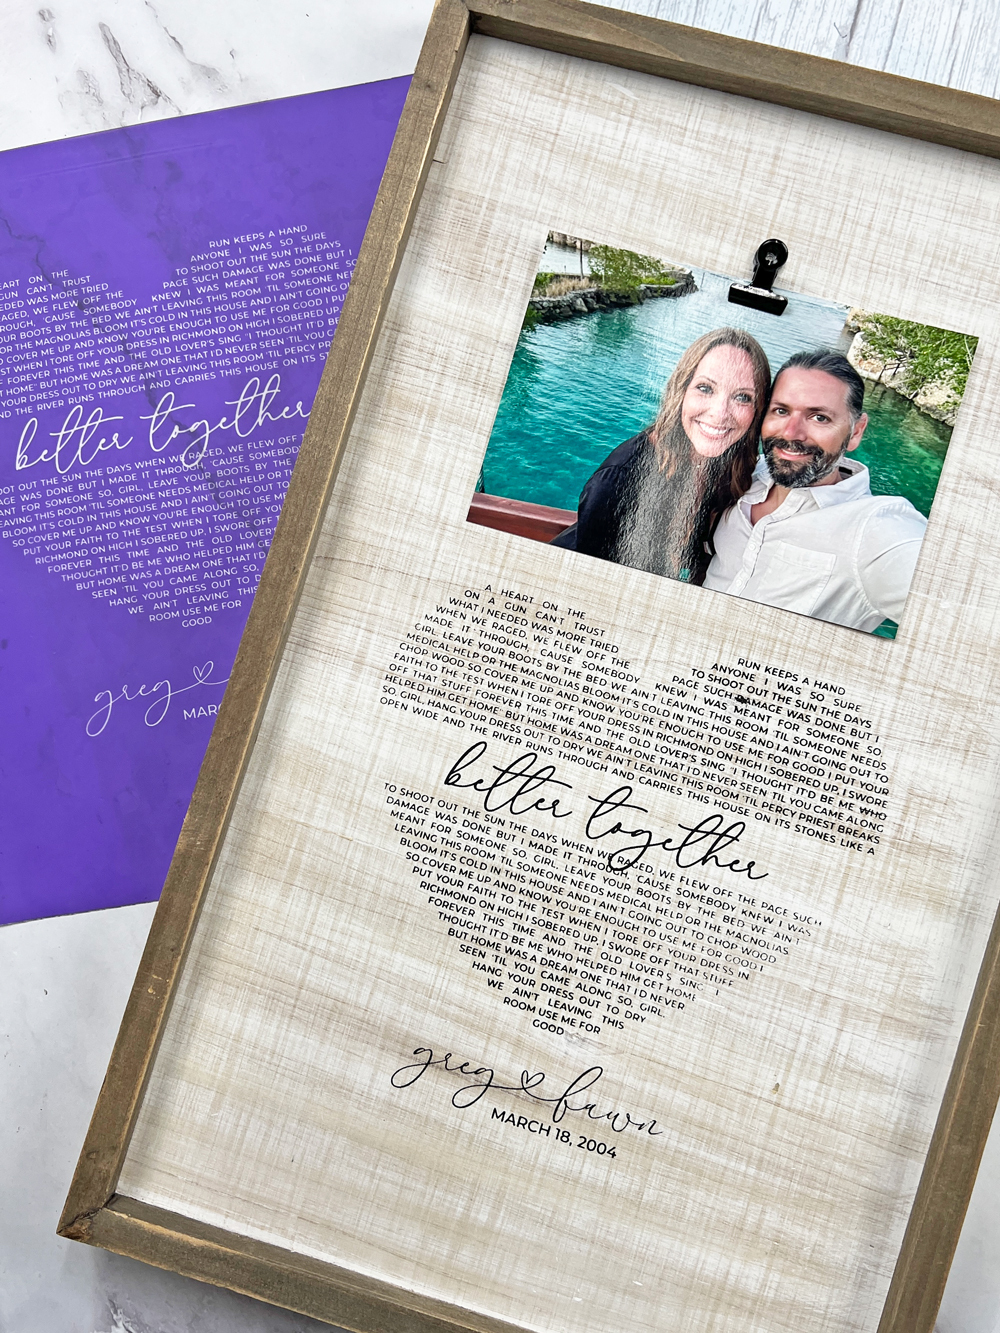
For this test, I created a very intricate heart design with lots of tiny text and fine details that was similar to the design the original person posted (their original post shown in the image above). These are exactly the kinds of designs that can turn vinyl weeding into a multi-hour project.
Quick note: If your design includes copyrighted lyrics or quotes, be sure you have permission to use them for products you sell. This post focuses on the process and the time difference, not the specific text.
The goal of the time study
I timed my full Ikonart stencil-making workflow, including exposure, washout and post-exposure. I did not include dry time in the final “hands-on time,” because dry time varies depending on your setup and environment.
Supplies used
- Printed artwork
- Ikonart Textile Film (kept protected in the black bag until ready to expose)
- Clear cover sheet (comes with the stencil film)
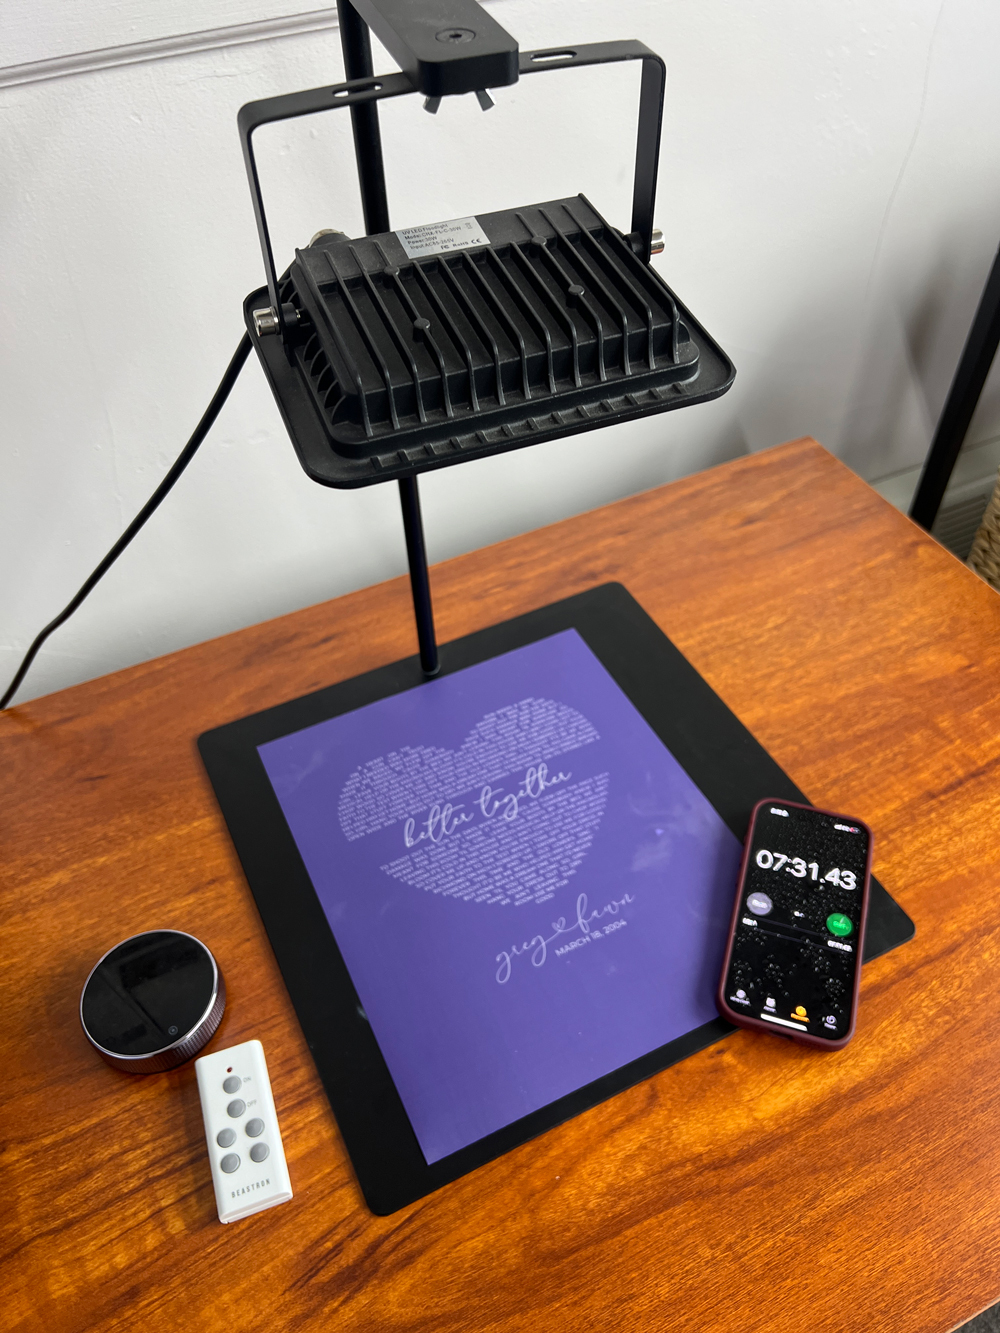
- Ikonart exposure light and stand
- Warm water
- A sprayer with decent pressure (I used the TriggerJet Nozzle)
- Clipboard (for soaking and support)
- Optional: Film dryer, food dehydrator, or hair dryer on low heat
Step-by-step: how long it took to make the Ikonart stencil
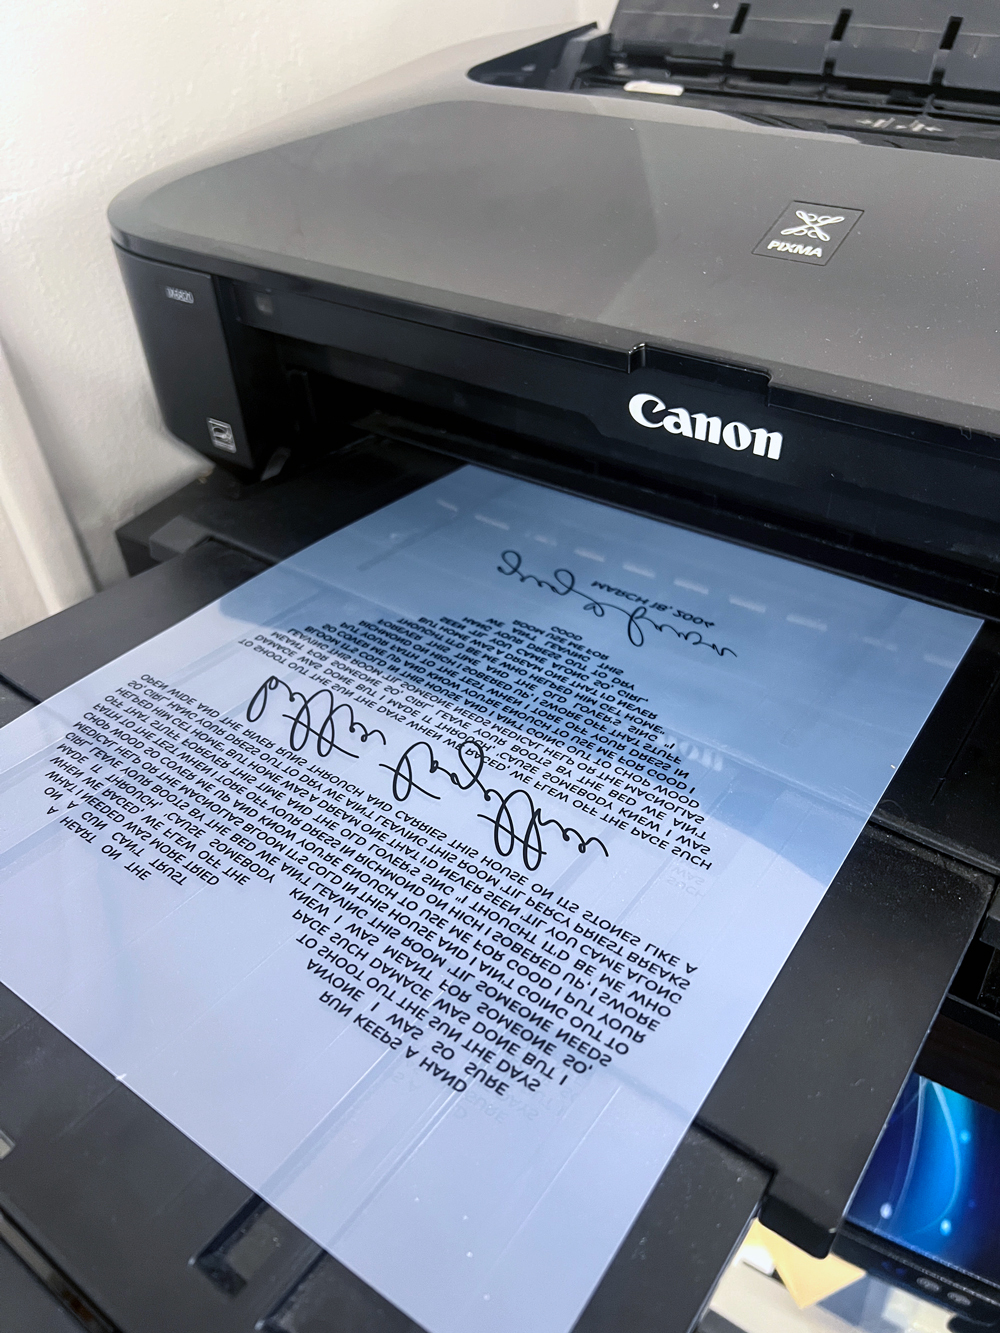
1) Set up the film and artwork
The original post did not mention if the 5 hours included cutting the design, so I did not include printing my design in this time study. Printing took an extra 2 minutes.
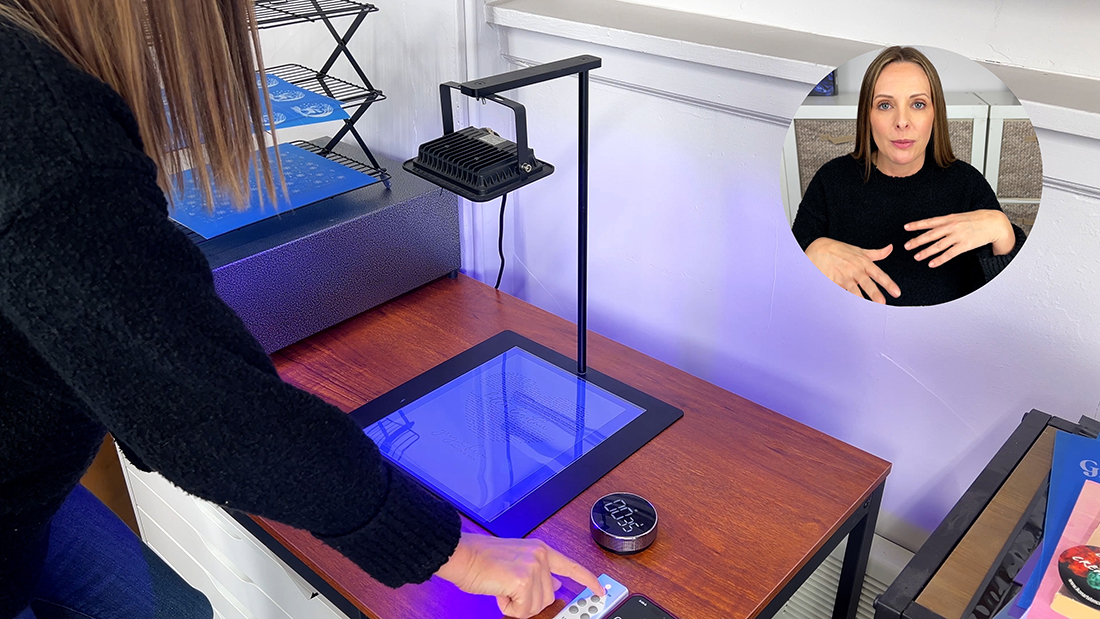
2) Exposure
I pulled the Ikonart Textile Film from the black bag and immediately sealed the bag back up to protect the rest of the film from light. Then I placed the film on the stand coated side up, placed the artwork on top so it was readable, added the clear cover sheet, and rubbed everything down really well to ensure a tight seal (extra important for high-detail designs).
A great seal between artwork and film helps you hold detail and keeps edges crisp. I exposed the stencil for 35 seconds.
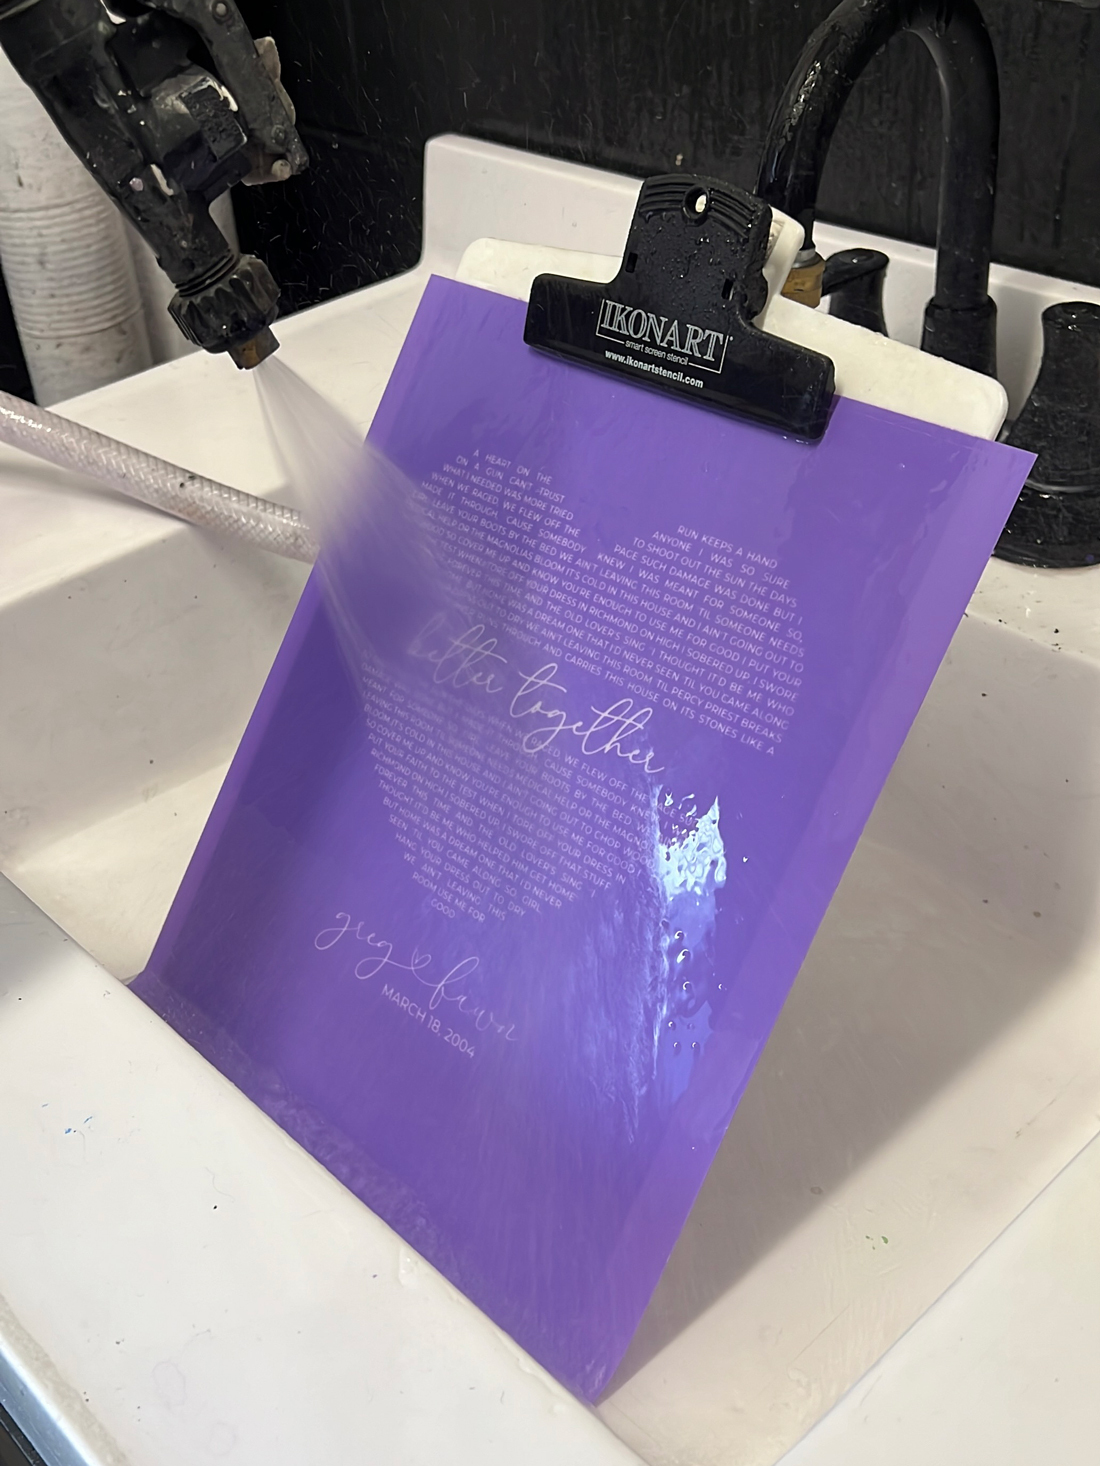
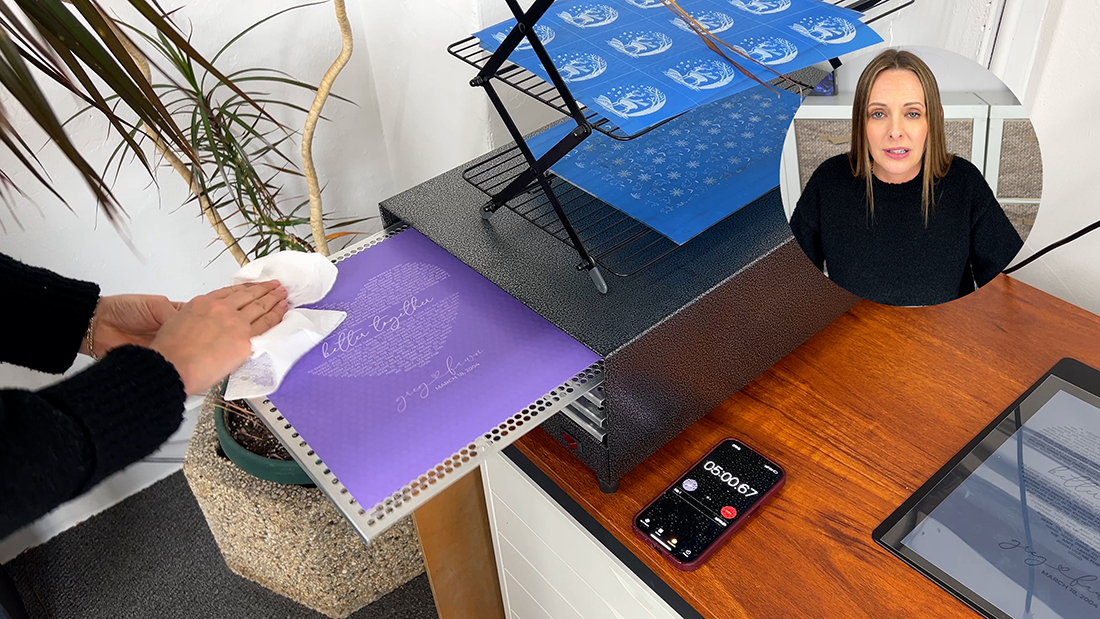
3) Washout
Next, I took the stencil to the washout area. I was working in normal indoor light, but I'm not in front of a bright window or letting light expose my stencil film for an extended period of time.
I soaked my stencil in warm water for 1 minute to pre-soften the coating. During the soak, I placed a clipboard on top to help protect the stencil from light. Then I washed out my stencil using warm water and good spray pressure.
Tip: That 1-minute soak makes washout noticeably faster, especially on detailed designs.
4) Dry time (not included in hands-on time)
Dry time is different for everyone. I used a film dryer, which took about 7 minutes.
Other options:
- Air dry (often 30 to 60 minutes, depending on humidity)
- Hair dryer on low heat
- Food dehydrator
Tip: Always blot off excess water first. It speeds up any drying method.
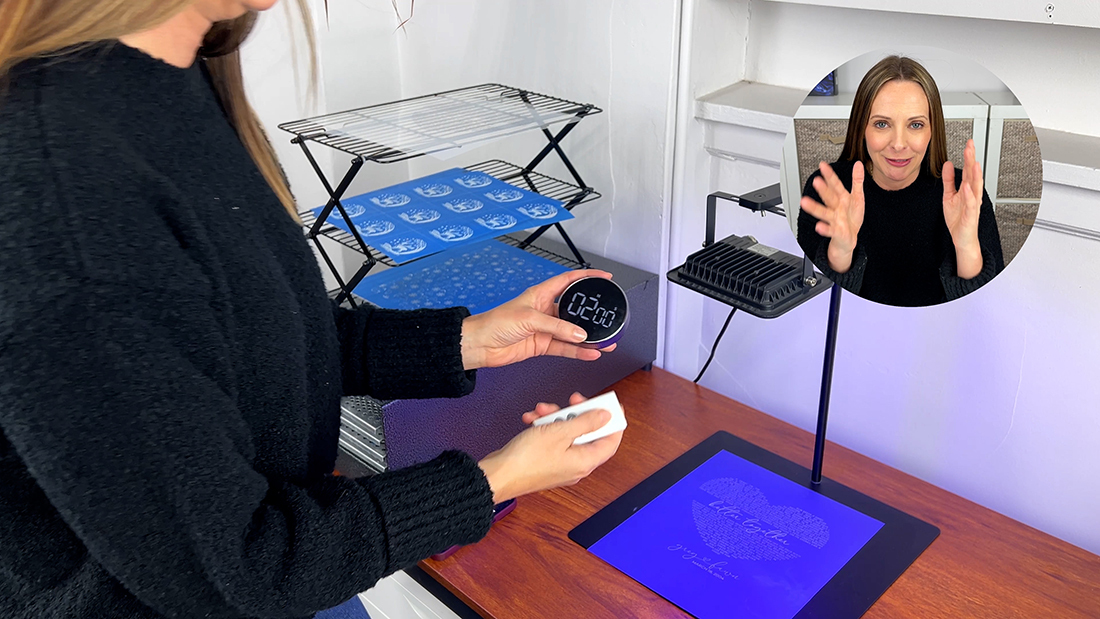
5) Post exposure (do not skip this)
Once the stencil was fully dry, I post exposed it. Post exposure helps finish hardening the parts of the stencil that did not wash away. If you want your stencil to be reusable, this step is important.
We recommend post-exposing for a minimum of 2 minutes from the top side of the stencil.
Results: Ikonart time vs. vinyl weeding time
| Method | Time | Notes |
|---|---|---|
| Ikonart stencil (hands-on) | ~7.5 minutes | Does not include dry time |
| Ikonart dry time (my setup) | ~7 to 8 minutes | Film dryer used |
| Vinyl weeding (original post) | ~5 hours | Highly detailed design |
Even if your drying method takes longer, the difference is still dramatic!
Why this matters (beyond saving time)
You can reuse the Ikonart stencil
This is the part that really changes the equation. A weeded vinyl stencil is often a one-and-done process, especially with detailed designs.
An Ikonart stencil, once properly post exposed, can be used again and again for:
- Signs
- Shirts
- Tote bags
- Pillows
- Home decor projects
- And more
So you are not just saving time once. You are saving time every time you use that design.
If you are tired of weeding vinyl, try this workflow
If complex vinyl stencils are eating up your crafting time, washout stencils are worth considering. You still get the detail, but you trade hours of weeding for a repeatable process measured in minutes. Post in the Ikonart Crafters Group on Facebook or contact the Ikonart Stencil team with any questions.
Watch the full video
If you want to watch the exact process from start to finish, here is the YouTube video:
Ikonart vs. Cricut: Washout vs. Weeding (Time Study)
If you are newer to creating artwork for stencils, check out our Artwork for Beginners playlist: