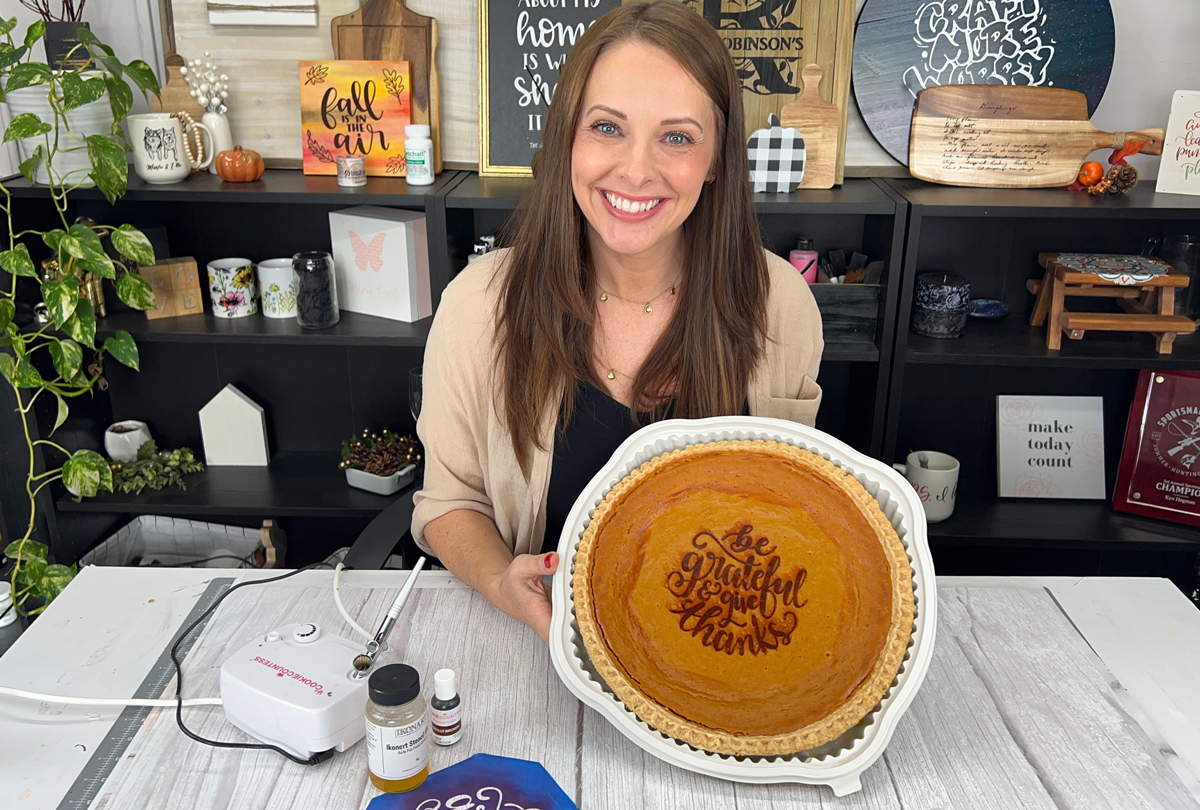
Adding a personal touch to your baked goods is like adding a sprinkle of magic to your culinary creations. Personalizing your baked goods with a custom Ikonart stencil elevates the occasion, making it more memorable and meaningful. Whether it's a festive gathering, a birthday celebration, or in this case, a Thanksgiving dinner with loved ones, the extra effort put into creating a visually appealing treat adds a touch of warmth and thoughtfulness to the moment.
With the Ikonart Custom Stencil Kit and Ikonart Stencil Glaze, you have the tools to turn every baking venture into a canvas for your creativity, leaving a lasting impression on those who have the joy of savoring your delectable creations. Keep scrolling for the step-by-step tutorial or watch the video below to learn more about how I stenciled this pumpkin pie.
How To Use Ikonart Stencils on Cookies, Cakes and Pies
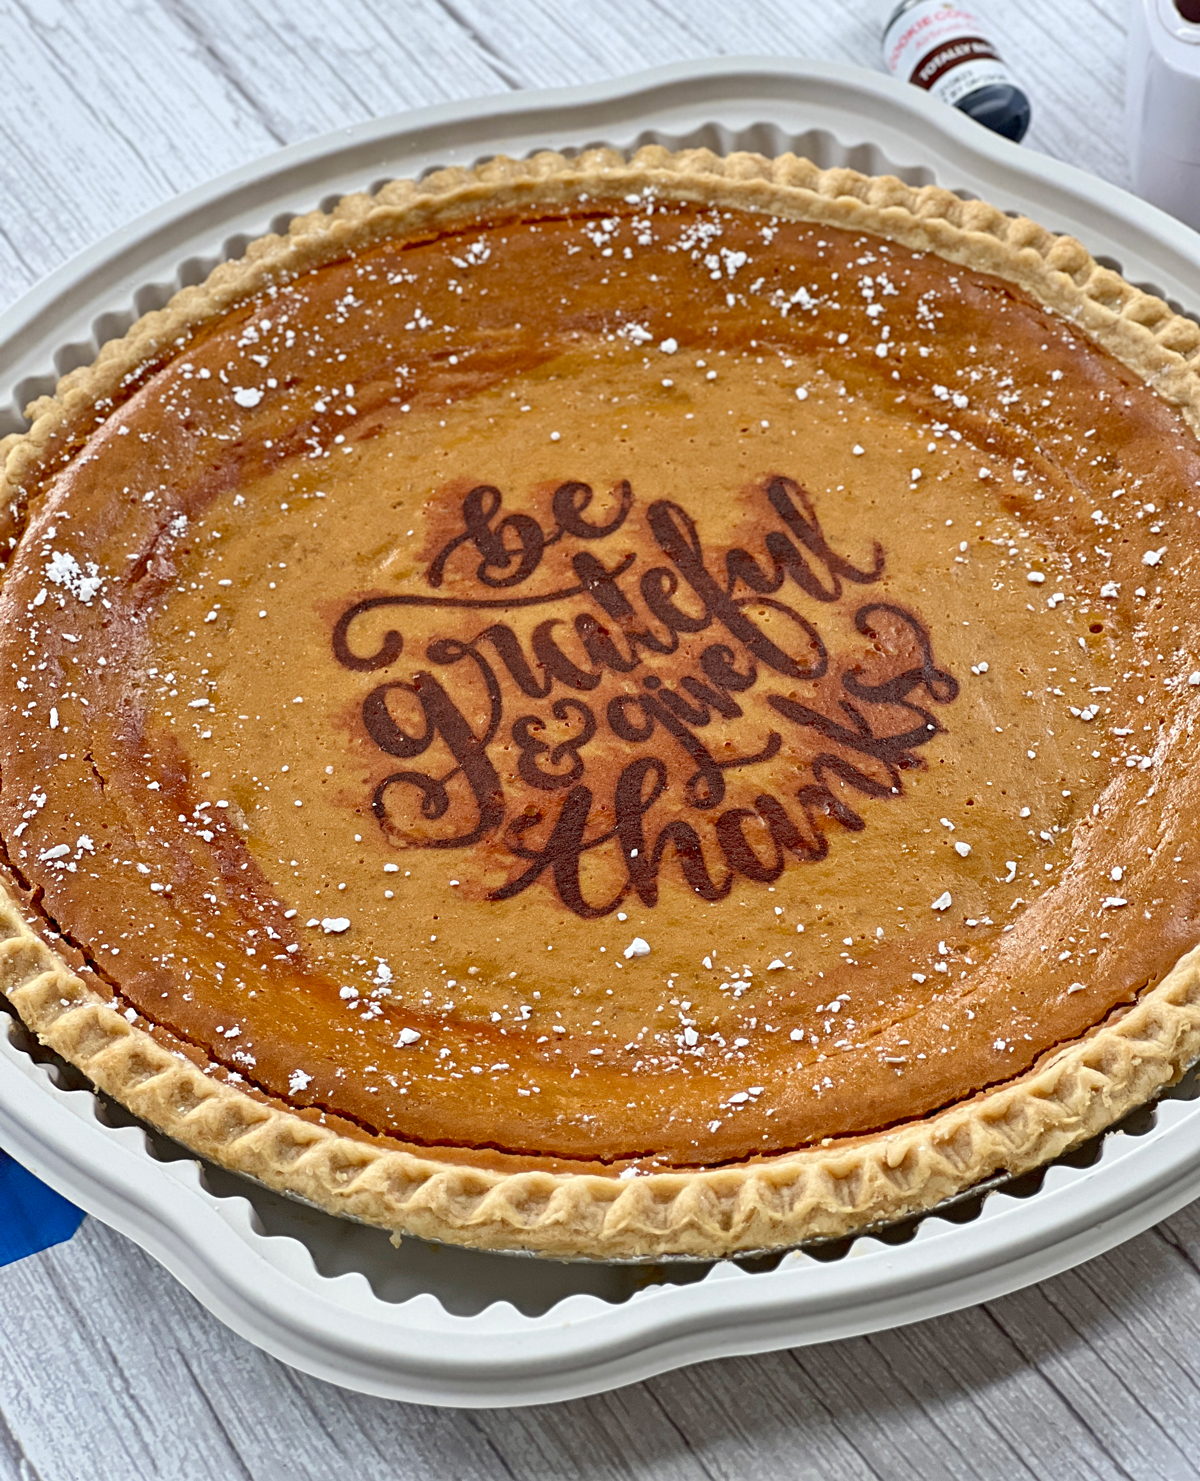
Calling all baking enthusiasts! Today, I want to share my exciting experience of using my Ikonart Custojm Stencil Kit along with the Ikonart Stencil Glaze to transform a regular pumpkin pie into a fun Thanksgiving table centerpiece. Whether you're a seasoned baker or just getting started, join me as I take you through the steps and lessons learned in this creative culinary adventure.
Materials Needed:
- Artwork for your stencil
- Ikonart Custom Stencil Kit
- Ikonart Stencil Glaze
- Airbrusher
- Airbrush Liquid
- Pumpkin Pie (I got mine from Costco)
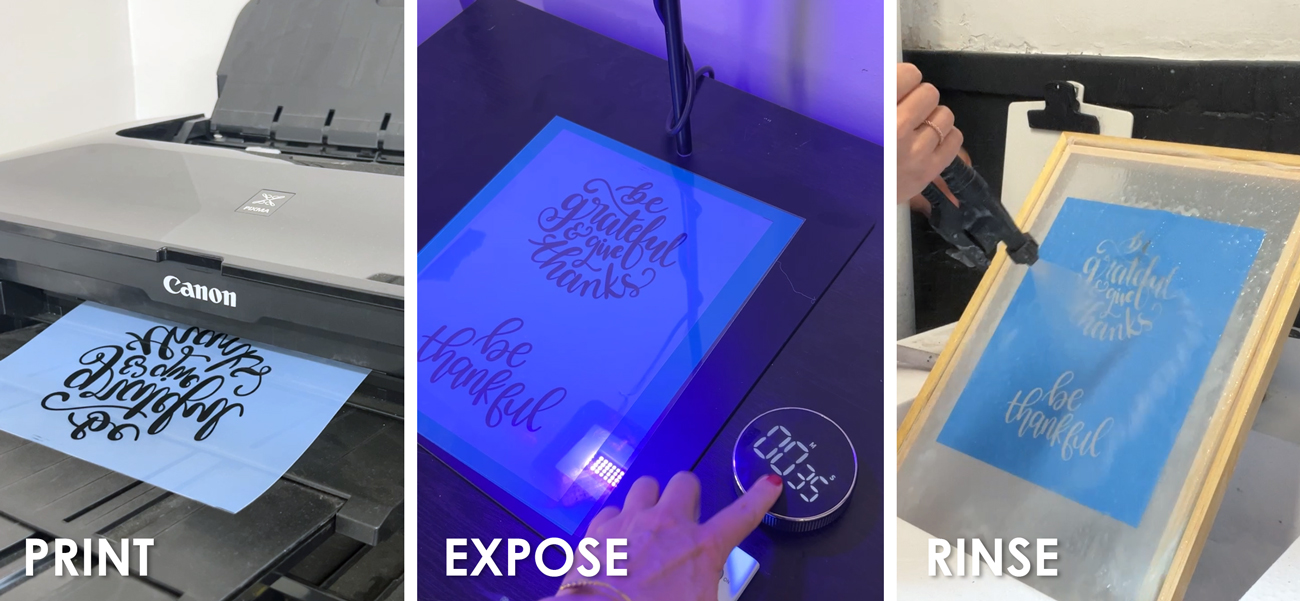
Step 1. Make Your Ikonart Stencil
Like any creative Ikonart project, it all starts with making the stencil. I used this free Be Grateful and Give Thanks SVG from Love SVG, adjusted the size and printed using Vectr, exposed it with the Ikonart exposure stand, and washed it out using my TriggerJet Nozzle.
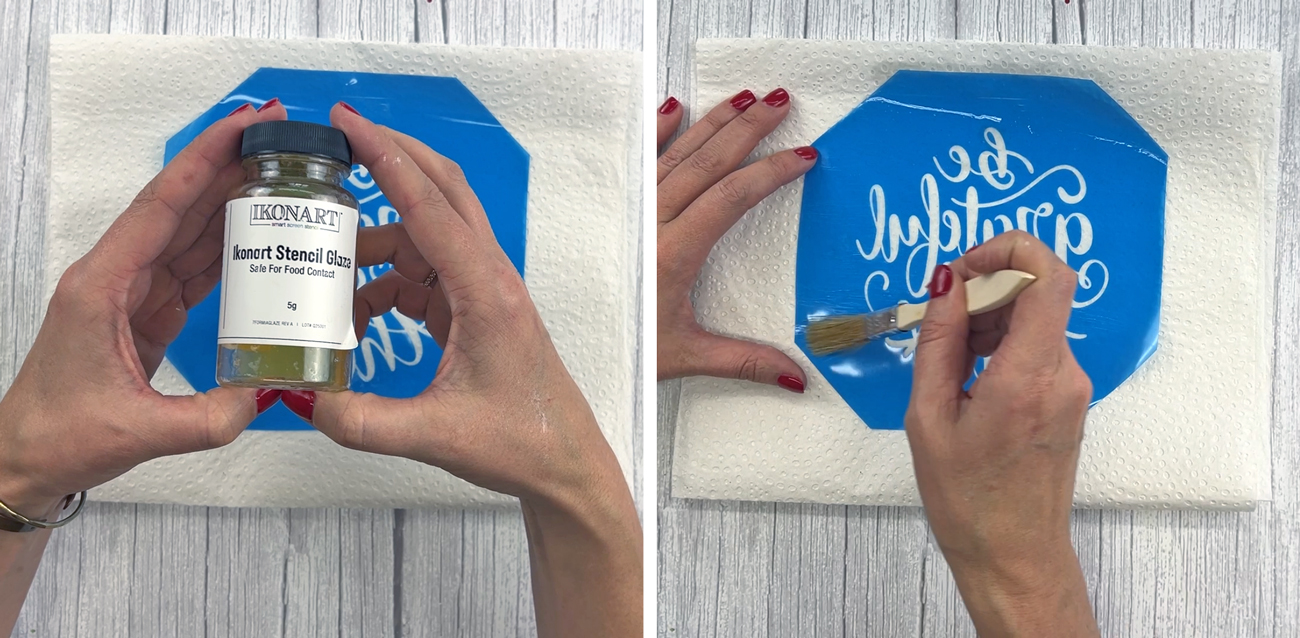
Step 2. Apply Ikonart Stencil Glaze
After my stencil completely dried, I brushed the Ikonart Stencil Glaze onto both sides of the stencil, which deadens the adhesive and adds a protective food-safe coating to the stencil. After applying the glaze to your Ikonart stencils you can then use the stencils on cookies, cakes, pies, and other food items.
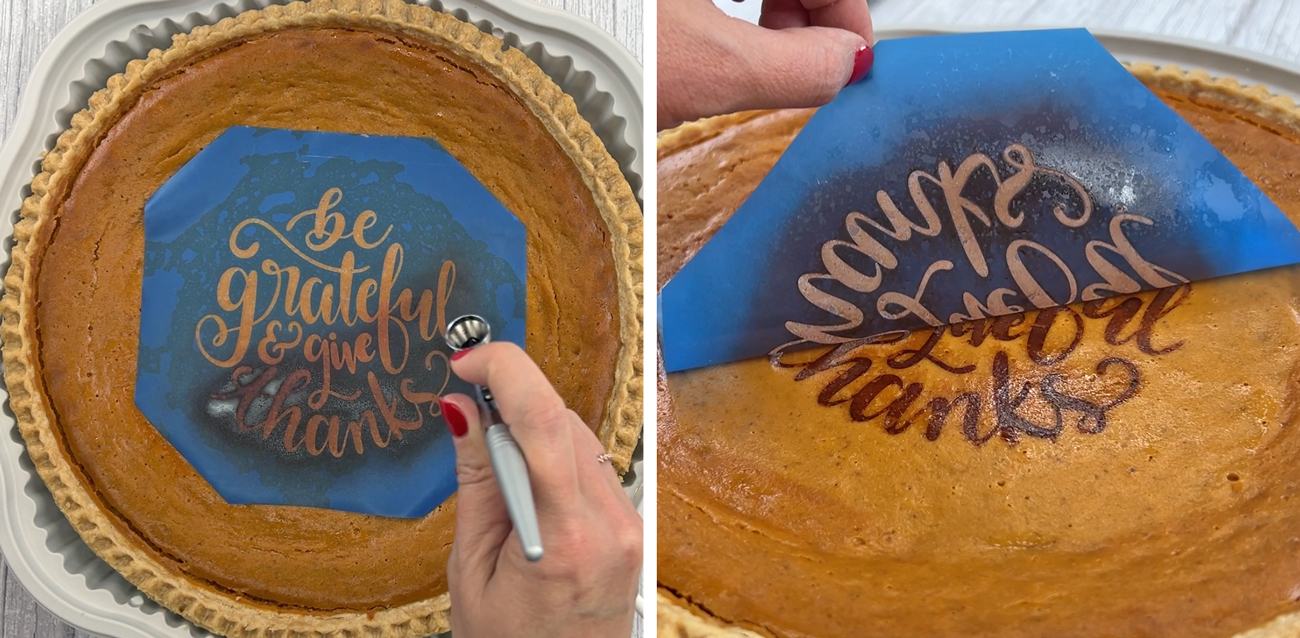
Step 3. Airbrush Your Design on Your Pie
My original plan was to add my design with powdered sugar, similar to how mica powder is used for clay jewelry. However, as you can see below, that did not work AT ALL. So I moved on to plan B and added my design with an airbrusher. Start with low spray pressure and don't apply too much in one area to avoid pooling. This technique takes a little bit of practice, but once you get the pressure right it's so much fun!
Step 4. Reveal Your Design
And that's it! Despite a bit of bleeding due to the pie's moisture, I found the result surprisingly cool and unique (sort of looked like a wood burned pie). Of course, there's always room for improvement – next time, I would probably block off the edges of the stencil with parchment paper before airbrushing to prevent overspray.
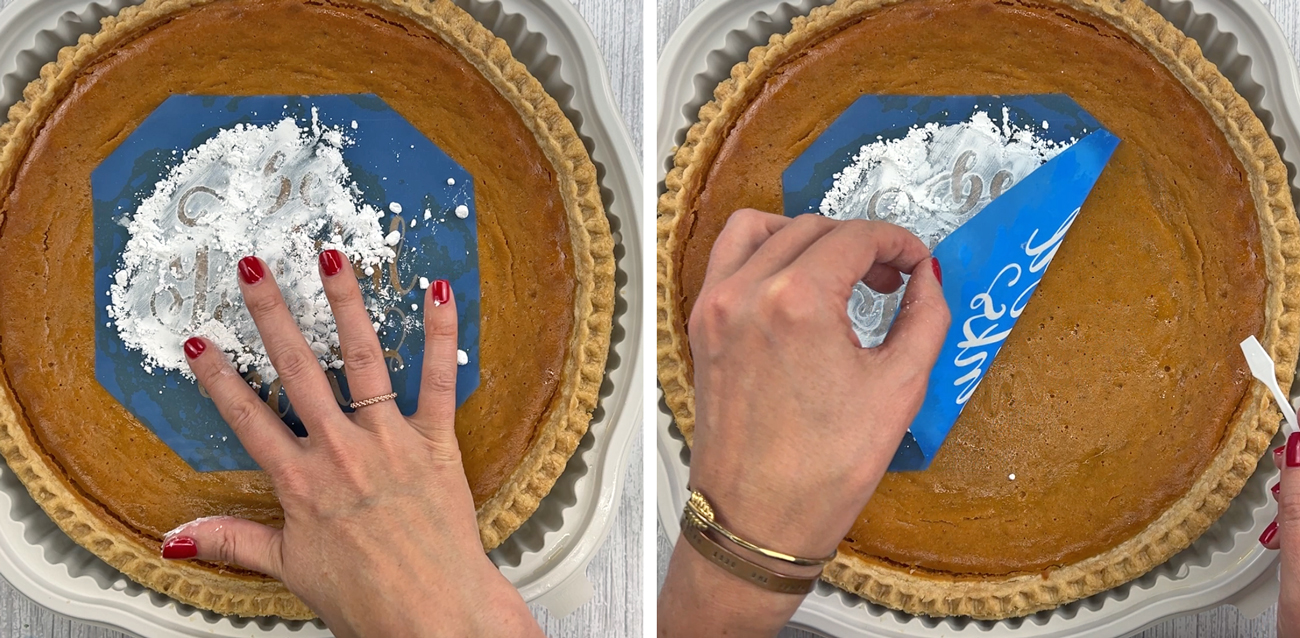
Powdered Sugar Pie Fail
My initial plan was to use powdered sugar through the stencil, envisioning a result similar to applying mica like Catherine did in this blog post, Mica Powder Clay Earrings with Ikonart. Unfortunately, as you can see in the photos above, the powdered sugar didn't cooperate as expected. The moisture from the pie dissolved the powdered sugar and made it disappear. No worries, though – it's all part of the creative process. :)
Contact Ikonart Stencil With Questions
If you have any questions about how to use the Ikonart Stencil Glaze to make your stencils safe for food contact, feel free to leave a comment on the video, make a post in our Ikonart Crafters Facebook Group, or contact us for assistance. Happy crafting and I can't wait to see what delicious creations you come up with!