
Hello crafters! Today, we're diving into a creative and delightful Halloween project that is perfect for kids and will add a personalized touch to their trick-or-treating experience.
In this tutorial, I'll guide you through the step-by-step process of making and using an Ikonart stencil to create color-me DIY trick-or-treat bags. These bags are not only a fantastic craft activity but also a unique way for your little ones to carry their Halloween goodies. So, let's get started!
Supplies Used:
- Trick or Treat Halloween Design from So Fontsy*
- Vectr Free Online Graphics Editor
- Inkjet Printer or Laser Printer
- Ikonart Custom Stencil Kit
- Ikonart Textile Add-on Bundle (includes tacky mat, squeegee, and fabric ink)
- Fabric or Canvas Bags
- Fabric Markers
*NOTE: We send out a code each month for one free download in the So Fontsy Ikonart Design Shop. You can get your free code HERE.
How To Screen Print Color-Me Trick-Or-Treat Bags with Ikonart
Are you ready to ignite your creative spirit? Crafting these color-me DIY trick-or-treat bags is not just a fun activity but also a wonderful way to encourage your little ones' artistic expression. As they unleash their creativity, these bags transform into unique masterpieces, making their trick-or-treating experience even more special. So, gather your supplies, clear your workspace, and let the Halloween magic begin. Follow the simple steps below, and soon you'll have custom-designed bags that are bound to be the envy of the neighborhood. Let the Halloween crafting adventure commence!
Step 1: Prepare & Print Your Artwork
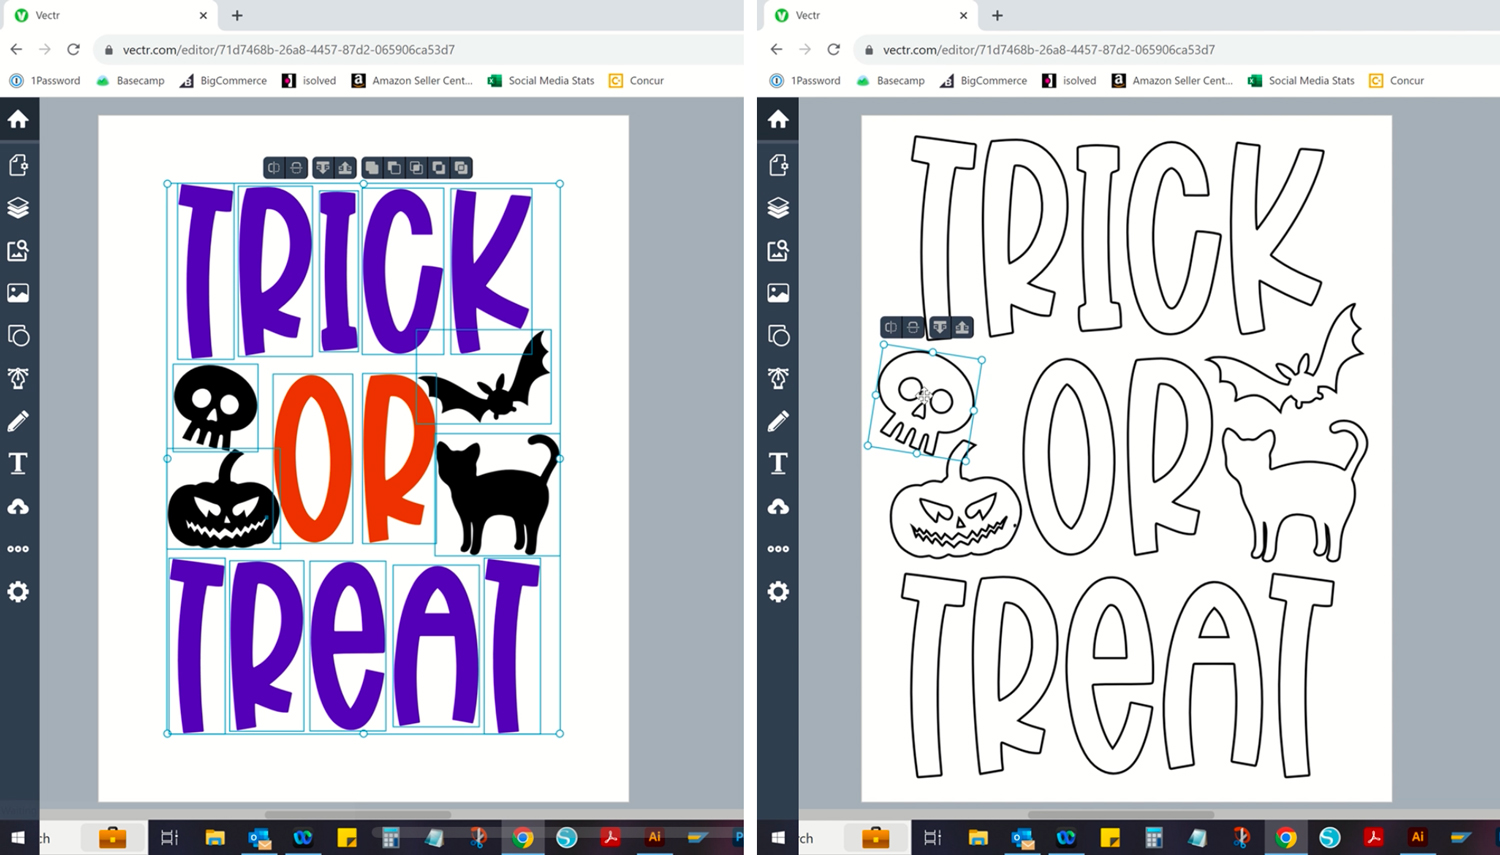
Download a Halloween design from So Fontsy, our Free Artwork page, or another website of choice. You can also create your own design if you would like. Then use a graphic editor (we use Vectr) to turn the design into an outline, creating a coloring book page effect. To do this you just select all the artwork, change the fill to white and add a black stroke/border to your design. Print the design, making sure to adjust your print settings so your artwork prints as dark as possible. Check out our Artwork For Beginners playlist for more tips on how to adjust and create artwork.
Step 2: Create the Reusable Ikonart Stencil
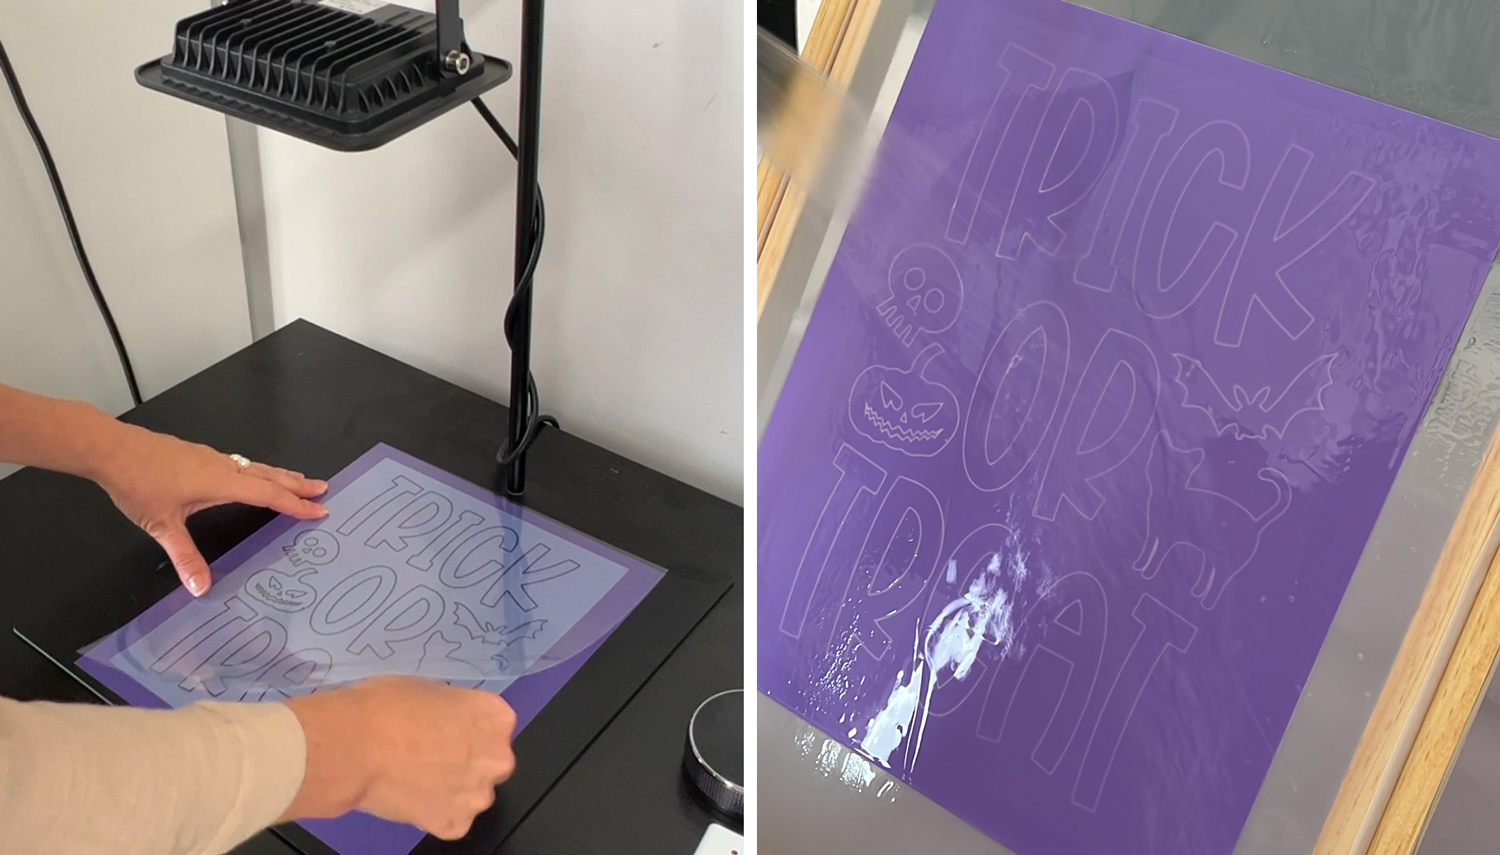
Use the Ikonart Exposure Stand to expose the stencil. Lay the printed artwork on the Ikonart stencil film and cover with the clear cover sheet. Rub down and expose for 35 seconds. Rinse with warm water using a sprayer with good pressure until all the mesh openings are clear. After the stencil is completely dry, pop it back under the exposure light for 2 minutes to post-expose.
Step 3: Screen Print the Bags
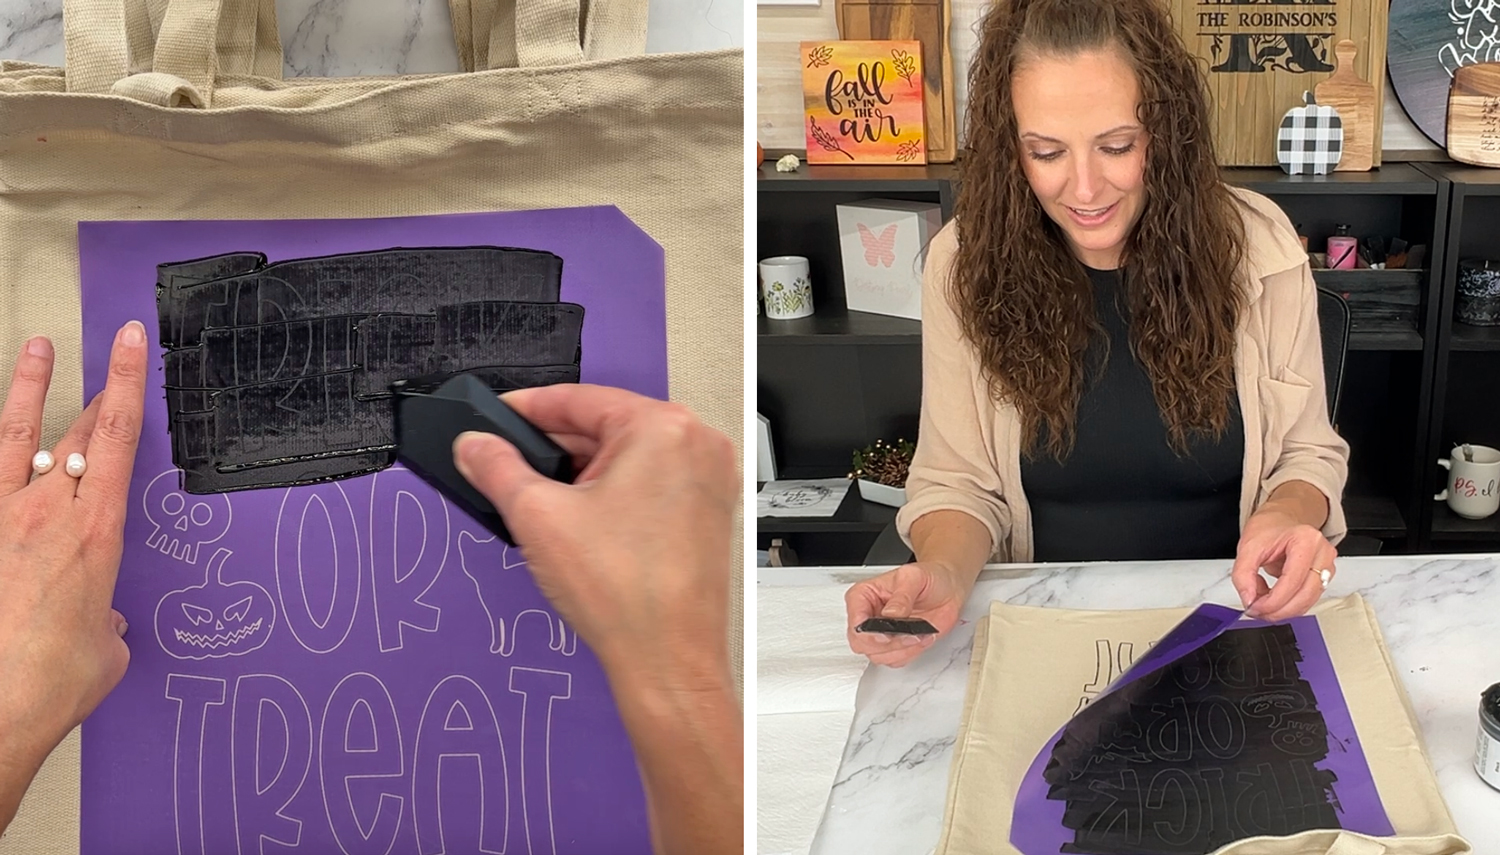
Place a tacky mat inside each bag to hold the fabric flat and prevent bleed-through. Position the stencil on the bag, ensuring it's centered. Apply Speedball Fabric Ink using a squeegee, gliding it smoothly over the stencil. Lift the stencil carefully to reveal the printed design. Repeat the process for additional bags.
Step 4: Dry and Set the Ink Before Coloring
Let the printed bags air dry or use a heat gun on low heat to speed up the drying process (remember to remove the tacky mat before using a heat gun). After the ink is completely dry, set the ink by ironing the bags.
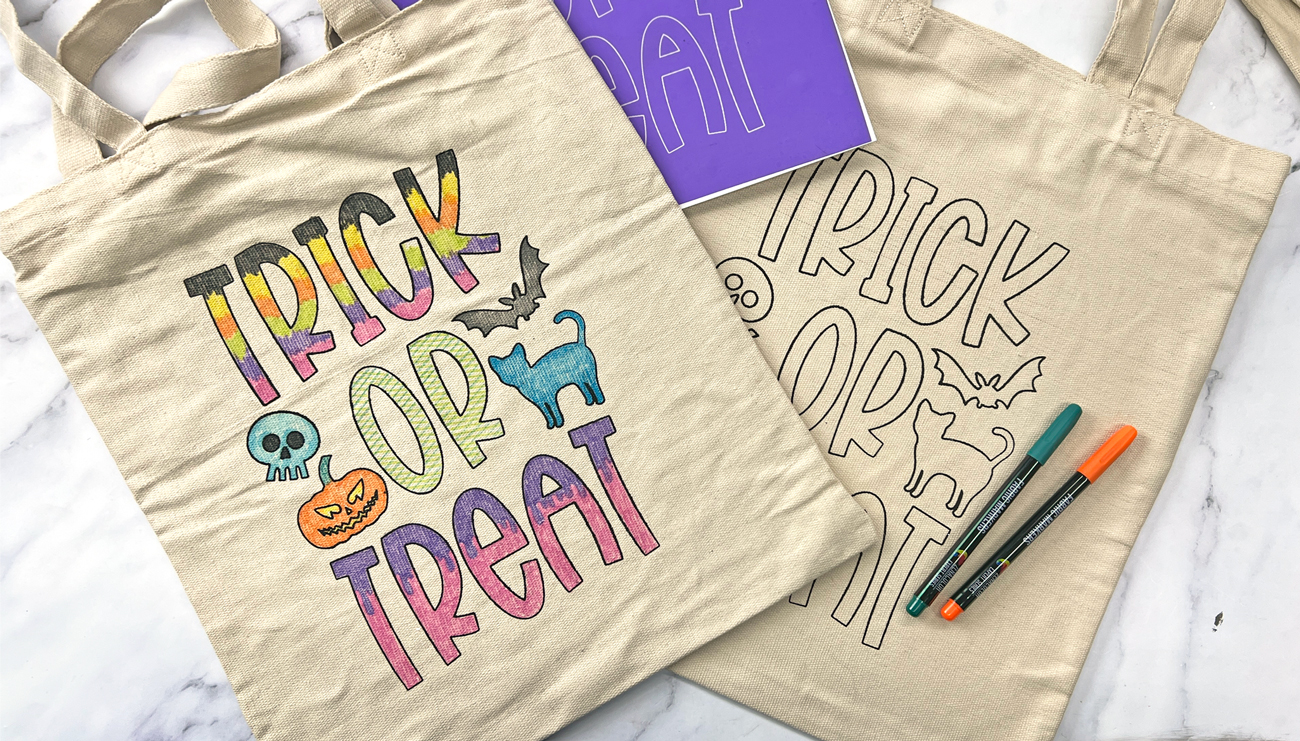
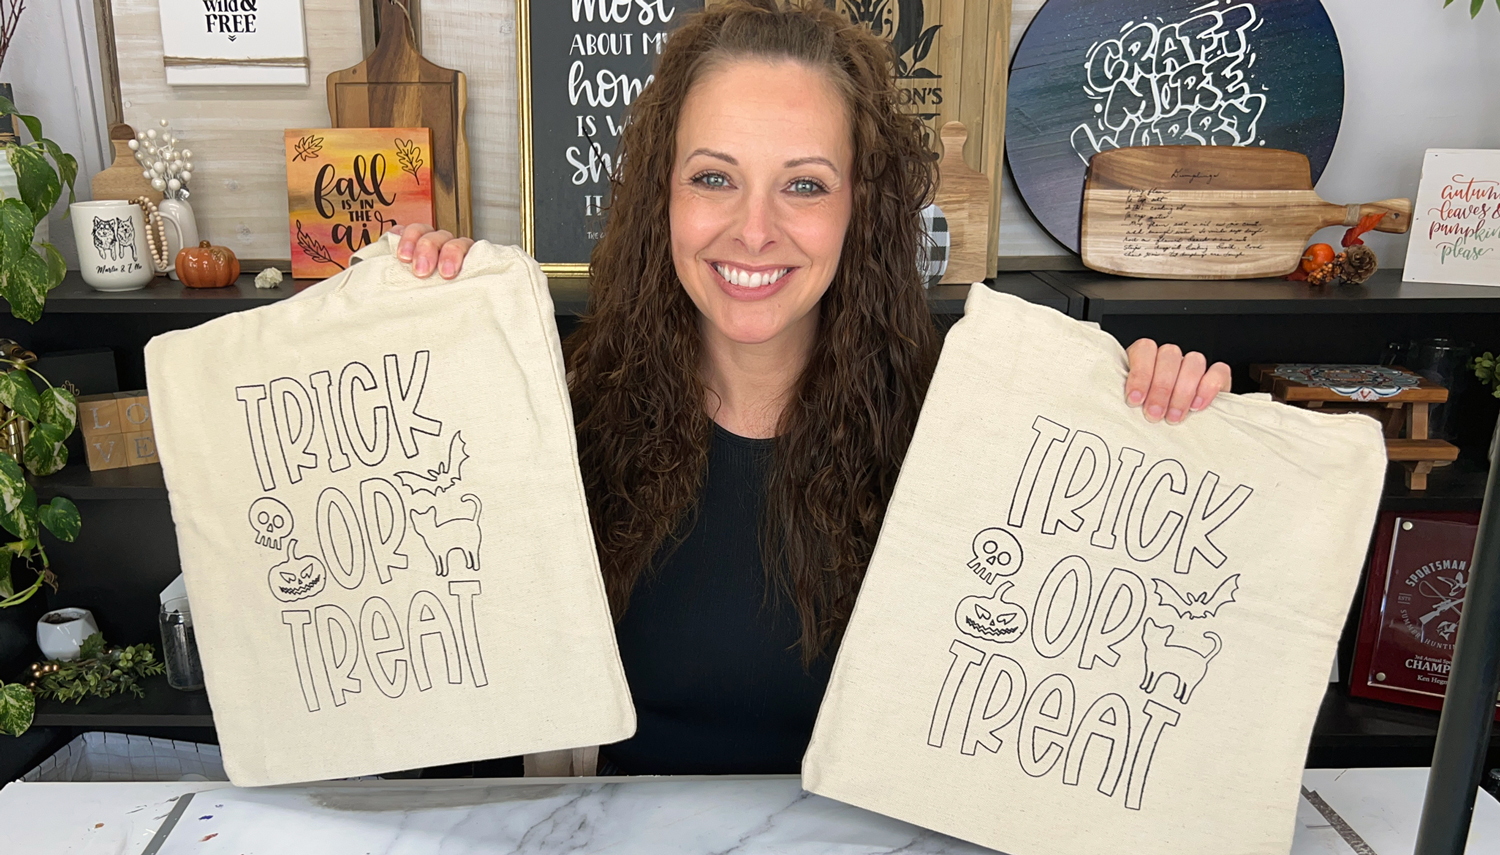
And there you have it – personalized trick-or-treat bags ready to be colored by the kiddos! These bags not only make for fantastic Halloween accessories but also provide endless fun as the kids get to color their designs.
For more detailed tutorials on screen printing and stencil making, you can check out our other video tutorials. If you have any questions on how to create the color-me artwork or screen print with Ikonart, feel free to leave a comment on the video, make a post in our Ikonart Crafters Facebook Group, or contact us for assistance. Happy crafting and Happy Halloween!