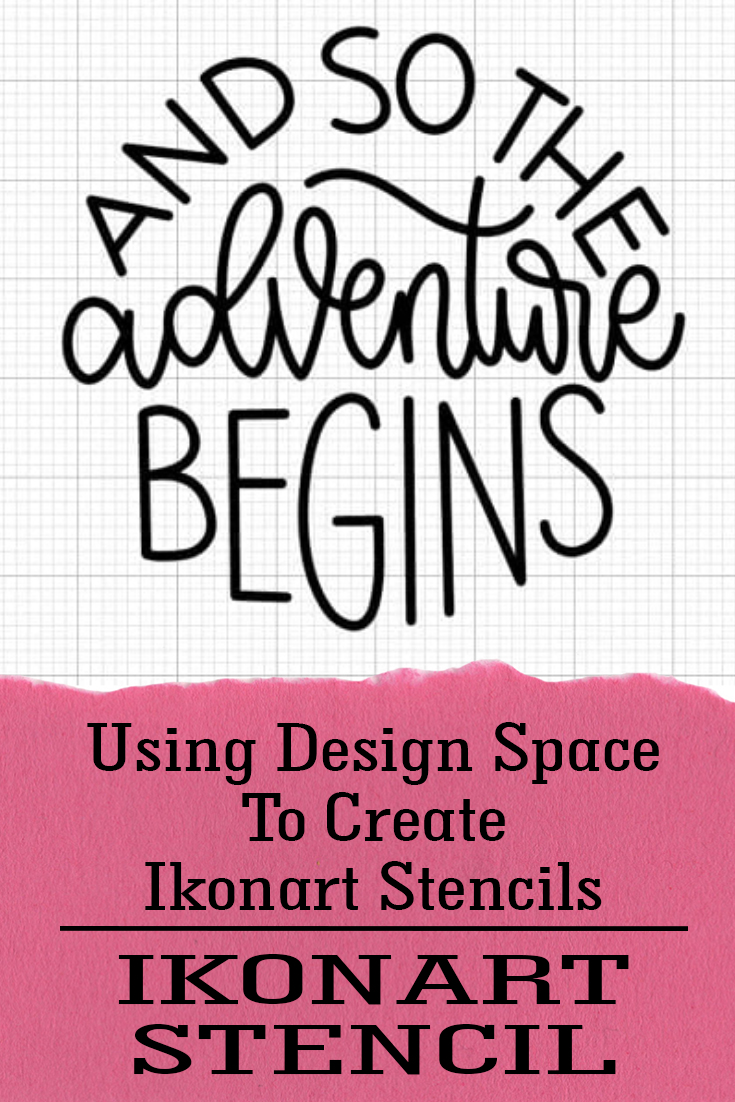
One of the number one questions we get from people who are interested in the Ikonart Custom Stencil Kit is how to create artwork and/or where to find artwork to create Ikonart stencils. There are multiple free and paid artwork design programs available, but one of the options a lot of our crafters use is Cricut Design Space. Cricut Design Space is free to download and use even if you don't have a Cricut cutting machine. They also offer a monthly subscription option called Cricut Access which includes access to thousands of design files, fonts, and ready-to-make projects.
The great thing about using a popular program like Cricut Design Space is there are tons of how-to tutorials on YouTube and Facebook for how to use the program Shawn Mosch is an Ikonart crafter and also runs the Facebook Group Teach Me Cricut Design Space. She put together this tutorial with tips on how to use Cricut Design Space to create Ikonart stencils.
Cricut Print then Cut Size Limits
When you do a Print-Then-Cut project in Cricut Design Space, there is a limit to how large you can make your design. Here is a tip to bypass the maximum size for your Print-Then-Cut designs in Cricut Design Space so you can make your Ikonart stencils any size.
The maximum print size for Print-Then-Cut projects is 9.25" x 6.75". If your printable image exceeds these dimensions, Design Space will display a warning message to reduce the image size to less than 9.25" x 6.75. This is because when you print an image from Cricut Design Space it also puts a black registration mark around the image (the Cricut cutting machine scans this registration mark to determine where to cut your image).
But if your goal is to use the Ikonart system to create a stencil, then you are not going to cut the design at all and you do not need the black registration mark. So how do you bypass this?
Snipping From Design Space

1. Once I have my design completed in Design Space, I go into the Setting menu on the left hand side of the screen (shown above, left).
2. After you click on those three little lines in the upper left corner, you will see some more options. Go down to settings (shown above, right).

3. When you click on Settings a new screen will open up. There is an option to turn off the gridlines on your Cricut Design Space canvas. Under Canvas grid click on the circle next to No Grid (shown above).
4. Once you turn the gridlines off you will have a nice clean white background (shown below). Now you can take a screen shot of the design and use that for your print.

5. Zoom in on your design so it fills your entire screen, then take a screen shot. I use the Snipping Tool from Windows on my computer (the icon looks like a little pair of scissors). If you do not have Windows on your computer, search online for how to take a screen shot for your type of computer. Save this screen shot image to your desktop.
How To Print A Screen Shot for Ikonart Stencil

Now that you have a screen shot of your design you will be able to print your image from a different program instead of printing from Cricut Design Space. This will allow you to make the image as large as your printer allows. For me, I like to use Microsoft Word.
First open a blank Word Document. Next go to the Page Layout tab and reduce your margins for the document (shown above). This will allow you to have even more space for printing your image.
Next insert the screen shot image that you saved to your desktop and resize it to fill the page. When you resize it make sure that you keep the image proportional. You do not want to accidentally stretch your image and have the design look distorted. Once you have the image the size you would like, you can save this document and then print this on to your Ikonart Inkjet Printer Film or Ikonart Laser Printer Film.
Video: How To Print Larger Size Out Of Design Space
And that's it! If you are more of a visual learner, I also created a video so you can see the whole process from beginning to end on how I take a screen shot of my designs in Design Space and print them out of Microsoft Word.
Teach Me Cricut Design Space - Facebook Group
If you found this helpful, please join my Facebook Group, Teach Me Cricut Design Space. You can ask me questions and I will share all of my best Design Space tips and tricks with you.
I also have a lot of great resources on the Classes page of my website including my Teach Me Cricut Design Space Online Course. In this course I take you step-by-step through how to use every button and function in Design Space. I have also compiled the most frequently asked Cricut questions along with the answers to those questions into one online course. This is my most in-depth and detailed Cricut resource. It contains over two years worth of Cricut knowledge and research in one course! Click HERE to get started!