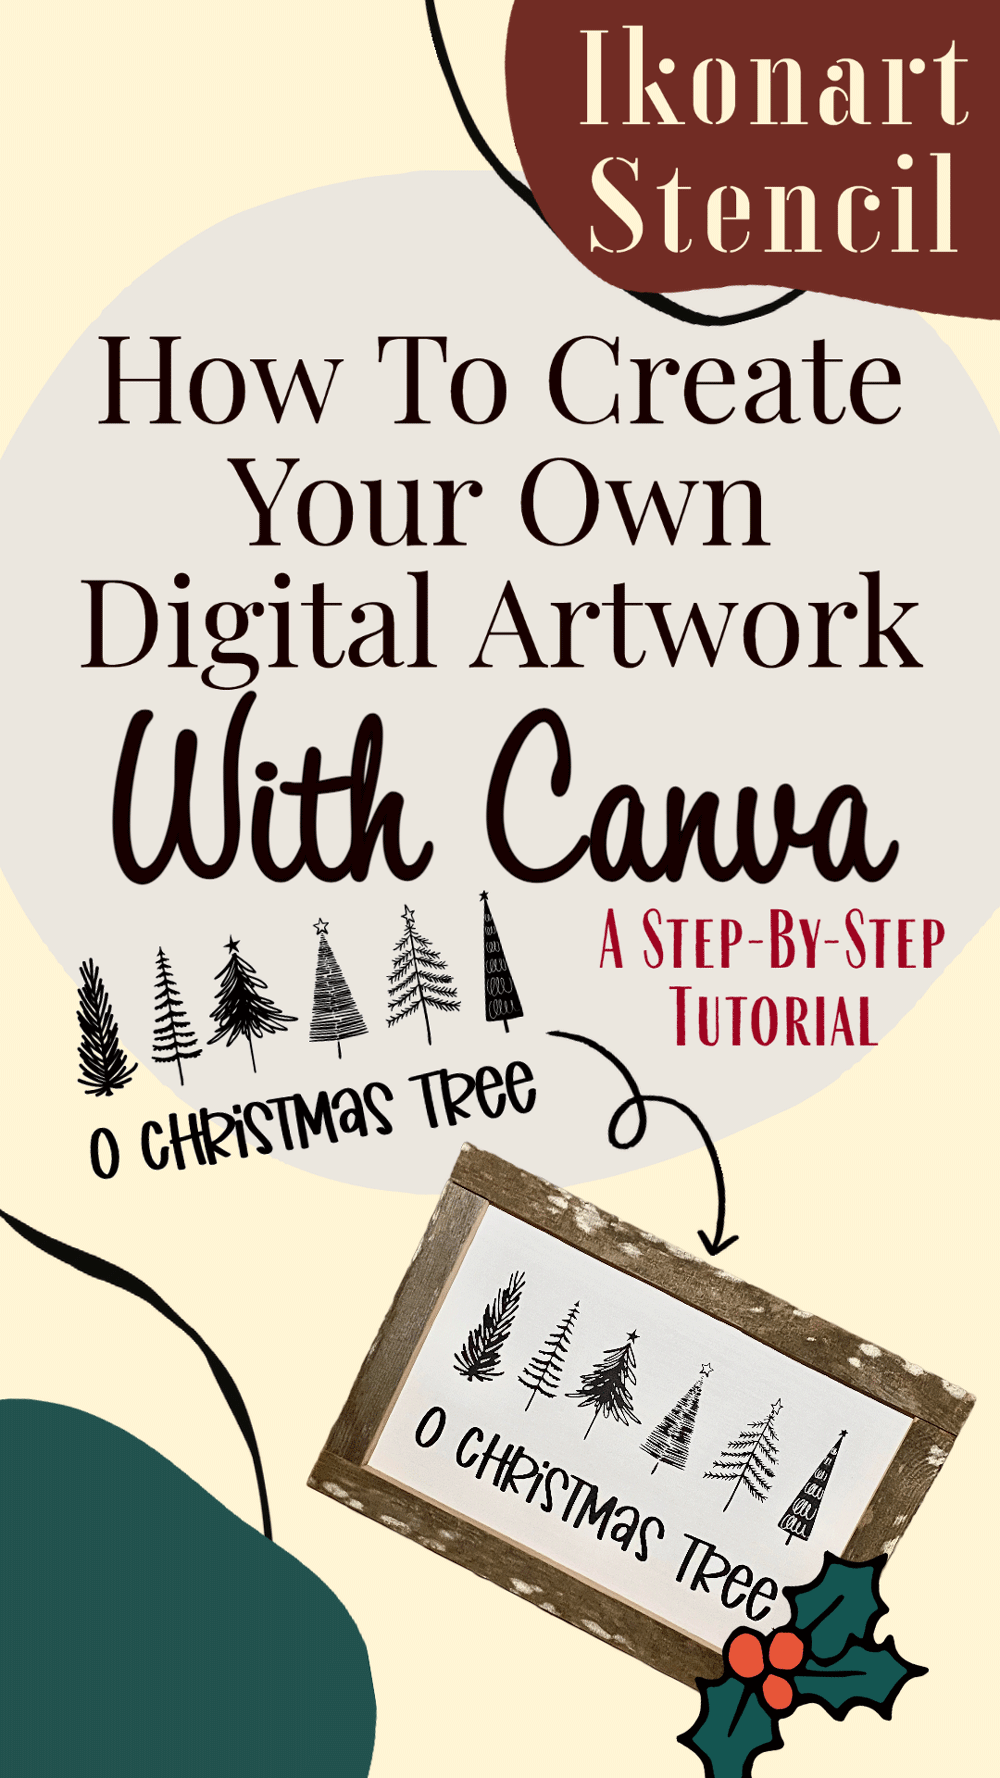
If you want to design your own artwork for your Ikonart stencils, but you don't know where to start, this is the tutorial for you. Lisa Coles of Lisa Ann Letters is here to walk you through a beginner-friendly step-by-step tutorial for creating artwork files using Canva, a web-based free graphic design program (with the option of a paid "Pro " version).
Canva is an online graphic design tool that is used to create social media posts, presentations, posters, videos, and logos. However, they also have an extensive library of graphics and fonts that you can use to create your own designs. Watch Lisa's video tutorials, Part 1: Canva Tutorial For Ikonart and Part 2: Using Silhouette Studio with Canva Files, then follow along with this blog post if needed.
Designing Artwork in Canva to use for Ikonart Stencils
Hello, my name is Lisa. Creating artwork for your Ikonart stencils and designing your own graphics can feel quite daunting, but it doesn't have to! I use Canva to add elements to my hand-lettered designs. Canva can be used in a web browser on your computer or as an app for mobile use, available in the Apple App Store and Google Play Store. Watch the videos linked below or keep scrolling to read about how I use Canva to design artwork for my Ikonart stencils.
Video Tutorial: Part 1 - Canva Tutorial for Creating Files for Ikonart Stencils
Open Canva in your web browser
Start by going to Canva.com and sign up to create your free account. Canva does also offer a paid "Pro" version for 12.99/month which includes some extra graphic design tools, and allows you access to use some of their fancier graphics, fonts, and features like extra print and download options. I pay for the pro version myself, and I believe it is worth every penny as a resource for my small business. Not only can I create artwork for Ikonart in Canva, but I can also create poster or social post designs easily to use for my business and share with my audience.
Once you are signed into your account, click the "create a design" button in the top right corner, and enter your size specifications. You can choose from one of their standard sizing options like A4 or Letter, or create a custom size. The custom size I am using is 12"x6".
Search For Elements
Now with your blank design page open, go to the "Elements" tab on the left side of the window. You can see in the Elements tab just below the search bar is a "Recently Used" category. This area will hold any elements you have recently added in your designs for quick reference later on. As you can see I've been experimenting with a variety of Christmas tree graphics for this design.
If you already have the graphic you would like to use saved to your device, you can also upload you files into Canva using the "Uploads" tab.
For this search I am going to simply type "Christmas Trees" and see what we can find. As we look through the search results, keep in mind that when making art for Ikonart Stencils we are looking for solid color graphics so that we can make all our elements completely black for printing. Elements with multiple colors often do not work as well once all colors are converted to black. Throughout this program you will see Text and Elements labeled "PRO" with a small crown next to it. This means that those specific components are for use by Pro users only. There are plenty of comparable free options in there as well, it just might take a little more digging to find what you're looking for.
Choose Your Elements and Adjust To Your Liking
For this design I am going to grab 6 trees that I like and place them on my design board. Use the color box in the top left corner of the design window to ensure each element you have added to your design is completely black. You can also adjust or resize each element to fit your desired design by clicking and dragging from the corner boxes while the element is selected.
Add Text
I am going to add the text "Oh Christmas Tree" below my line of trees. To do this, click the "Text" tab on the left, and click "Add a heading". This will place a text box in your design board that you can type your chosen phrase into. To change the font of your text, keep the text box selected go to the top left corner of the design window again (where the color box appeared when we adjusted our elements in the last step) to click the font style drop-down menu. This will open the font style menu on the left side. Scroll through the font options to find one you like, and apply it to your text. From here, just like with the trees, you can adjust the sizing of your text using the corner frame boxes that appear when the textbox is selected.
You may notice throughout this post that some of the tree designs change, as well as my font. I worked with this file over the course of a few days, and did end up adjusting some things as I went to suit my style best. Canva makes it so easy to swap out elements and adjust your design as much as you desire.
Share, Download, or Print Your Design
Now with our Elements and Text in place, our design is complete! in the top right corner, click the white "Share" button. From here you can share a link to view the design, download it to your device, or print directly from the Canva program.
A Note on File Types
If you are downloading your design to your device to open, edit, or print from another program, be sure when you download the file that you choose the correct file type and size for your needs.
JPEG files are not recommended for stencil artwork because a JPEG files have a "lossy compression" , which means the file will lose data each time you edit and resave the file. This means the quality of a file can degrade over time as you edit and re-edit, making the image more pixelated and fuzzy.
PNG, PDF and SVG files have what is known as a "lossless compression", meaning they will not lose quality overtime and will remain clear and crisp as you save, open, edit, or resize. These file types are ideal for Ikonart Stencil artwork creation.
Video Tutorial: Part 2 - Using Silhouette Studio with Canva for Ikonart Stencil Designs
Opening your design in a new program (Silhouette)
If you prefer to print from a program you're familiar with, you can open the file you downloaded from Canva and open it in the program of your choice. I personally am most familiar with Silhouette and do not use Cricut's Design Space, so that's the program I am using. Some steps here may differ depending on your program.
Top open my canva file in Silhouette, I simply drag my file from my desktop into the program, and it should appear in your design window. You can adjust the design's size at the top of the screen if it appears too large to work with when you open it. In Silhouette, the lines of the design will show up red initially, so you'll want to change that line color to black.
Trace Your Design
Right now, all the elements in our design are grouped together, so we'll want to separate them to adjust the individual trees. For this I use the Trace tool and select the entirety of the design to trace it. Once your design is traced, you can move the original artwork to the side and delete it, leaving behind the traced outline on the design window.
Adjust Your Page Setup to Fit Your Design and Separate the Trees into Compound Paths
Adjust the size of the "mat" and turn off the "machine" in the Page Setup window. Once your mat is set to your dimensions, we can go back to our trees and separate them. To do this, I'm going to drag my mouse to select all of the trees, and right-click for the context menu. Click "Release Compound Path" in the context menu to separate all the lines in our design. From here we want to make each tree its own Compound Path so that we can move them around individually, but they still stay together as a tree when we move them. To do this, I'm going to drag my mouse to select the tree, making sure all parts of that tree are in the selection. Right-click again to bring up the context menu again, and find and click the "Make Compound Path" button. Now your individual tree will keep itself together, but you can move it around wherever you'd like. Repeat this process with each tree so that they each move freely as a unit.
Adjust your Trees
Now you can take your time to size each tree individually to suit your needs. I am making all of my trees reletively the same size in a straight line, evenly spaced apart. I like to use the Crosshairs tool for this, which is located in the Page Setup window under the grid lines tab. This will give you a set of crosshairs on your curser to you can see if everything lines up well as you adjust and move them.
Once I have everything lined up the way I want it, I select all the trees together again, right-click, and make them a compound path so they're all together. My design is currently much larger than my mat, so now I'm going to resize my trees to fit on my mat.
Fill In your Traced Trees and Add Text
Now that our traced trees are sized correctly, we're going to make our lines black, and fill in the traces with black as well.
Next I will take the Text tool from the left side of the window and type my "Oh Christmas Tree" phrase. Next on the right side tool menu we'll go to our Font tool to choose our desired font style. Once you're happy with the look of your text, Right click it and turn the text into a compound path, then change the line and fill colors in the top left corner to black.
Cut or Print your Design to Make your Stencil
Your design is now ready to either by cut out of vinyl or simply printed off onto a sheet of Ikonart Printer Film to be exposed into your own custom stencil! I printed my design and created my stencil using my Ikonart Custom Stencil Kit and the Textile Film. If you are unfamiliar with the stencil making process, check out Ikonart's variety of Demo Videos to see the process in action.
Stencil Your Design!
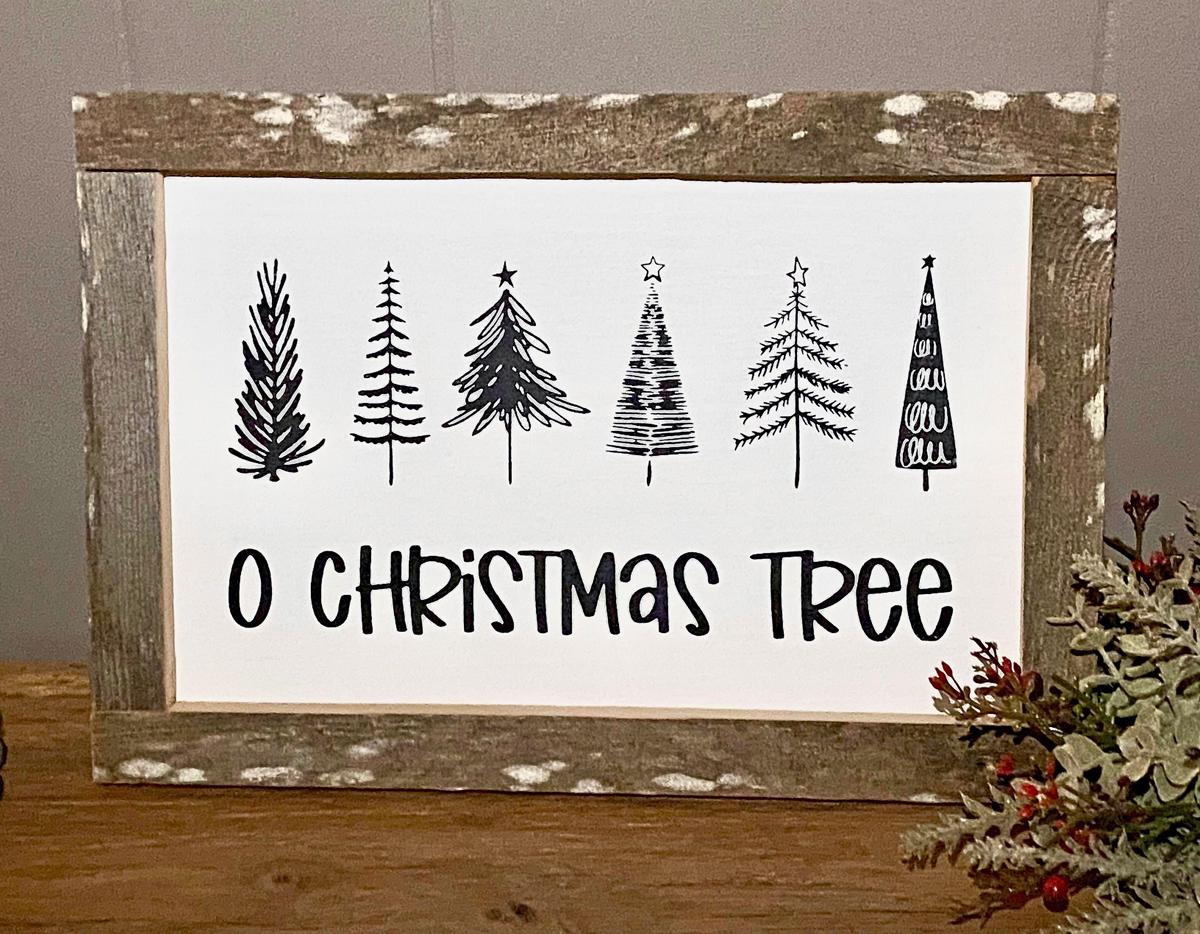
Now with our stencil made, we're ready to apply the stencil to a sign. I used Black Chalk Paste to apply my stencil to this framed sign. I absolutely love the simple look of this artwork in black on the white board with it's natural wood frame.
If you would like to create your own sign just like mine, this O Christmas Tree design is available for free on Ikonart's Free Artwork page. I can't wait to see your takes on this project in the Ikonart Crafters group on Facebook. You can also follow me on my Instagram, Facebook and Etsy Shop for more Ikonart tips, tutorials, inspiration and ideas.
Keep Crafting the holidays bright!
Lisa Coles, Lisa Letters
Facebook:
@lisaannletters
Instagram:
@lisaannletters
Etsy Shop:
LisaLetters