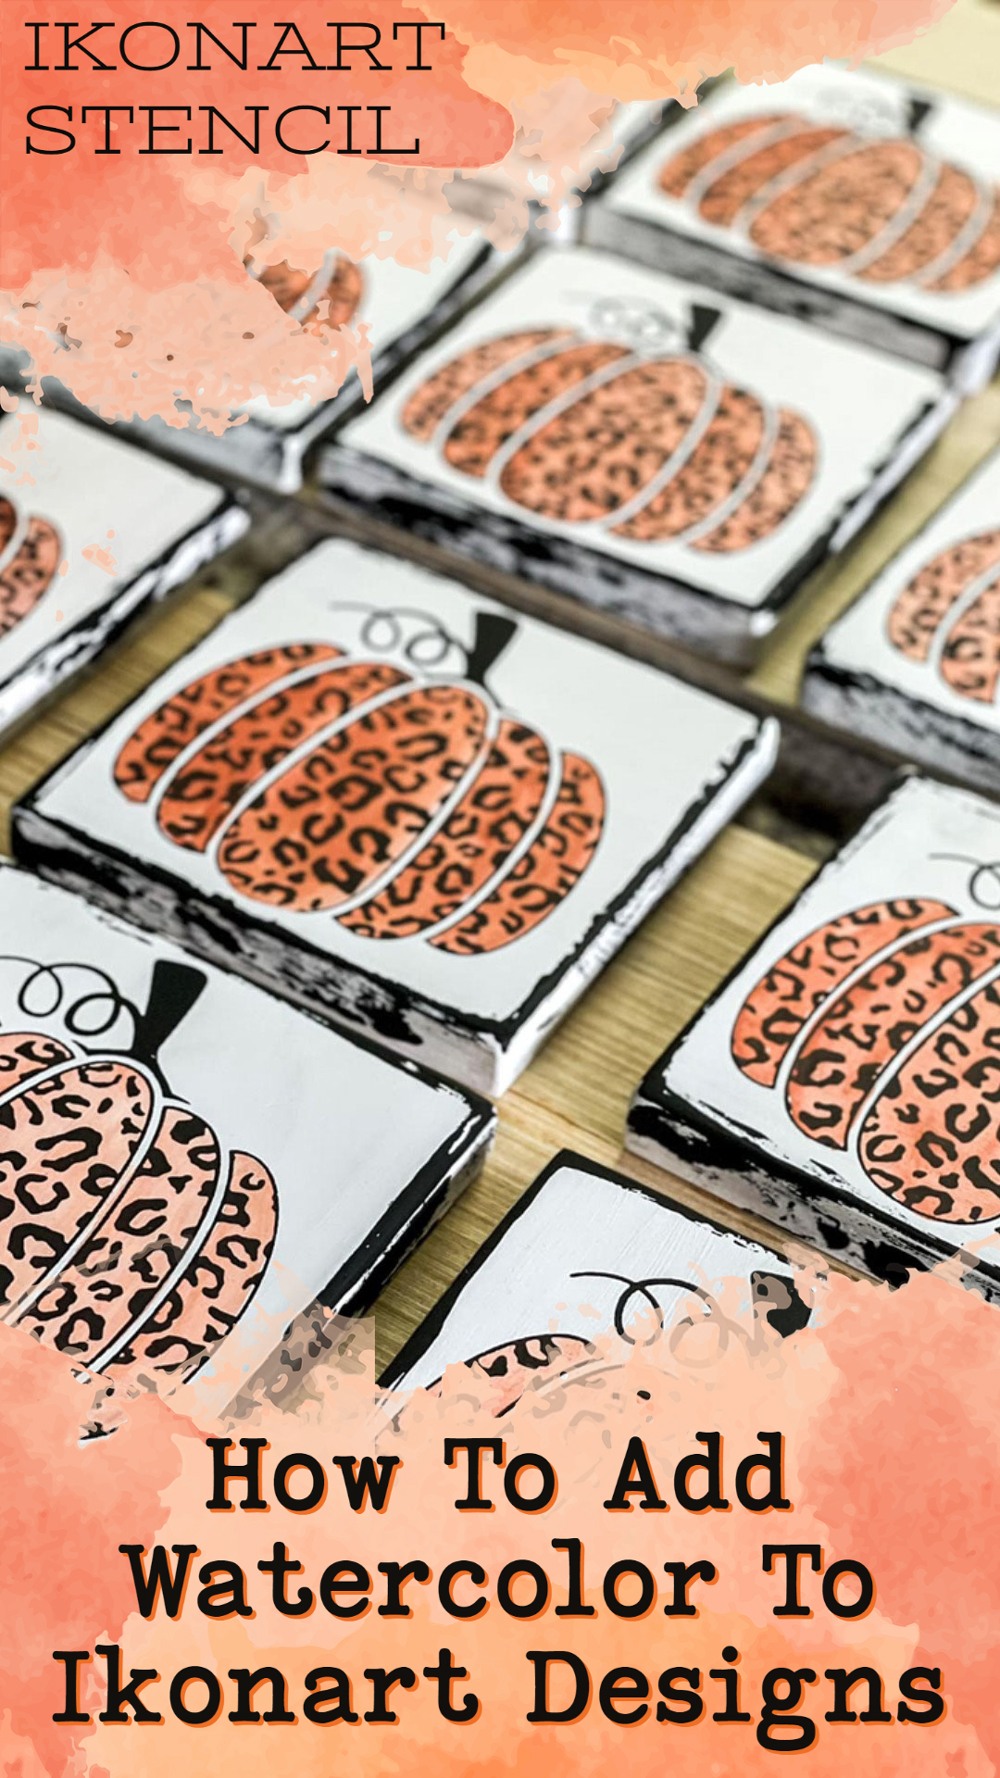
One of the best things about using the Ikonart Custom Stencil Kit and reusable Ikonart stencils is how much time you can save when making multiple wood signs. This is great when you want all your signs to look the same, but what about when you want to sell one-of-a-kind signs? No problem! You can still save time by adding the main design with a stencil, but then make each sign 100% unique by hand painting additional colors.
For this project Jess Brown, Ikonart crafter and owner of Shine Designs Customs, takes hand painting a step further by watering down her paints first to create a beautiful watercolor look on her stenciled wood signs. Keep reading to learn her exact technique.
How To Achieve A Watercolor Look On Wood Signs When Using Ikonart Stencils
Hello, my name is Jess. Here are a few tips that will help get you started if you want to learn how to watercolor using Ikonart stencils. It's super easy! You just need some acrylic paint, water, and a small paint brush.
This is a technique that can be done on any wood or fabric surface. If you’re stenciling on wood, make sure to remember that you want your board as smooth as possible before laying your stencil down, so be sure it has been sanded and prepped to your liking before stenciling. I have a creative community full of tips and tricks for stenciling on wood over on Facebook.
>> Prefer to watch instead of read? Join my Shine Designs Facebook Group to watch me watercolor wood signs.

Step 1: Choose Your Design & Stencil Your Sign
Before you start, look through your Ikonart stencils (or make a new one) to find a design with a lot of detail. High detailed designs work best for adding color because you want something you are able to color in. For this post I used a leopard print pumpkin design that I purchased from Creative Fabrica. If you're looking for new artwork, I have a Shine SVG Club you can sign up for to receive at least 7 SVGs each month, and Ikonart also provides free artwork files on their Free Artwork Page.
Once you have your stencil decided, apply your design in black on your surface. I use Folk Art Chalk Paint for my base coating and for my stenciled design. Let the paint dry completely. I like to let it dry overnight if possible. If you've never used Ikonart for wood signs before, please check out my other blog post, Tips for Creating Wood Signs with Ikonart for additional tips.
Step 2: Choose Your Colors and Prepare Your Watercolor Paint
Now with your stenciled sign ready, we can to get to watercoloring! Decide which color, or colors, you’d like to use. In my experience, this technique works best with regular acrylic paint, but can be done with chalk paint if that’s what you have. I tend to choose darker colors rather than softer colors because once the soft colors are watered down they take a lot more coats to show up as vibrantly as I like.
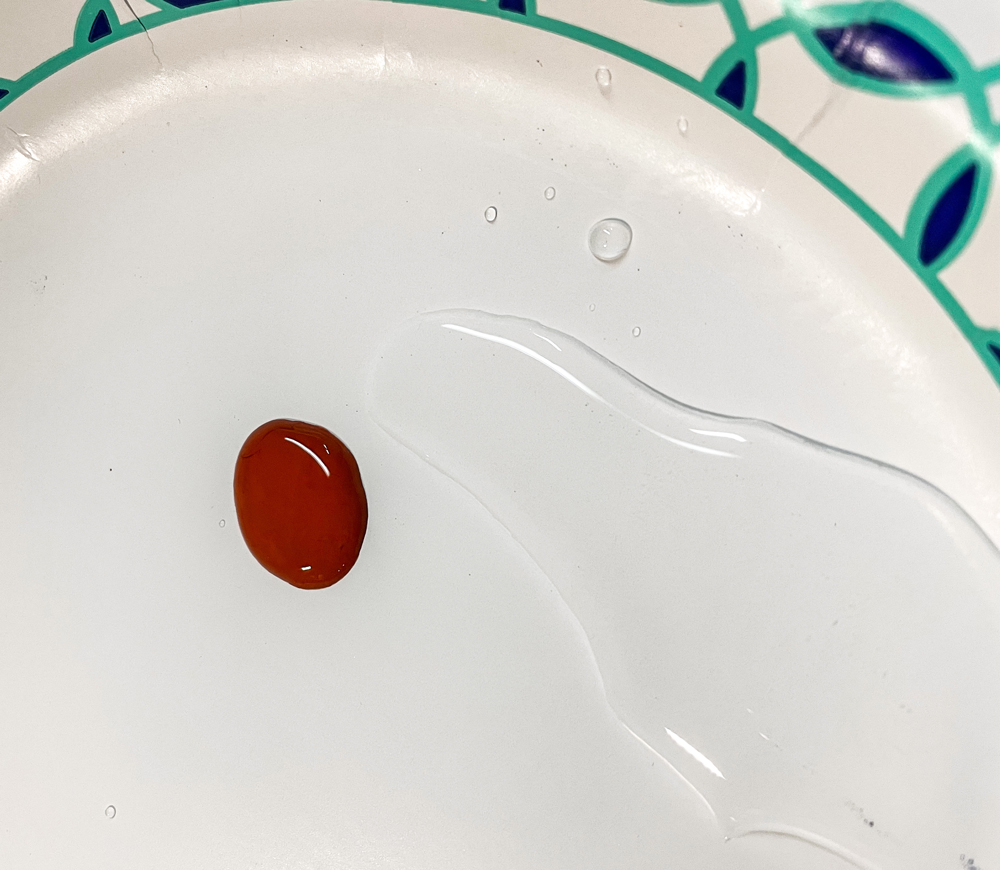
I'm using a dark orange color to paint this leopard pumpkin. The color is Sherwin Williams sample paint in Spicy Hue. On a paper plate (or anywhere that you will be able to easily mix the two together), put a little bit of paint and then put a little bit of water next to it like I have above.
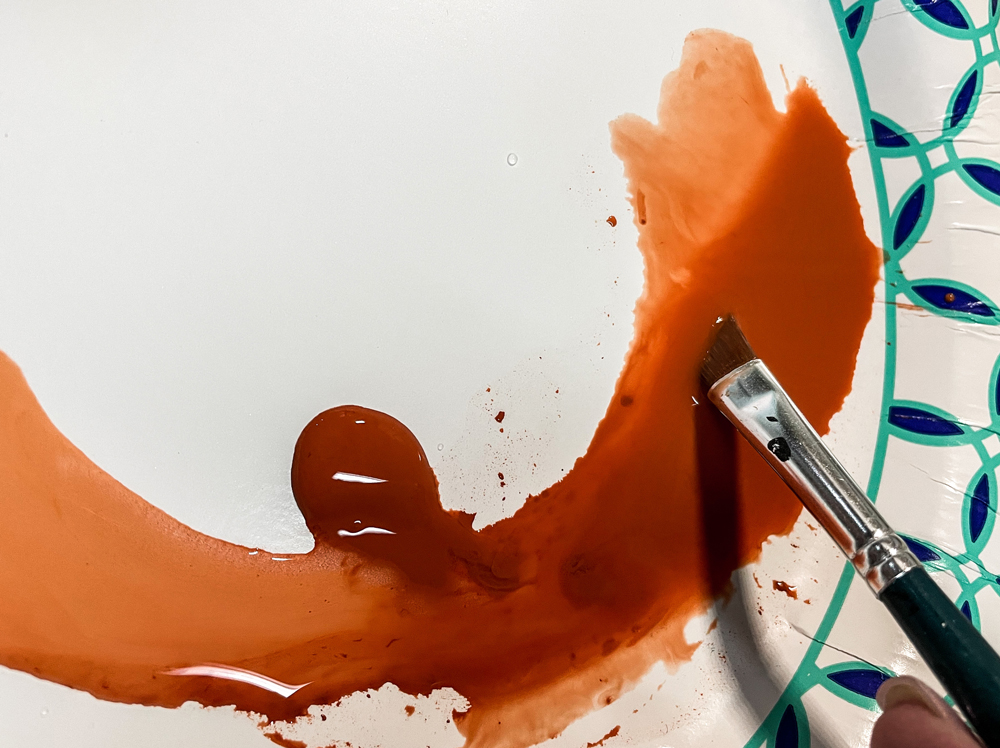
Start by picking up a little bit of the paint and mixing it in with the water, then keep watering it down. Keep adding more water a little bit at a time. Once you think you have it watered down enough, add a little more water. This is even more true if you’re using chalk paint because chalk paint needs to be watered down a considerable amount in order to get the watercolor look.
You want your paint and water mix to look like it does at the very top right of the plate in this photo. When you drag the mixture out a little bit with your brush it should be fairly translucent.
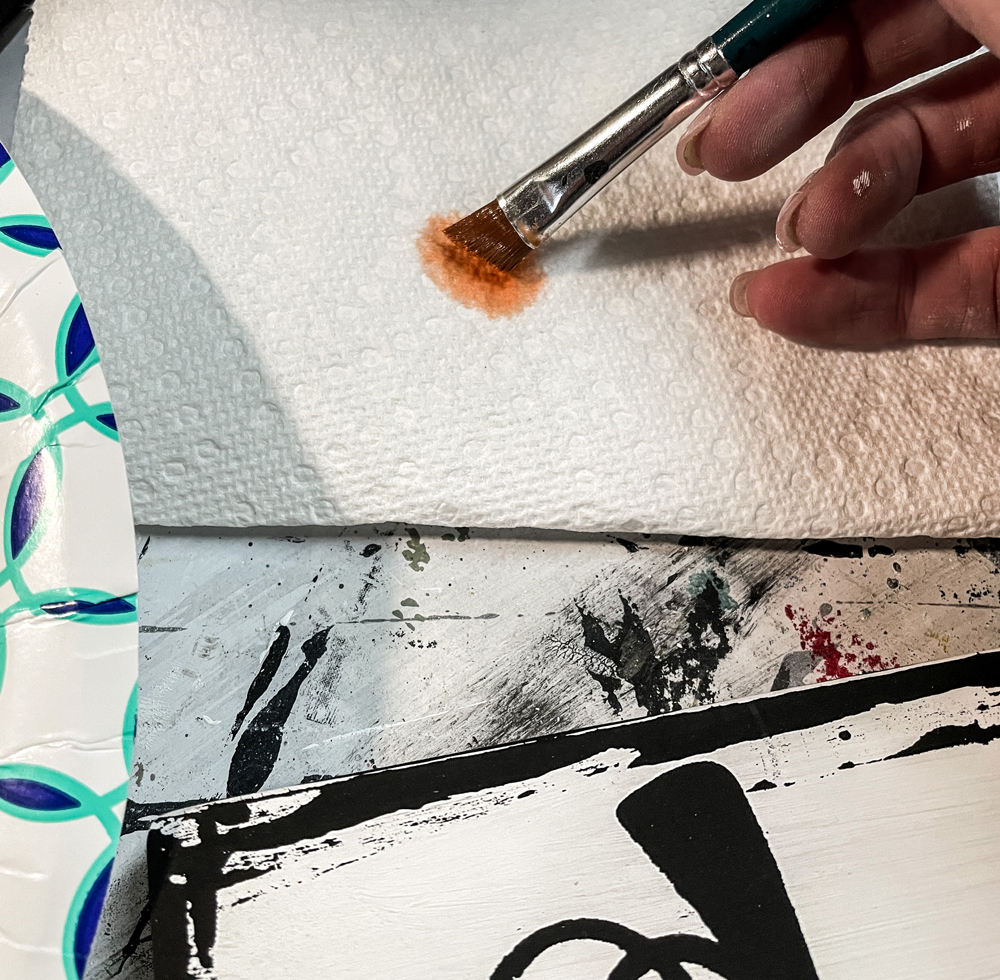
Once you have your paint watered down to your liking, dab it off on a paper towel like shown above. This will get the majority of the extra water off, leaving you with the watered down color on your brush.
Step 3: Watercolor Your Stenciled Design
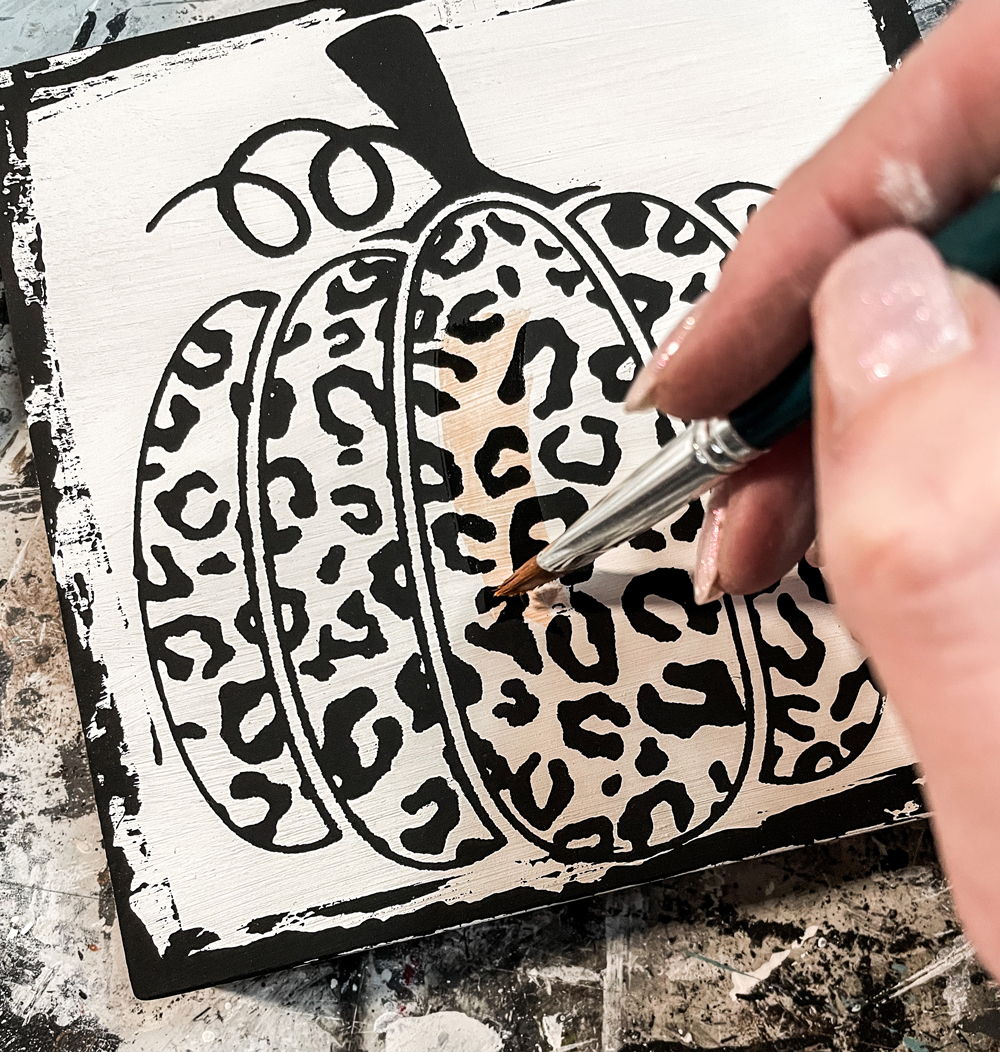
Now it’s time for our first coat of paint! With your brush, start to fill in the lines of your design. As you can see, it is a very light color (especially considering how dark this color was when we had the drop on the plate when we started).
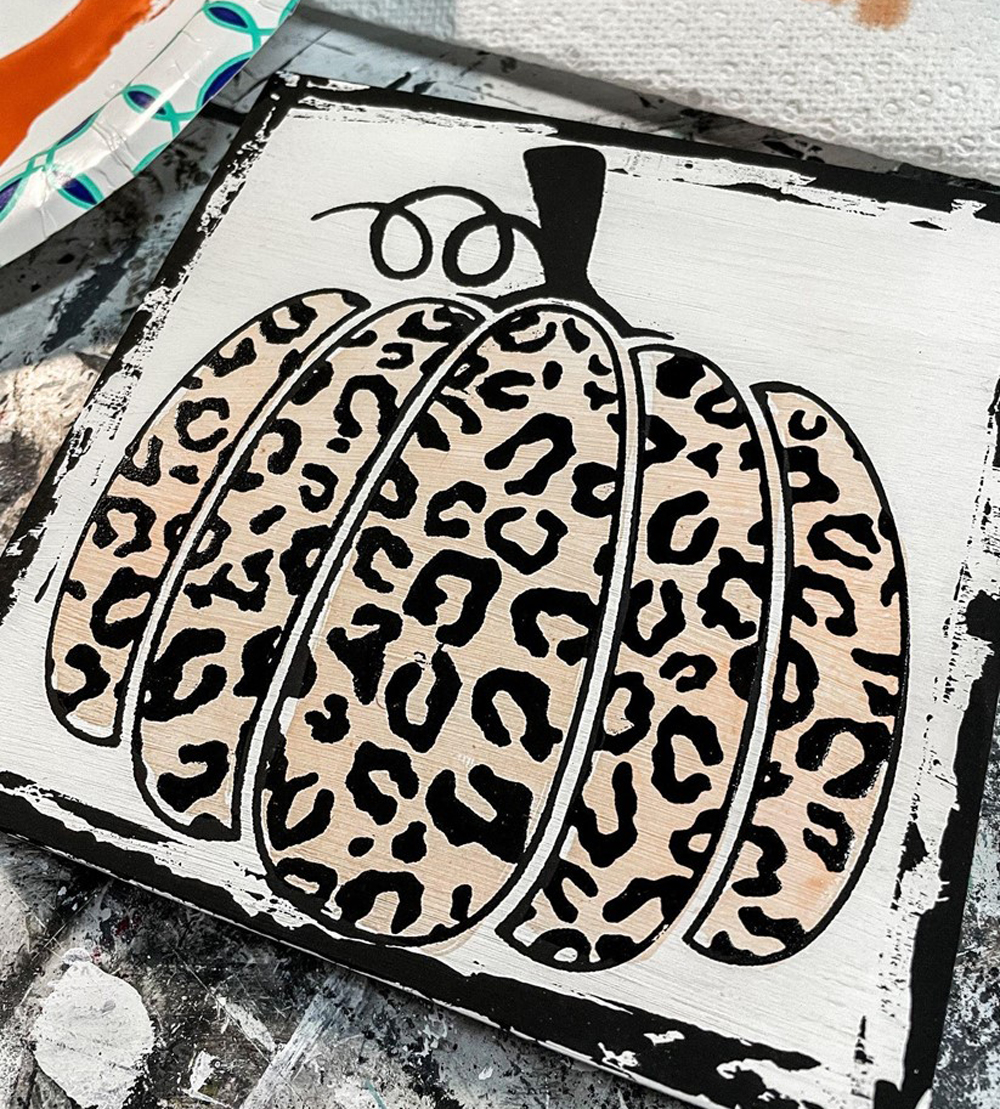
After you've completed your first coat, it should look something similar to the pumpkin pictured above. You can either leave it as is, or add additional layers for darker shading. For this sign I am going to add some additional layers to add shading and depth.
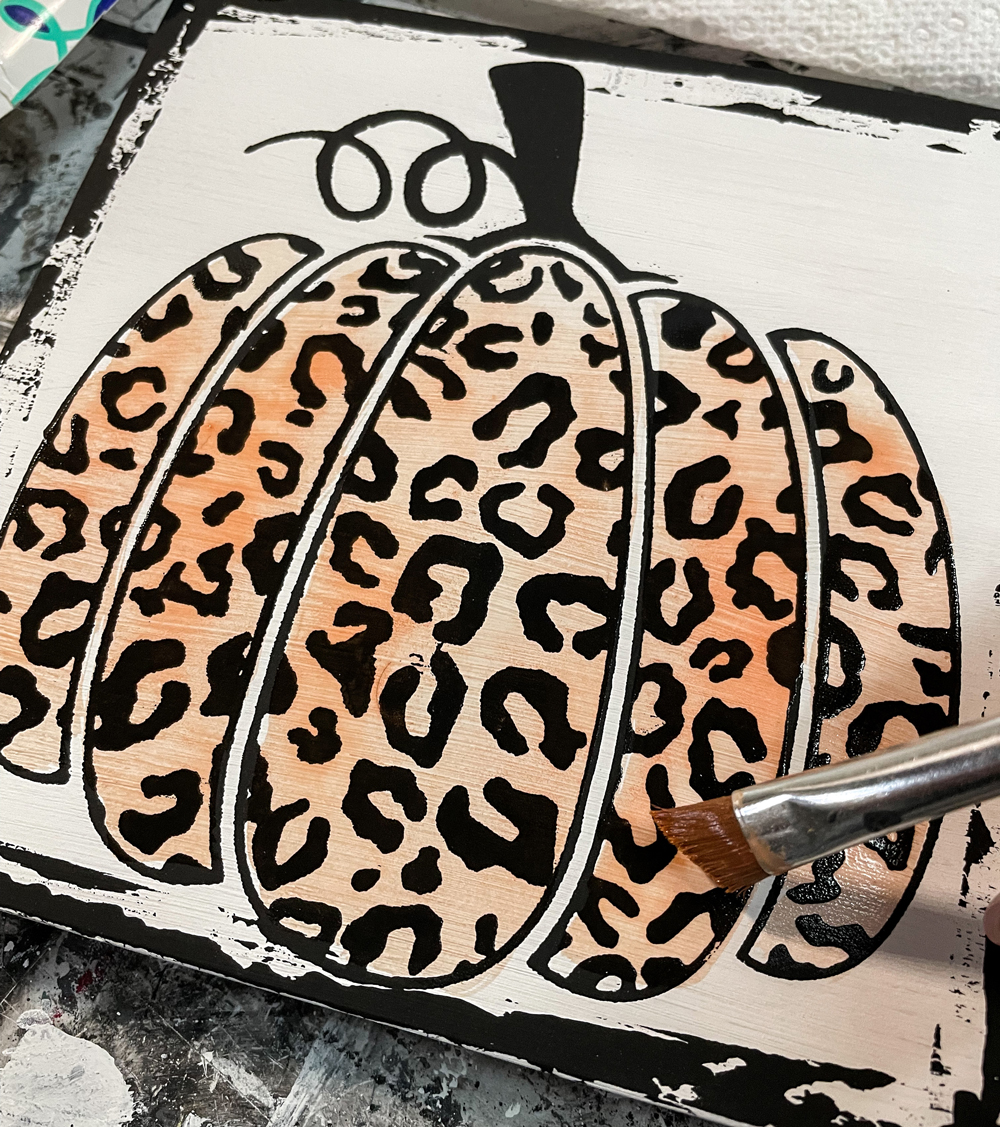
Step 4: Add Shading To Your Watercolor Design (optional)
If you decide to add shading, make sure the first layer of watercolor is completely dry before adding additional color. If you start layering on too many coats before each one dries, you risk getting the black base too wet and smearing the design, which of course you want to avoid. Lighter coats and drying between each layer is the key here!
Once the base coat of watercolor is dry, repeat the process again, but focus on shading the edges of your design, or where you would like things a little bit darker. It is totally okay to leave little puddles of the watercolor paint on your sign to dry; that creates a fun watercolor look once it dries. Repeat as many times as you would like until you get the desired look.
Quick Tip: If you're looking to speed up the drying process, you can hit the surface with a gentle hair dryer between paint layers, just be careful if you have spots with extra water not to hold it too close, or the air stream from the dryer may push the water and make it run. Depending on the look you are going for, pushing the watered paint with with an air stream could create a unique creative finish.
Step 5: Seal Your Watercolored Sign
Once your wood sign is completely dry you can seal it with a top coat. I prefer the Rust-Oleum Painter's Touch 2X Ultra Cover Ultra Matte sealer spray. If you’re using this technique on fabric, you can go over the painted areas with a fabric medium to help set the color. Let that dry, then heat set the whole thing.
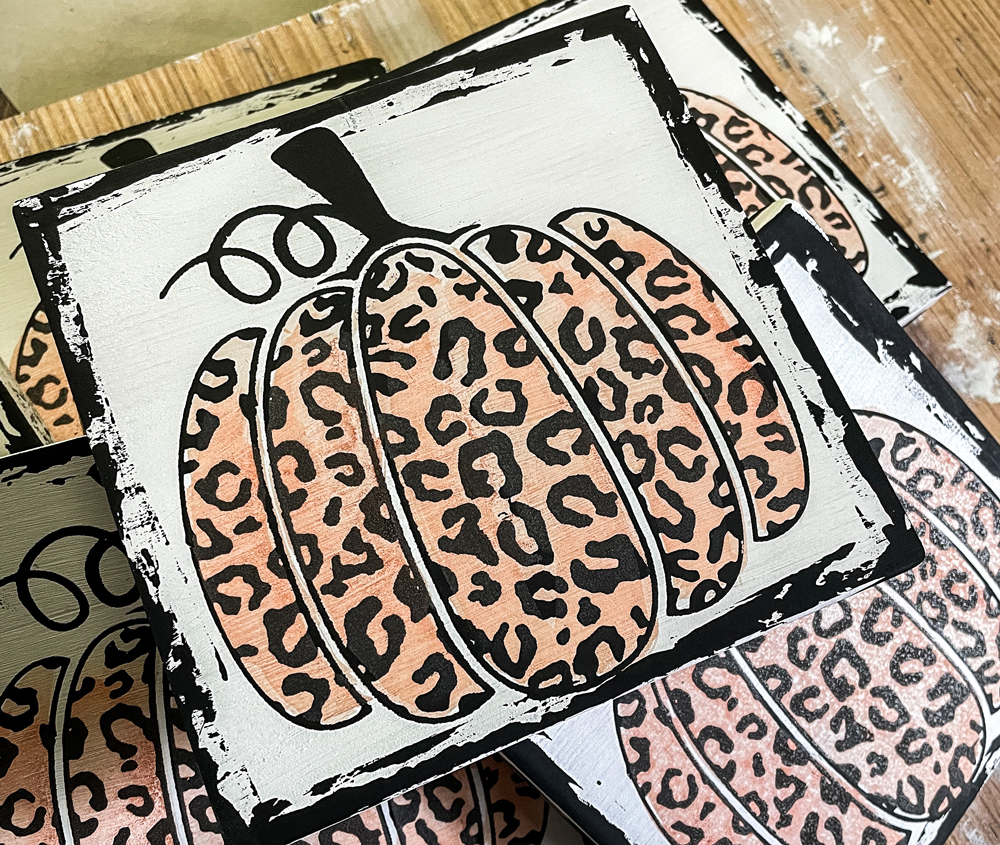
I can’t wait to see what you watercolor. Please post pictures of your finished watercolor signs in both the Ikonart Crafters Group and the Shine Designs Digital Creative Community so we can see your beautiful creations.
Happy Crafting!
Jess Brown
Founder of Shine Designs Customs and Shine Bright Virtual Services
Shine Designs Customs
Website: Shine Designs Customs
Facebook Page: Jessica Lynne
Facebook Group: Shine Designs Creative Community
Instagram: @ShineDesignsCustoms
Etsy: Shine Designs Customs
Shine Bright Virtual Services:
Website: Shine Bright Virtual Services
Facebook Page: Shine Bright Virtual Services
Instagram: @ShineBrightVirtual
For more tips, tricks, troubleshooting support, and to share your Ikonart creations, join our community of crafters on Facebook. If you have any questions about our Ikonart Stencil Films or the Ikonart Custom Stencil Kit, please contact us.