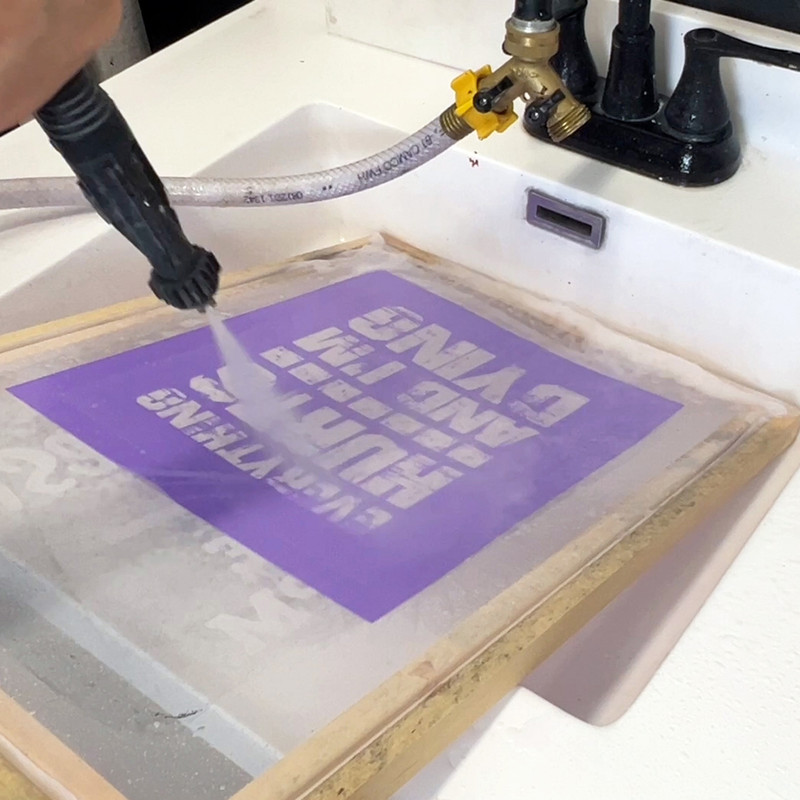
When it comes to making your Ikonart stencils with the Ikonart Custom Stencil Kit, each step of the process plays an important role in achieving a quality stencil, from creating your artwork to exposing and washing out, to drying and post-exposing.
In this post we are covering the washout process, but if you are interested in learning more about the complete process of making Ikonart stencils, check out our Ikonart 101 page, which includes video tutorials for each stage of stencil creation.
WATCH VIDEO: Six Washout Tips For Ikonart Stencils
6 Tips for Washing Out Ikonart Stencils
Proper washout techniques ensure your designs are crisp and ready for any DIY project. Here are six expert tips to make washing out your stencils quick and effective. You can also watch our video, Six Washout Tips for Ikonart, to see all these tips in action.

1. Be Mindful of Lighting
Lighting plays a crucial role in preserving your stencil before washing it out. While you don’t need to work in complete darkness, avoid working in front of bright windows or other sources of UV light. UV exposure can prematurely expose your stencil and make washout more difficult. If your sink area has a window, close the blinds or curtains. If this isn’t possible, consider washing out your stencil at night when UV light exposure is minimal.
2. Soak Your Stencil
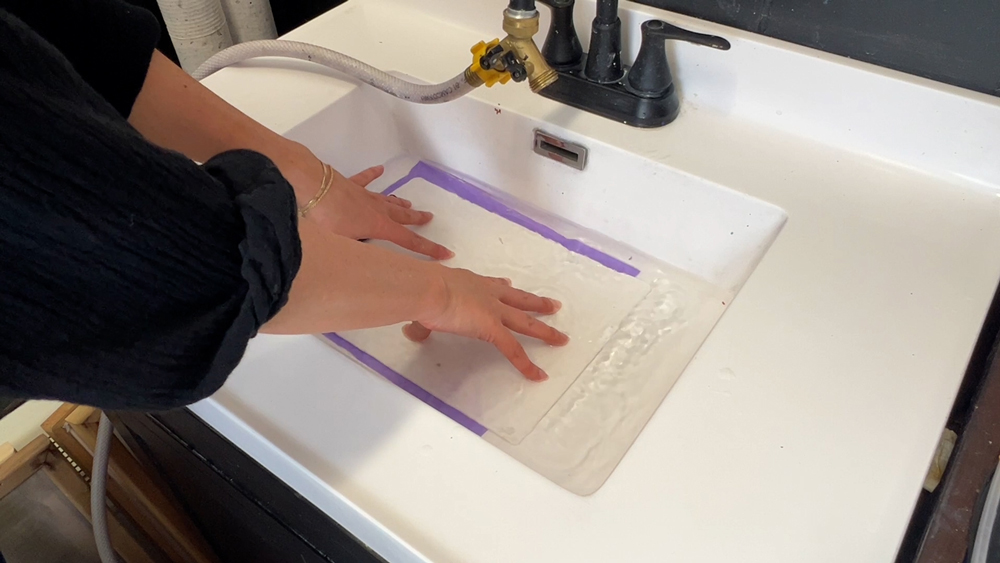
Before you begin washing out your stencil, soak it in warm water for about one minute. This step softens the emulsion, making the washout process significantly faster. To soak your stencil, add warm water to your sink, place the stencil in, and cover it with the clipboard included in the Ikonart kit to protect it from the light. Be cautious not to soak it for too long, as this can cause parts of the stencil you want to keep intact to start breaking down.
3. Use Warm Water
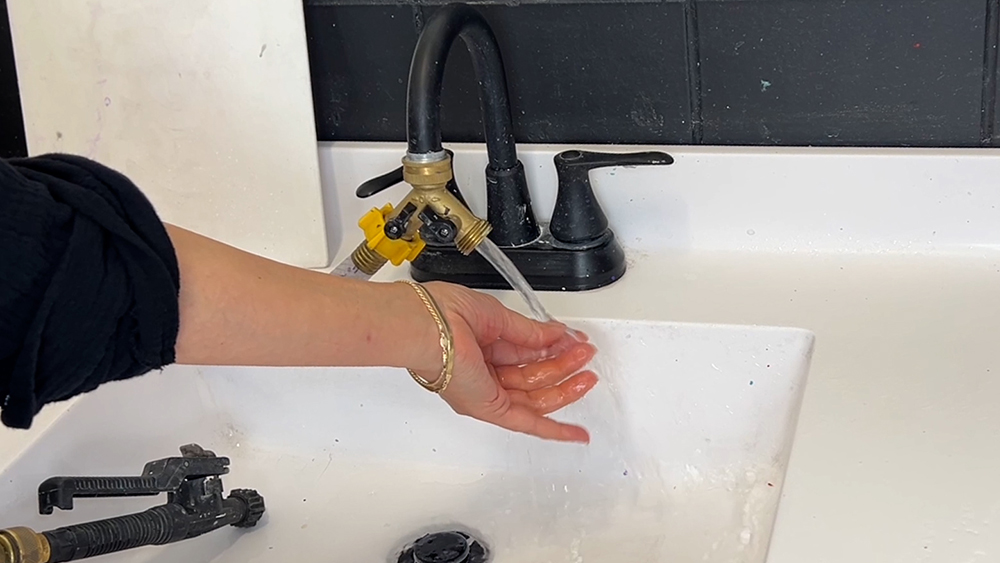
The water temperature is key to a successful washout. Cold water slows down the process, while excessively hot water can over-soften the emulsion and damage your stencil. Aim for water that feels warm to the touch. This will help balance the washout process, ensuring efficiency and stencil durability.
4. Use Good Water Pressure
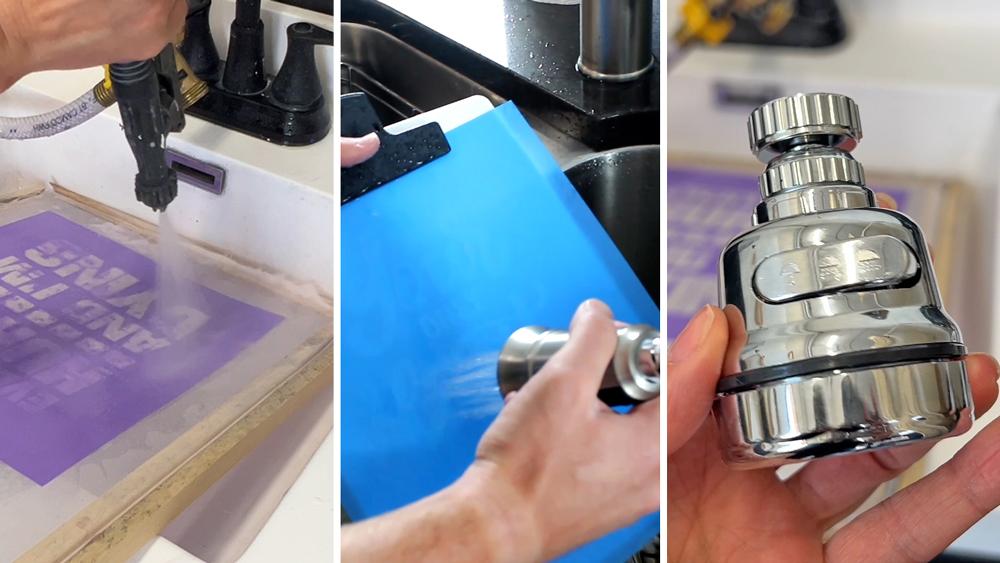
Water pressure matters! Using a high-quality sprayer can dramatically speed up your washout process. The Trigger Jet Nozzle (pictured above, left) offers a fan spray and works well with a hose hookup. For those without a laundry tub, most standard kitchen sprayers work just as effectively. If you find your water pressure lacking, consider an inexpensive faucet attachment (pictured above, right) to boost pressure. Strong and consistent water pressure helps remove the emulsion faster.
5. Support Your Stencil
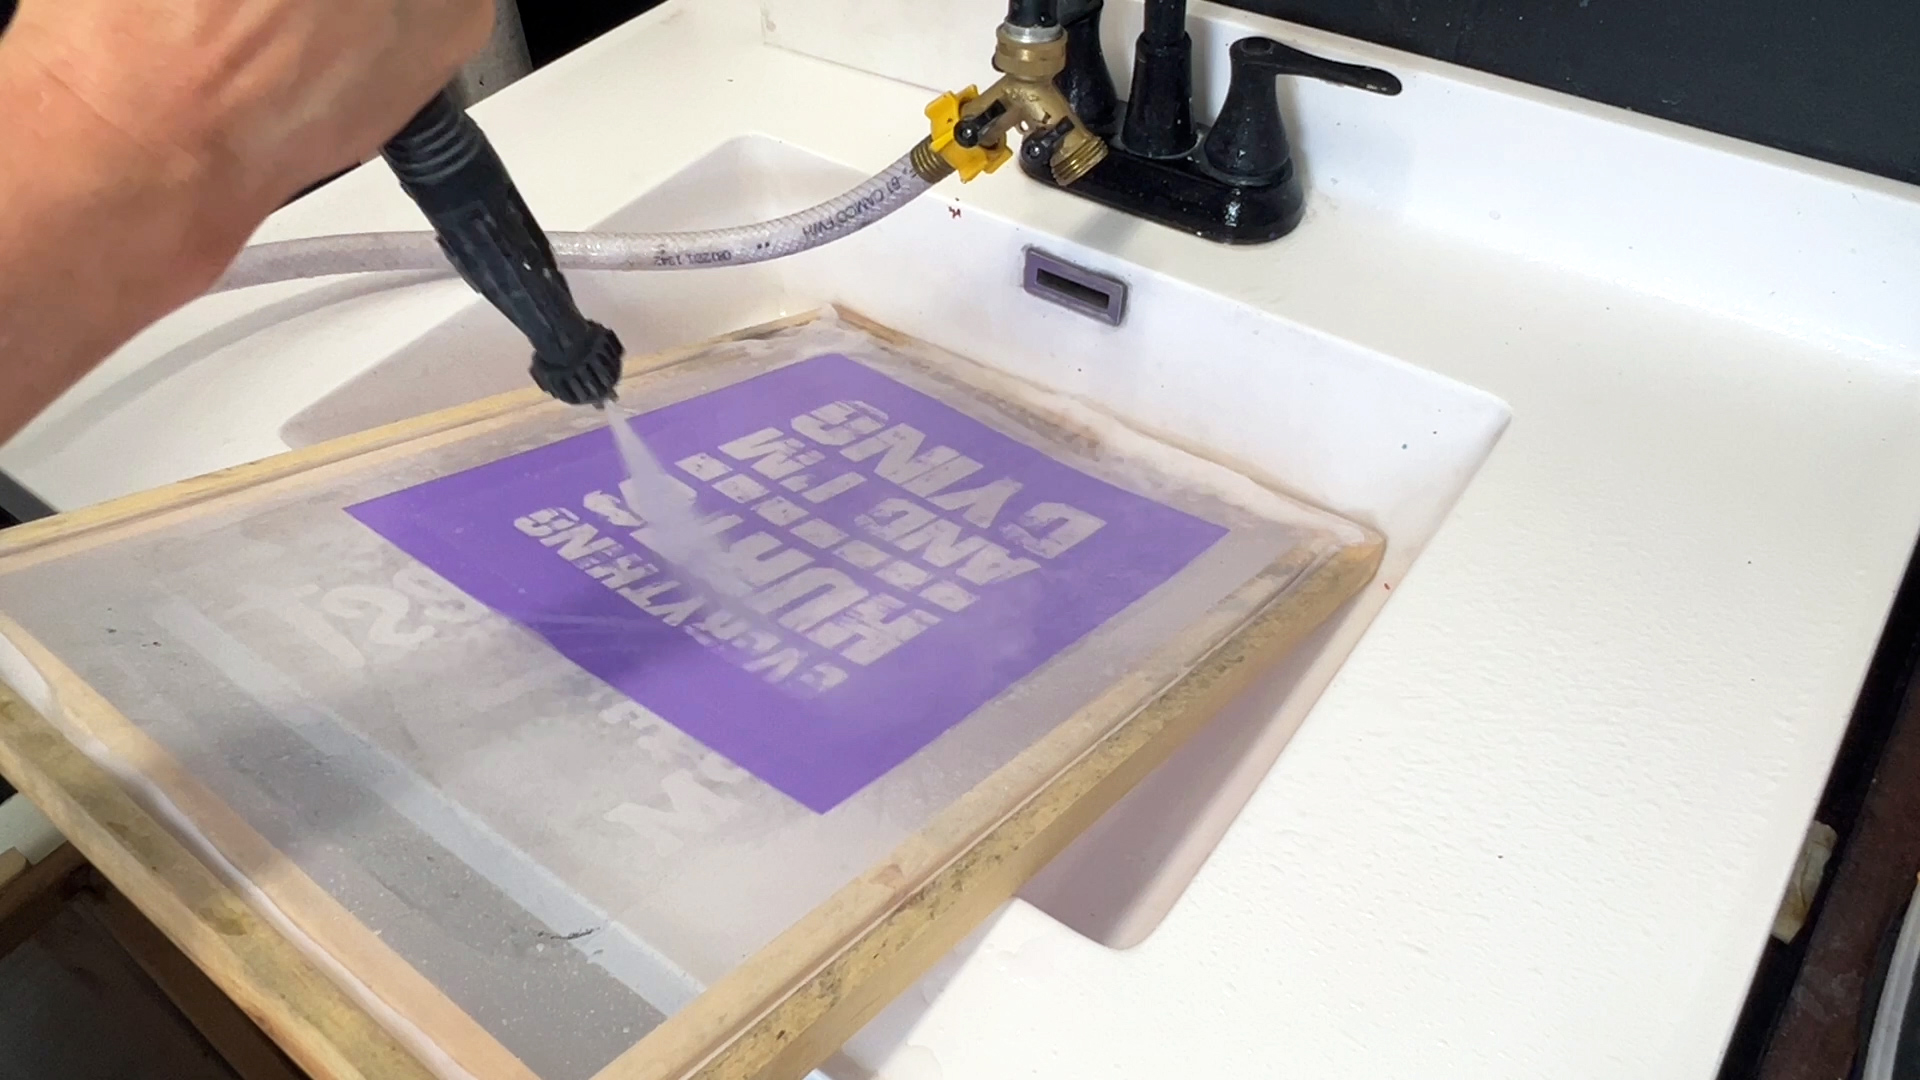
Supporting your stencil during washout prevents unnecessary wear and tear. Use the clipboard included in your Ikonart Kit to provide a solid surface during the process. If you’re working in a small sink, try using a screen-printing frame with mesh. The mesh allows water overspray to pass through, keeping your workspace cleaner and the washout process more efficient.
6. Keep the Nozzle Moving
When washing out your stencil, avoid concentrating the spray in one spot for too long. Keeping the nozzle moving at a steady pace prevents blow-offs and ensures even washout across the stencil. Hold the nozzle a few inches away from the surface and use a gentle, sweeping motion to protect your stencil while washing away the emulsion.
How To Print Dark Artwork for Ikonart Stencils
You can follow all the washout tips above, but if you start with bad artwork that isn't dark enough, none of these tips will matter. Your artwork plays a vital role in the stencil-making process, particularly during washout. If your artwork isn't dark enough it will let light through during exposure and the light will start to harden the stencil underneath the artwork, making washout very difficult.
If your washout process takes longer than a minute or two, 90% of the time it is due to artwork that isn't dark enough. Dark and opaque designs block UV light effectively, ensuring the emulsion hardens in the areas it’s meant to, while unexposed areas wash out cleanly.
To achieve the darkest possible artwork, follow these steps:
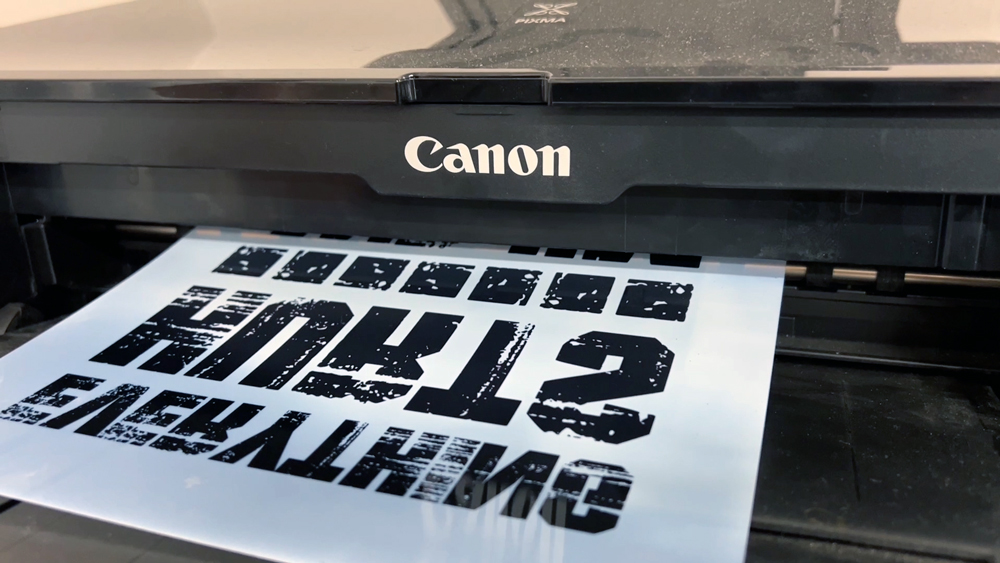
- Use a High-Density Print Setting: Adjust your printer’s settings to print at the highest quality or density. This ensures a solid, opaque layer of ink on your transparency film.
- Choose the Right Printer and Ink: Use a printer and ink combination specifically designed for transparency printing. For example, pigment-based inks (inkjet printers) often provide better opacity than dye-based inks (laser printers).
- Check Your Artwork Density: Hold the printed design up to the light. If any light passes through the black areas, your artwork isn’t dark enough. Make adjustments and reprint as necessary.
Remember, dark artwork ensures faster washout times and prevents issues like partial exposure or incomplete design details. For a detailed guide on printer settings, check out our blog post: Print Settings for High-Density Prints for Ikonart Stencils.
By following these six tips, you can achieve perfect stencil washouts every time. Subscribe to our YouTube channel for more tips and tricks, and join our Facebook group to stay updated on all things Ikonart. If you have any questions about how to washout your Ikonart stencils, please contact Ikonart or post in the Ikonart Crafters Facebook Group. Happy crafting!

