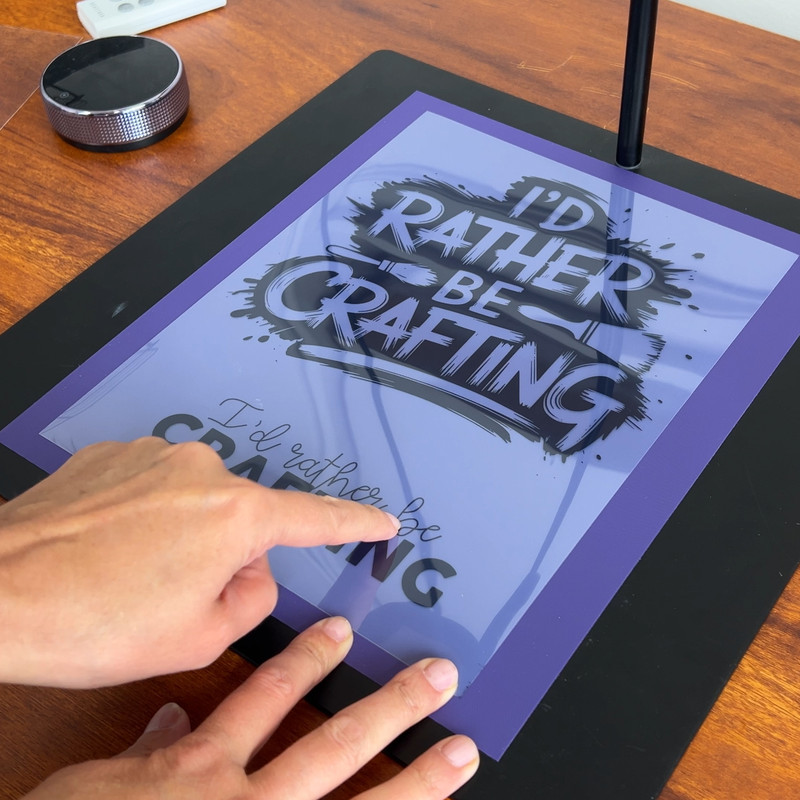
When you're learning how to make an Ikonart stencil with your Ikonart Custom Stencil Kit, one term you might come across is undercutting. This common issue can be frustrating—especially when working with detailed designs—but the good news is, it's totally preventable with a few simple steps.
In this post, we’ll walk you through what undercutting is, why it happens, and how to avoid it when making an Ikonart stencil so your final designs come out clean and crisp every time.
WATCH VIDEO: How To Avoid Undercutting When Making Ikonart Stencils
What Is Undercutting?
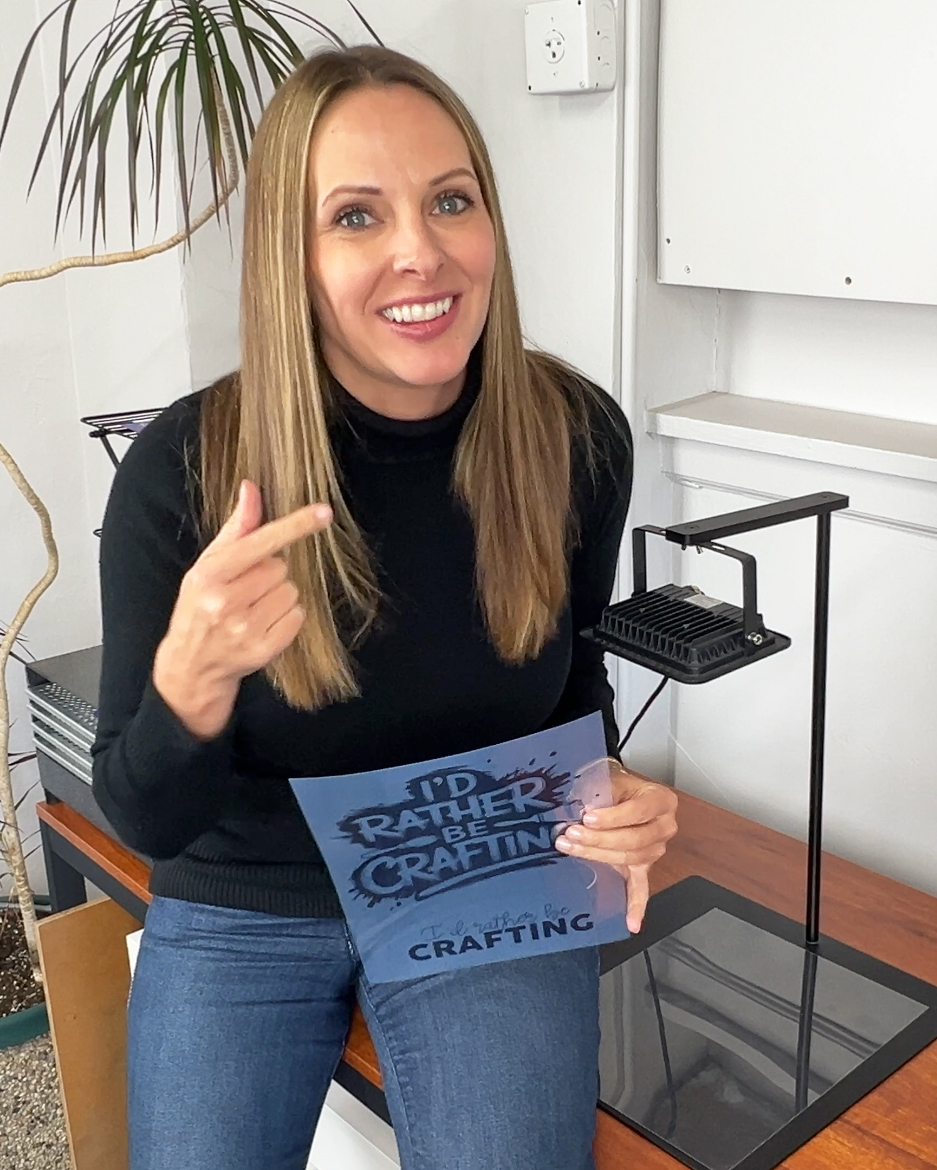
Undercutting occurs during the exposure process when light "sneaks" under the edges of your printed artwork. This causes your final stencil to develop slightly smaller than your original design.
If your stencil design includes bold fonts or thick artwork, you might not even notice the difference. But if you’re working with fine details, thin lines, small fonts, or distressed effects, undercutting can make those elements wash out or disappear entirely.
Why Does Undercutting Happen?
Undercutting is usually the result of:
-
Light bleeding underneath your printed artwork during exposure.
-
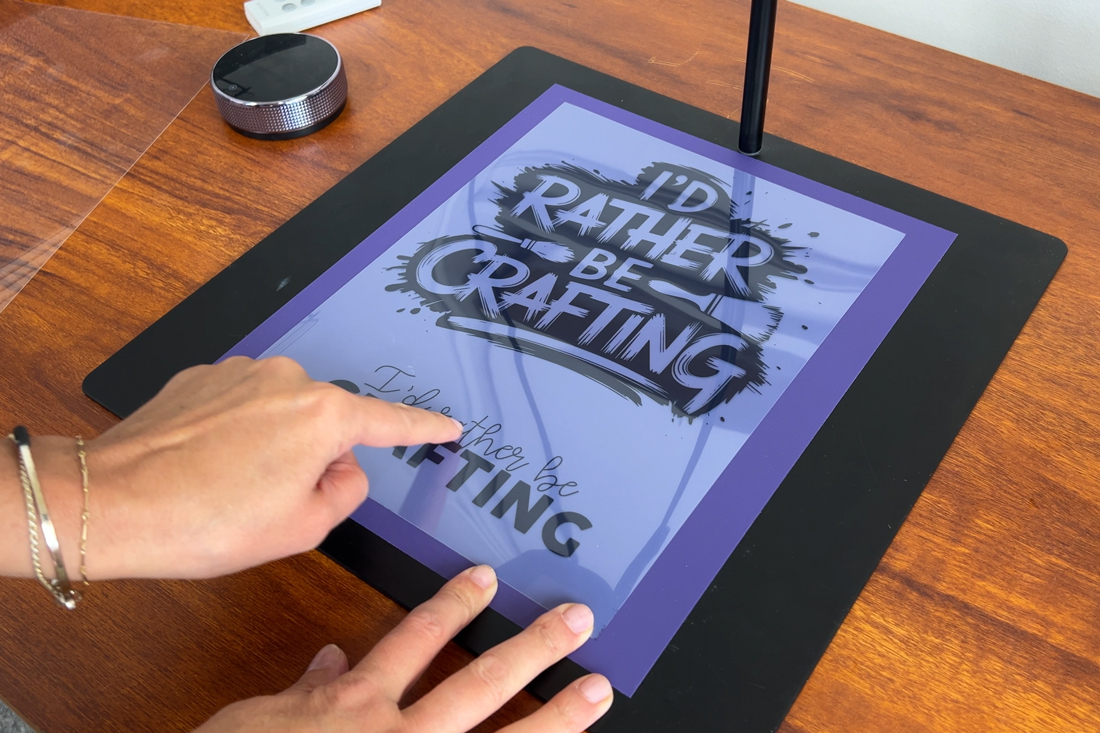
Poor contact between your artwork and the stencil film.
-
Weak or uneven opacity in your printed artwork.
When any of these happen, UV light can expose areas of the film that were meant to stay blocked, reducing the level of detail in your final stencil.
How To Prevent Undercutting When Making an Ikonart Stencil
The best way to prevent undercutting is by creating a strong seal between your artwork and the stencil film during exposure. Here’s how:
1. Print Your Artwork Nice and Dark
This is crucial—especially for designs with fine detail. Make sure your artwork prints opaque and saturated black. If your printer settings are too light, or your black ink is running low, the light can pass through the artwork and cause undercutting.
Pro Tip: Use the “Best” or “High Quality” print setting and print on the Ikonart Inkjet or Laser Printer Film for best results.
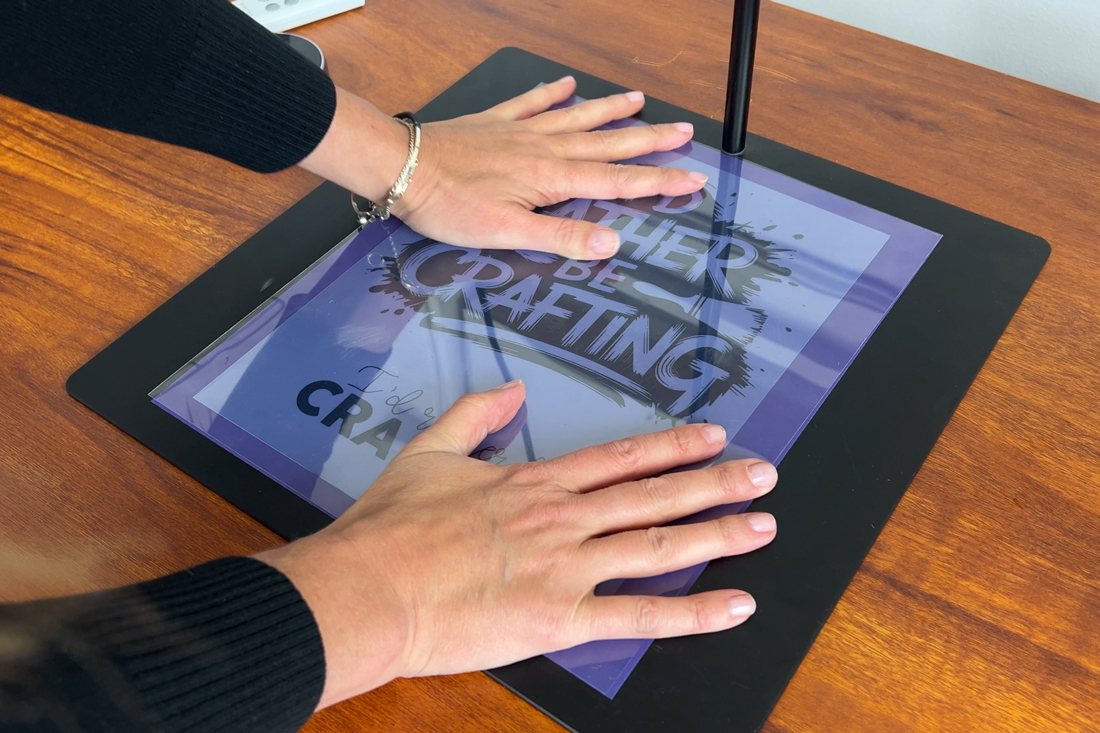
2. Use the Clear Cover Sheet & Rub Down for Better Contact
Each Ikonart stencil pack includes a clear cover sheet—and for good reason! This sheet is key to pressing your artwork tightly against the stencil film.
-
Lay down your stencil film.
-
Place your printed artwork on top.
-
Cover with the clear cover sheet.
-
Rub it down firmly to remove any gaps or bubbles.
This seal prevents light from leaking around the edges of your design. If your artwork has a slight curl, this step is even more important. Uneven contact = uneven exposure.
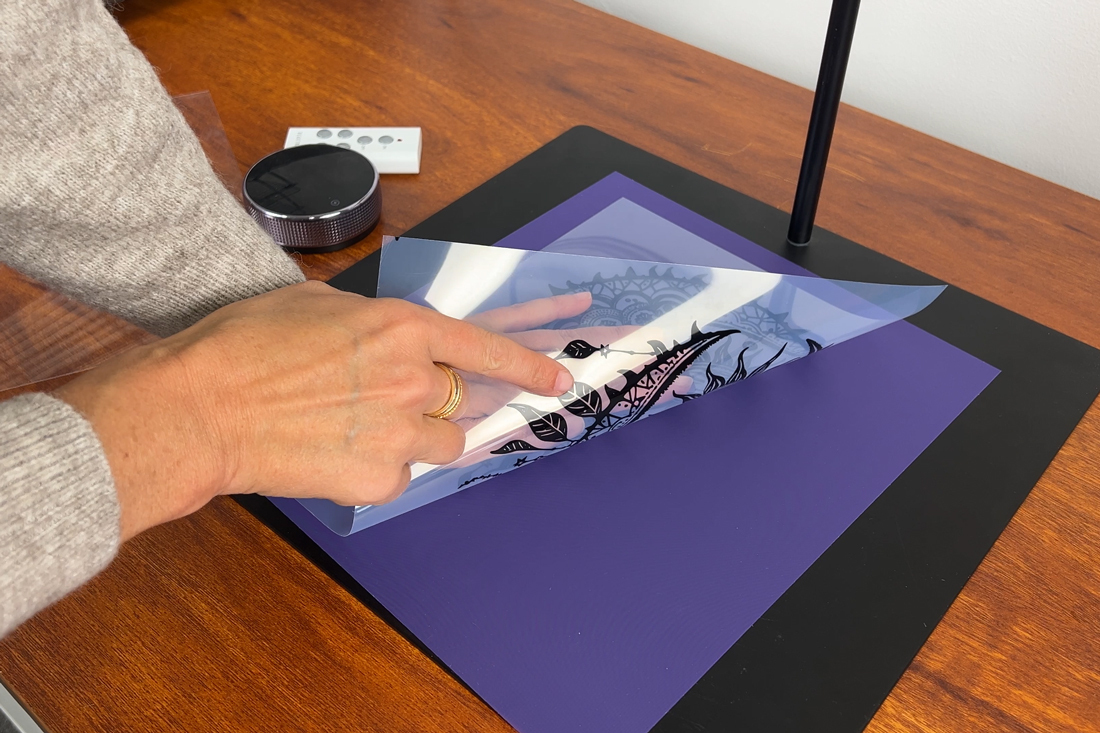
3. Mirror Your Artwork for Maximum Sharpness
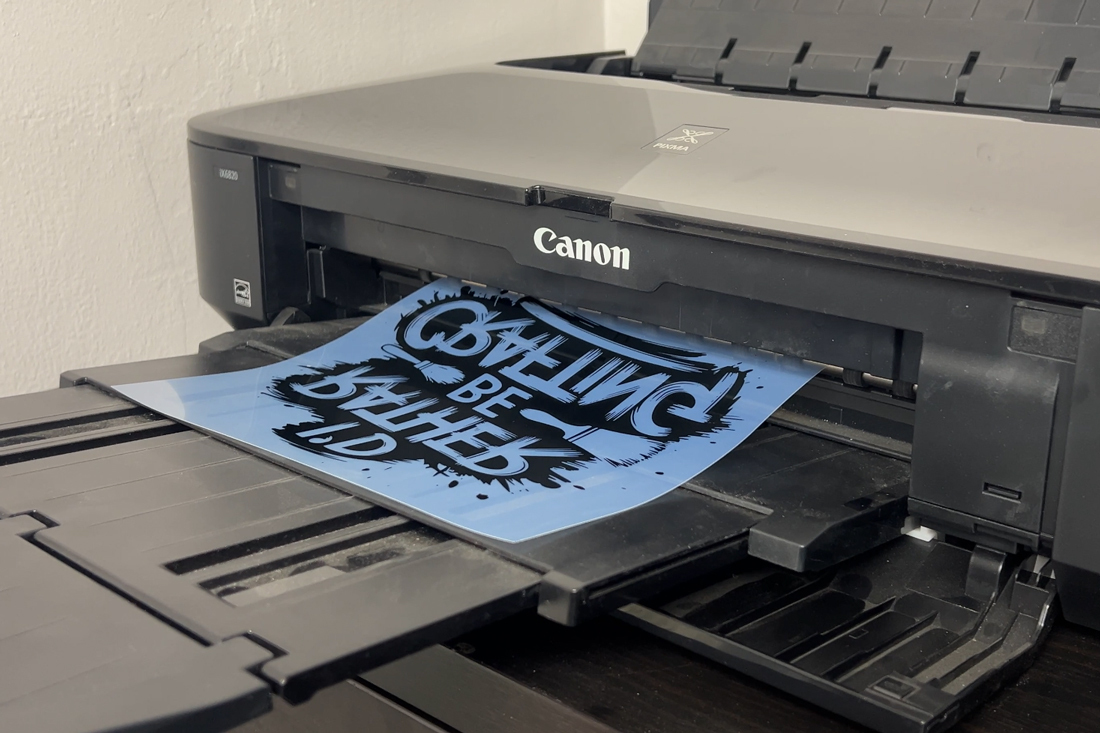
We often get asked: Should I mirror my artwork when making an Ikonart stencil? The answer: Yes—especially for fine details.
Mirroring your artwork before printing means the ink side will face the stencil film during exposure, giving you direct ink-to-film contact. This enhances sharpness and reduces the chances of undercutting.
Avoid Undercutting in 3 Steps
✅ Print your artwork nice and dark
✅ Use the clear cover sheet and rub it down well
✅ Mirror your artwork so the printed side touches the film
Final Thoughts
If you’re taking the time to learn how to make an Ikonart stencil, don’t let undercutting ruin your design—especially if you’re working with intricate fonts or distressed artwork. With these easy tips, you’ll get sharper results and keep every little detail exactly as you designed it.
Have questions about stencil exposure or troubleshooting your stencil washout? Check out the Ikonart YouTube channel for more tips and tutorials, or contact the Ikonart team—we’re always happy to help!

